Email Recs
Add product recommendations to your CleverReach email campaigns. This guide walks you through creating email designs, setting up embeds, and inserting recommendations into your templates.
Before you start!
Make sure that you have made the initial integration on the webshop so that Clerk.io is synced with your product catalog and order history.
Create email design #
The first thing you have to do is create a Design for your emails.
...Sync Data
Automatically sync Audiences to CleverReach lists so your lists are always up to date. This guide walks you through setting up the OAuth app and syncing your Audiences.
Integration setup #
To maintain Audiences in CleverReach, you need a Client ID and a Client Secret.
Go to your CleverReach Backend.
In the top right, click your Account to get a dropdown.
Click My Account > Extras > REST API.
...
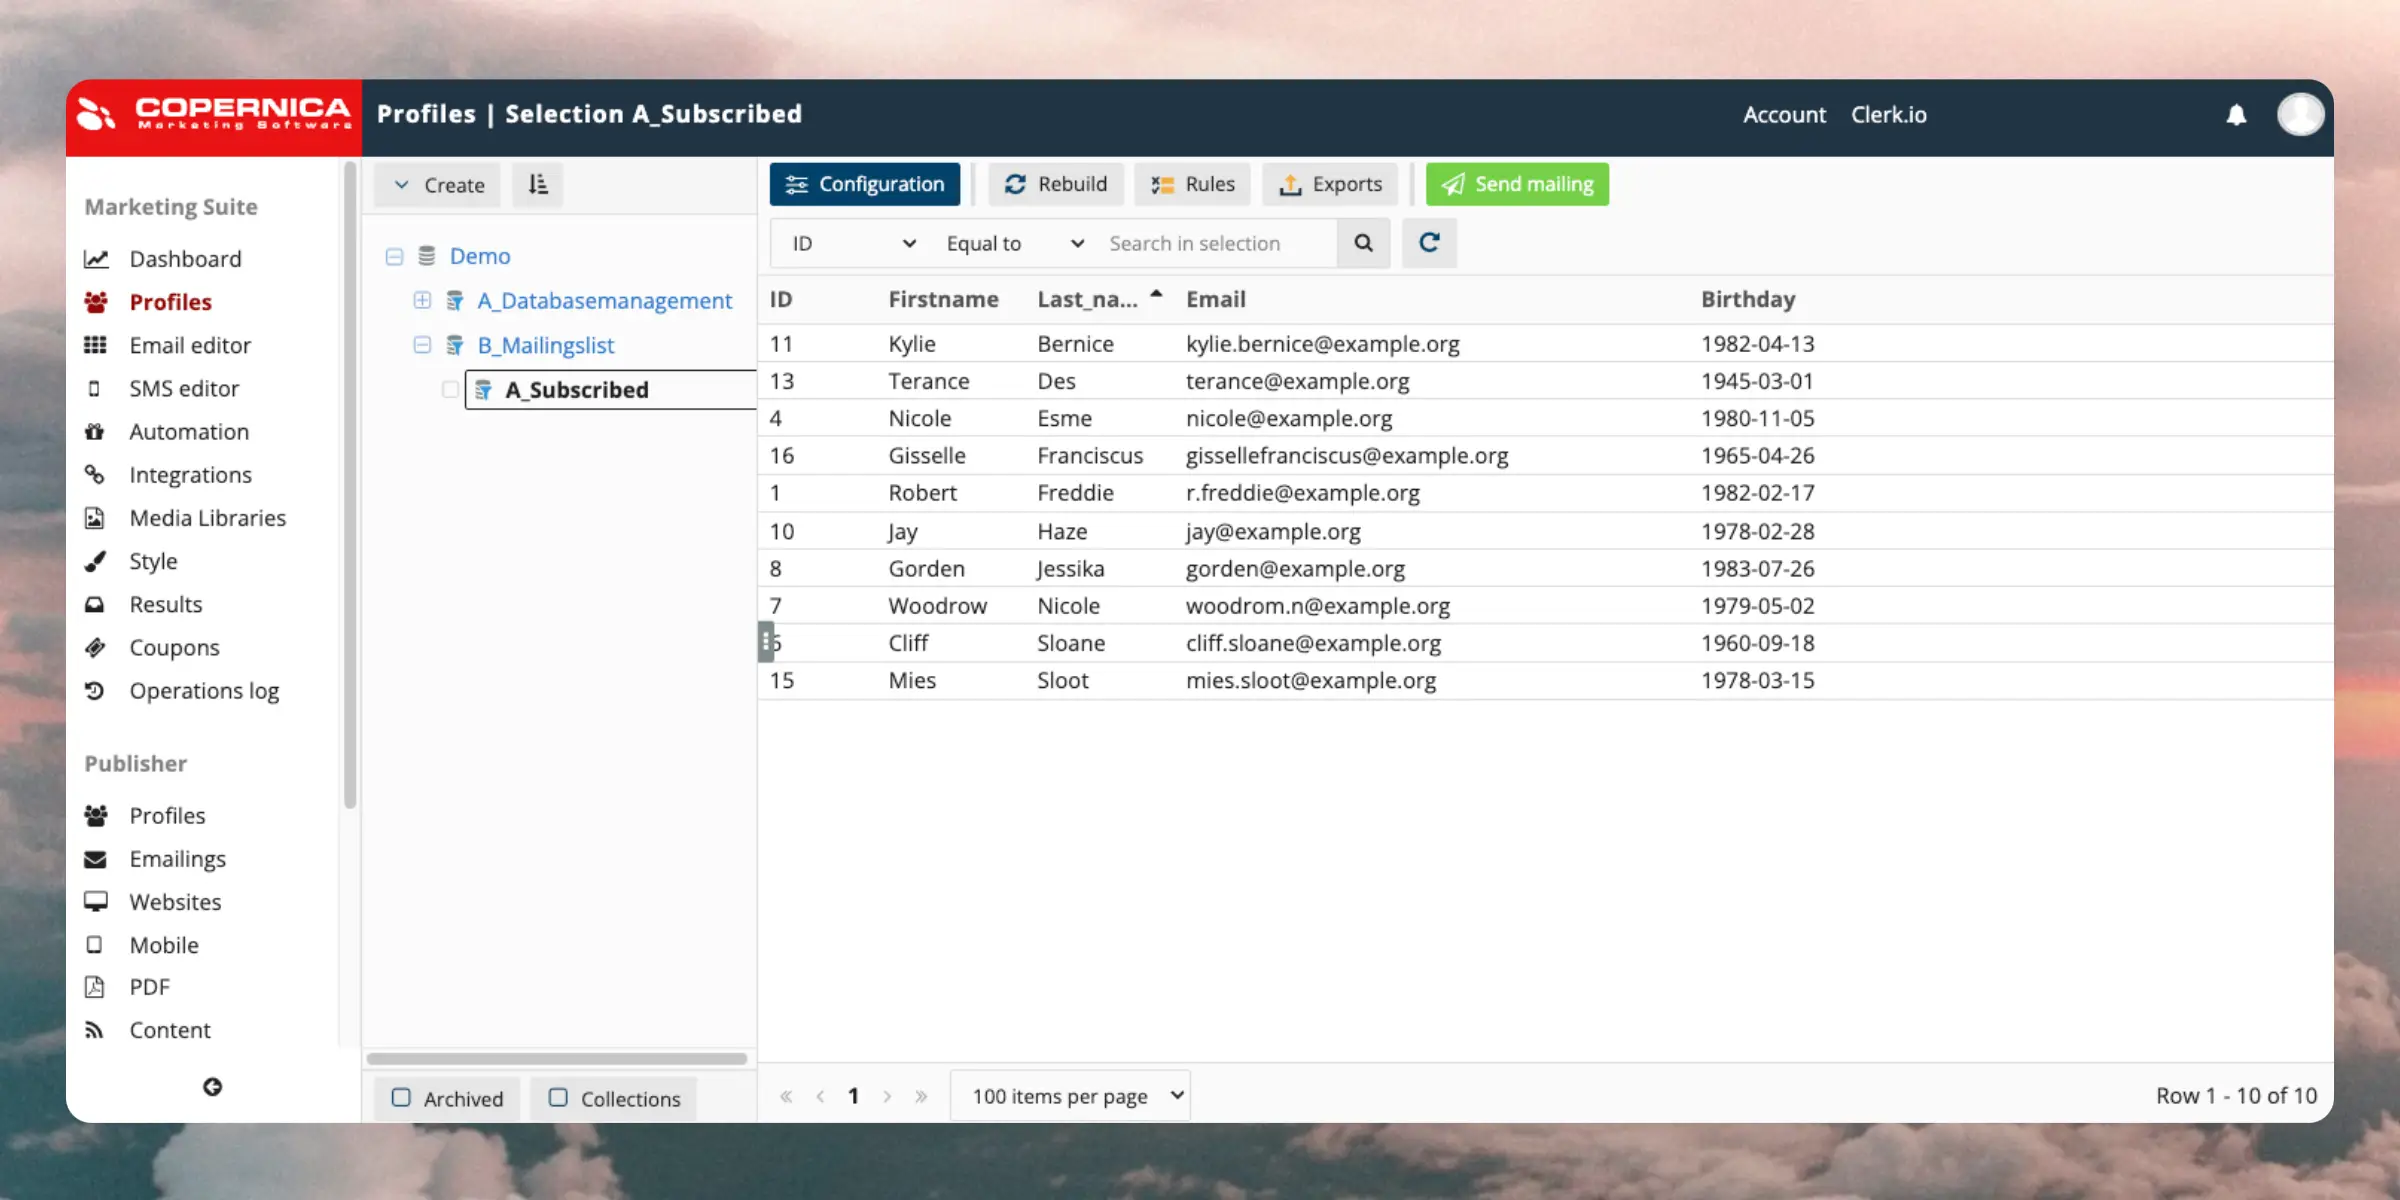
Copernica
Email Recs
Prepare the $Email mergetag in Copernica to ensure Clerk embed codes work correctly. Clerk.io needs to retrieve the email address of a recipient from the email client to show personalised recommendations.
Prepare mergetags #
Clerk.io needs to retrieve the email address of a recipient from the email client to show personalised recommendations.
In some cases this requires you to enable this tag to be captured.
Navigate to Emails and choose an email from the list.
...
Sync Data
Automatically sync Audiences to Copernica so your lists are always up to date. This guide walks you through setting up the integration and syncing your Audiences.
To sync audiences, we need a Copernica REST API Key, and the name of the Database we wish to work with.
Clerk never pushes new email addresses to Copernica. We update existing contacts and lists, based on email addresses already in the platform.
Configure integrations #
Follow these steps to set up the sync:
...Dot Digital
Email Recs
Add product recommendations to your DotDigital email campaigns. This guide walks you through creating email designs, setting up embeds, and inserting recommendations into your templates.
Before you start!
DotDigital requires Advanced Personalisation to be activated for the embedcodes to work.
Create email design #
The first thing you have to do is create a Design for your emails.
You can create as many different designs as you want and each Design can be used across many different recommendations blocks.
...Drip
Email Recs
Add product recommendations to your Drip email campaigns. This guide walks you through creating email designs, setting up embeds, and inserting recommendations into your templates.
Before you start!
Make sure that you have made the initial integration on the webshop so that Clerk.io is synced with your product catalog and order history.
Create email design #
The first thing you have to do is create a Design for your emails.
...