Sync Data

1

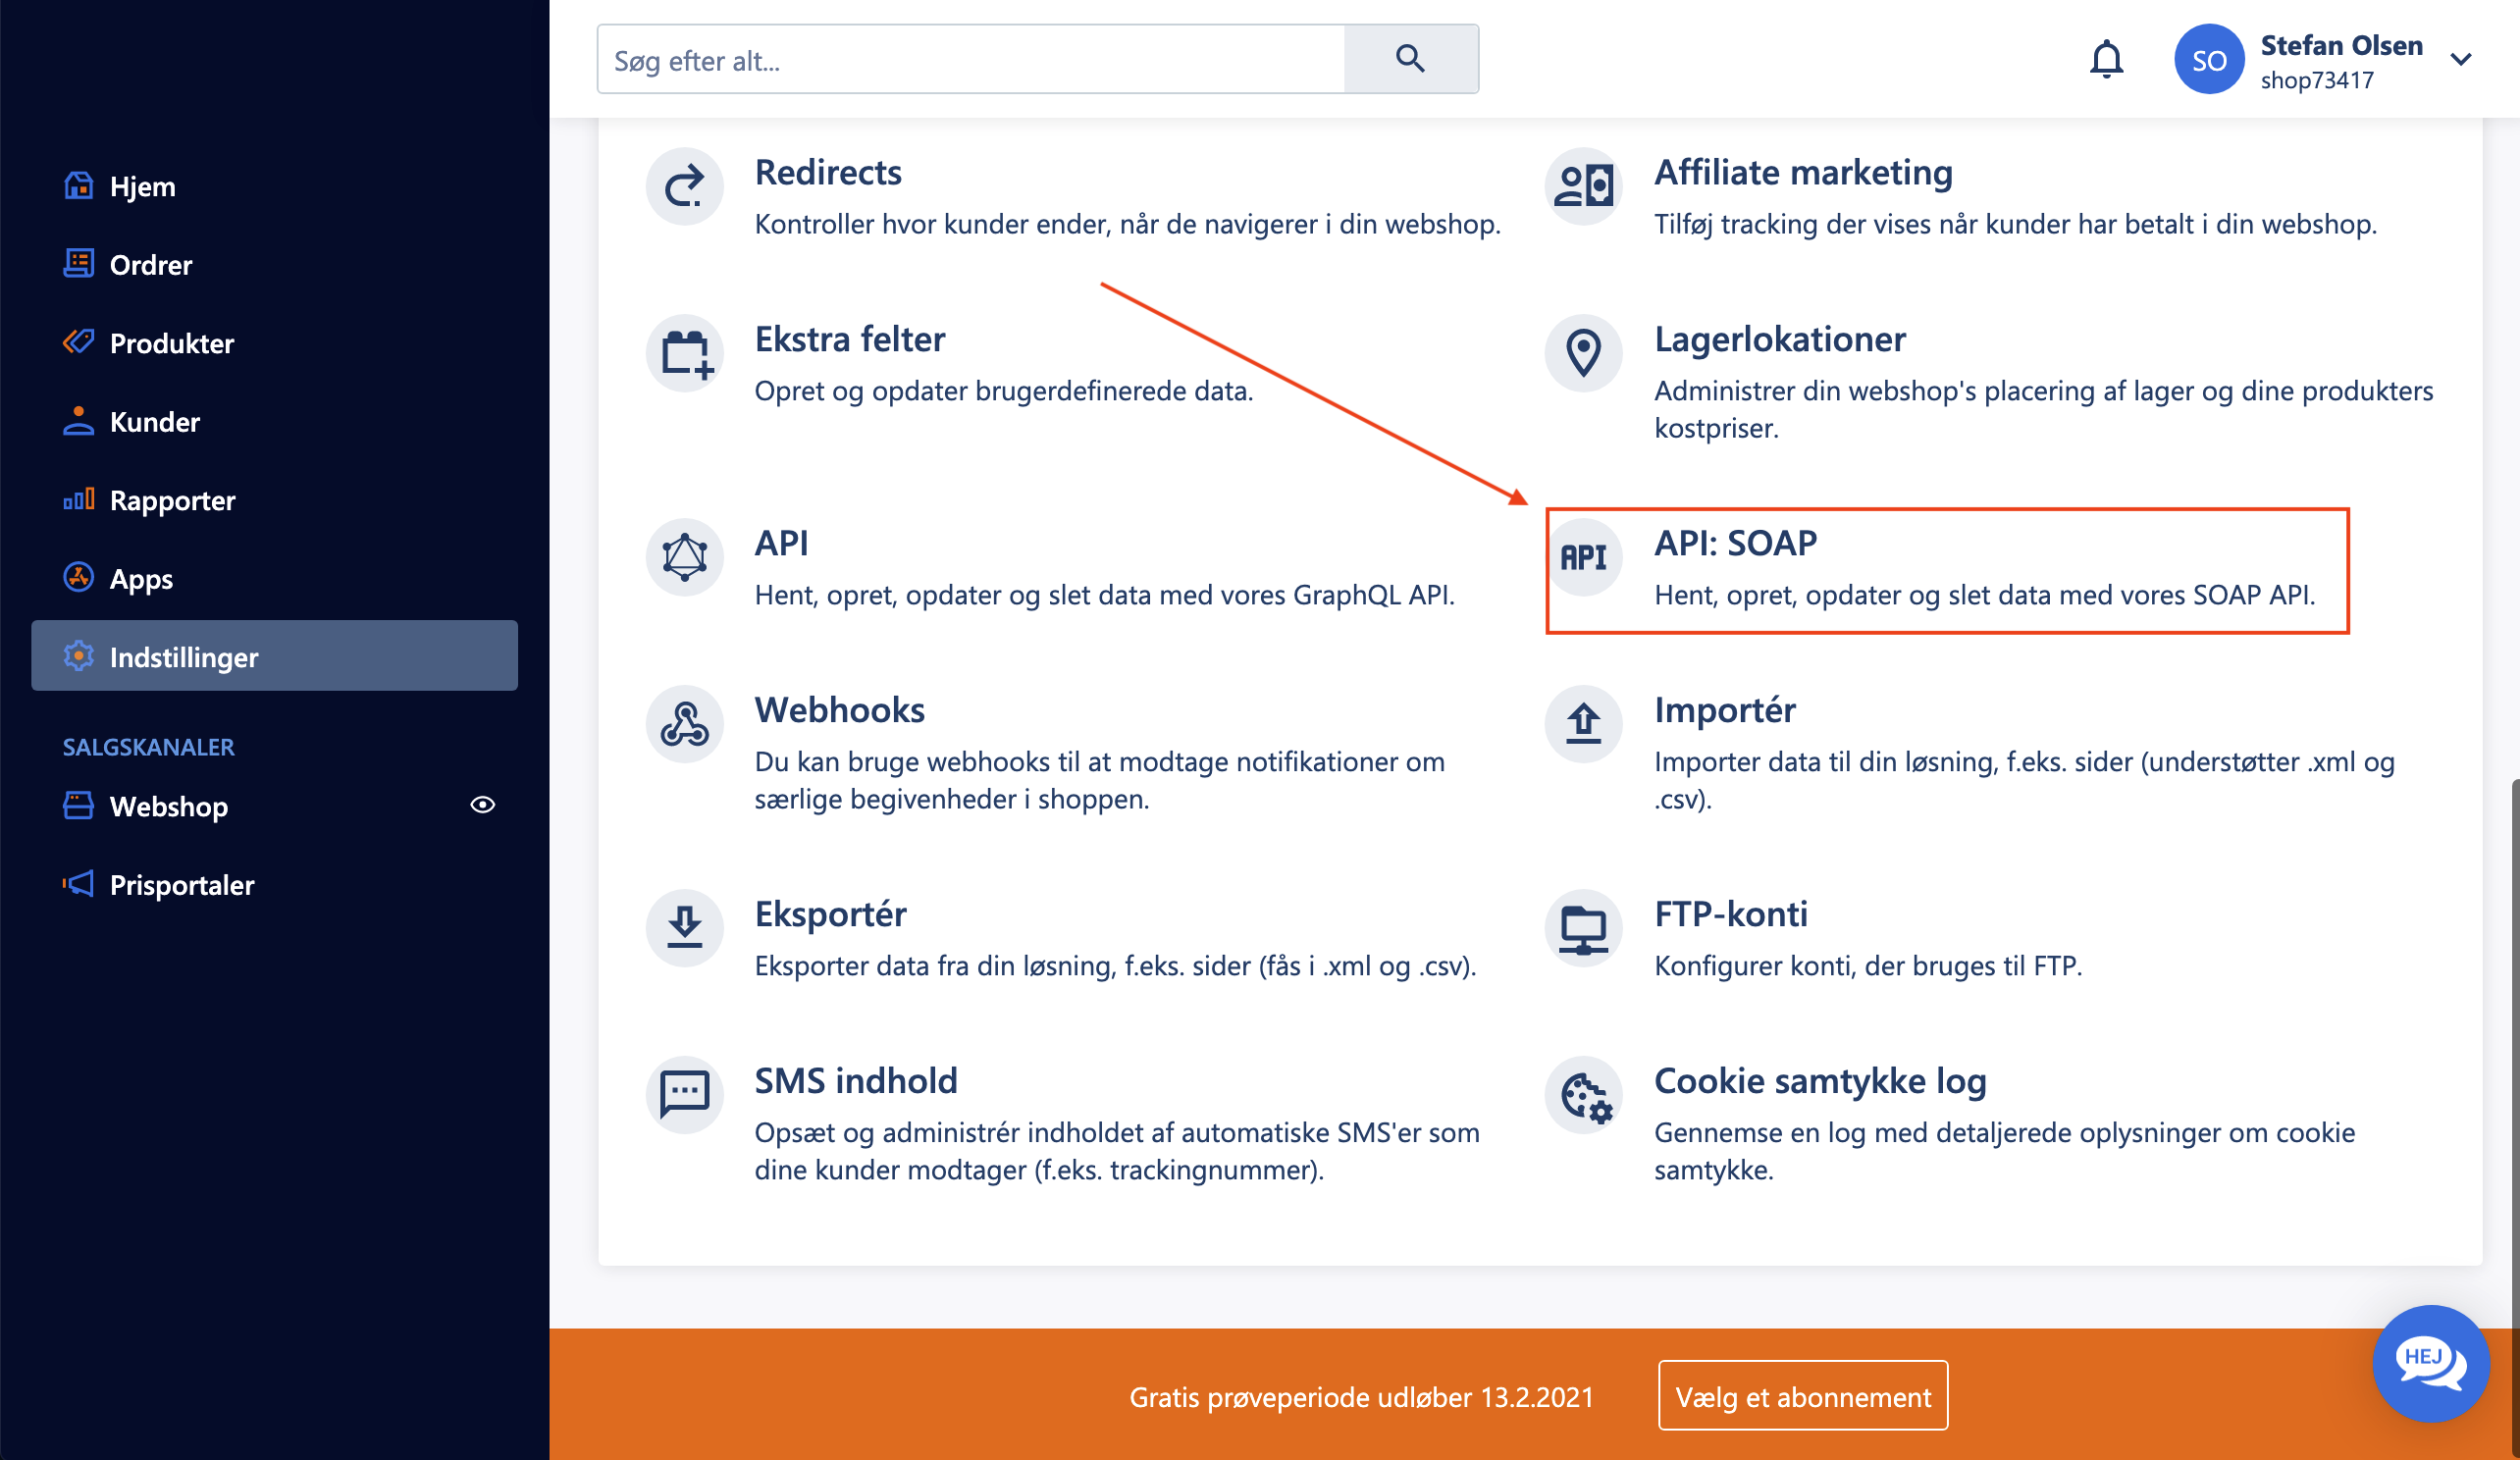
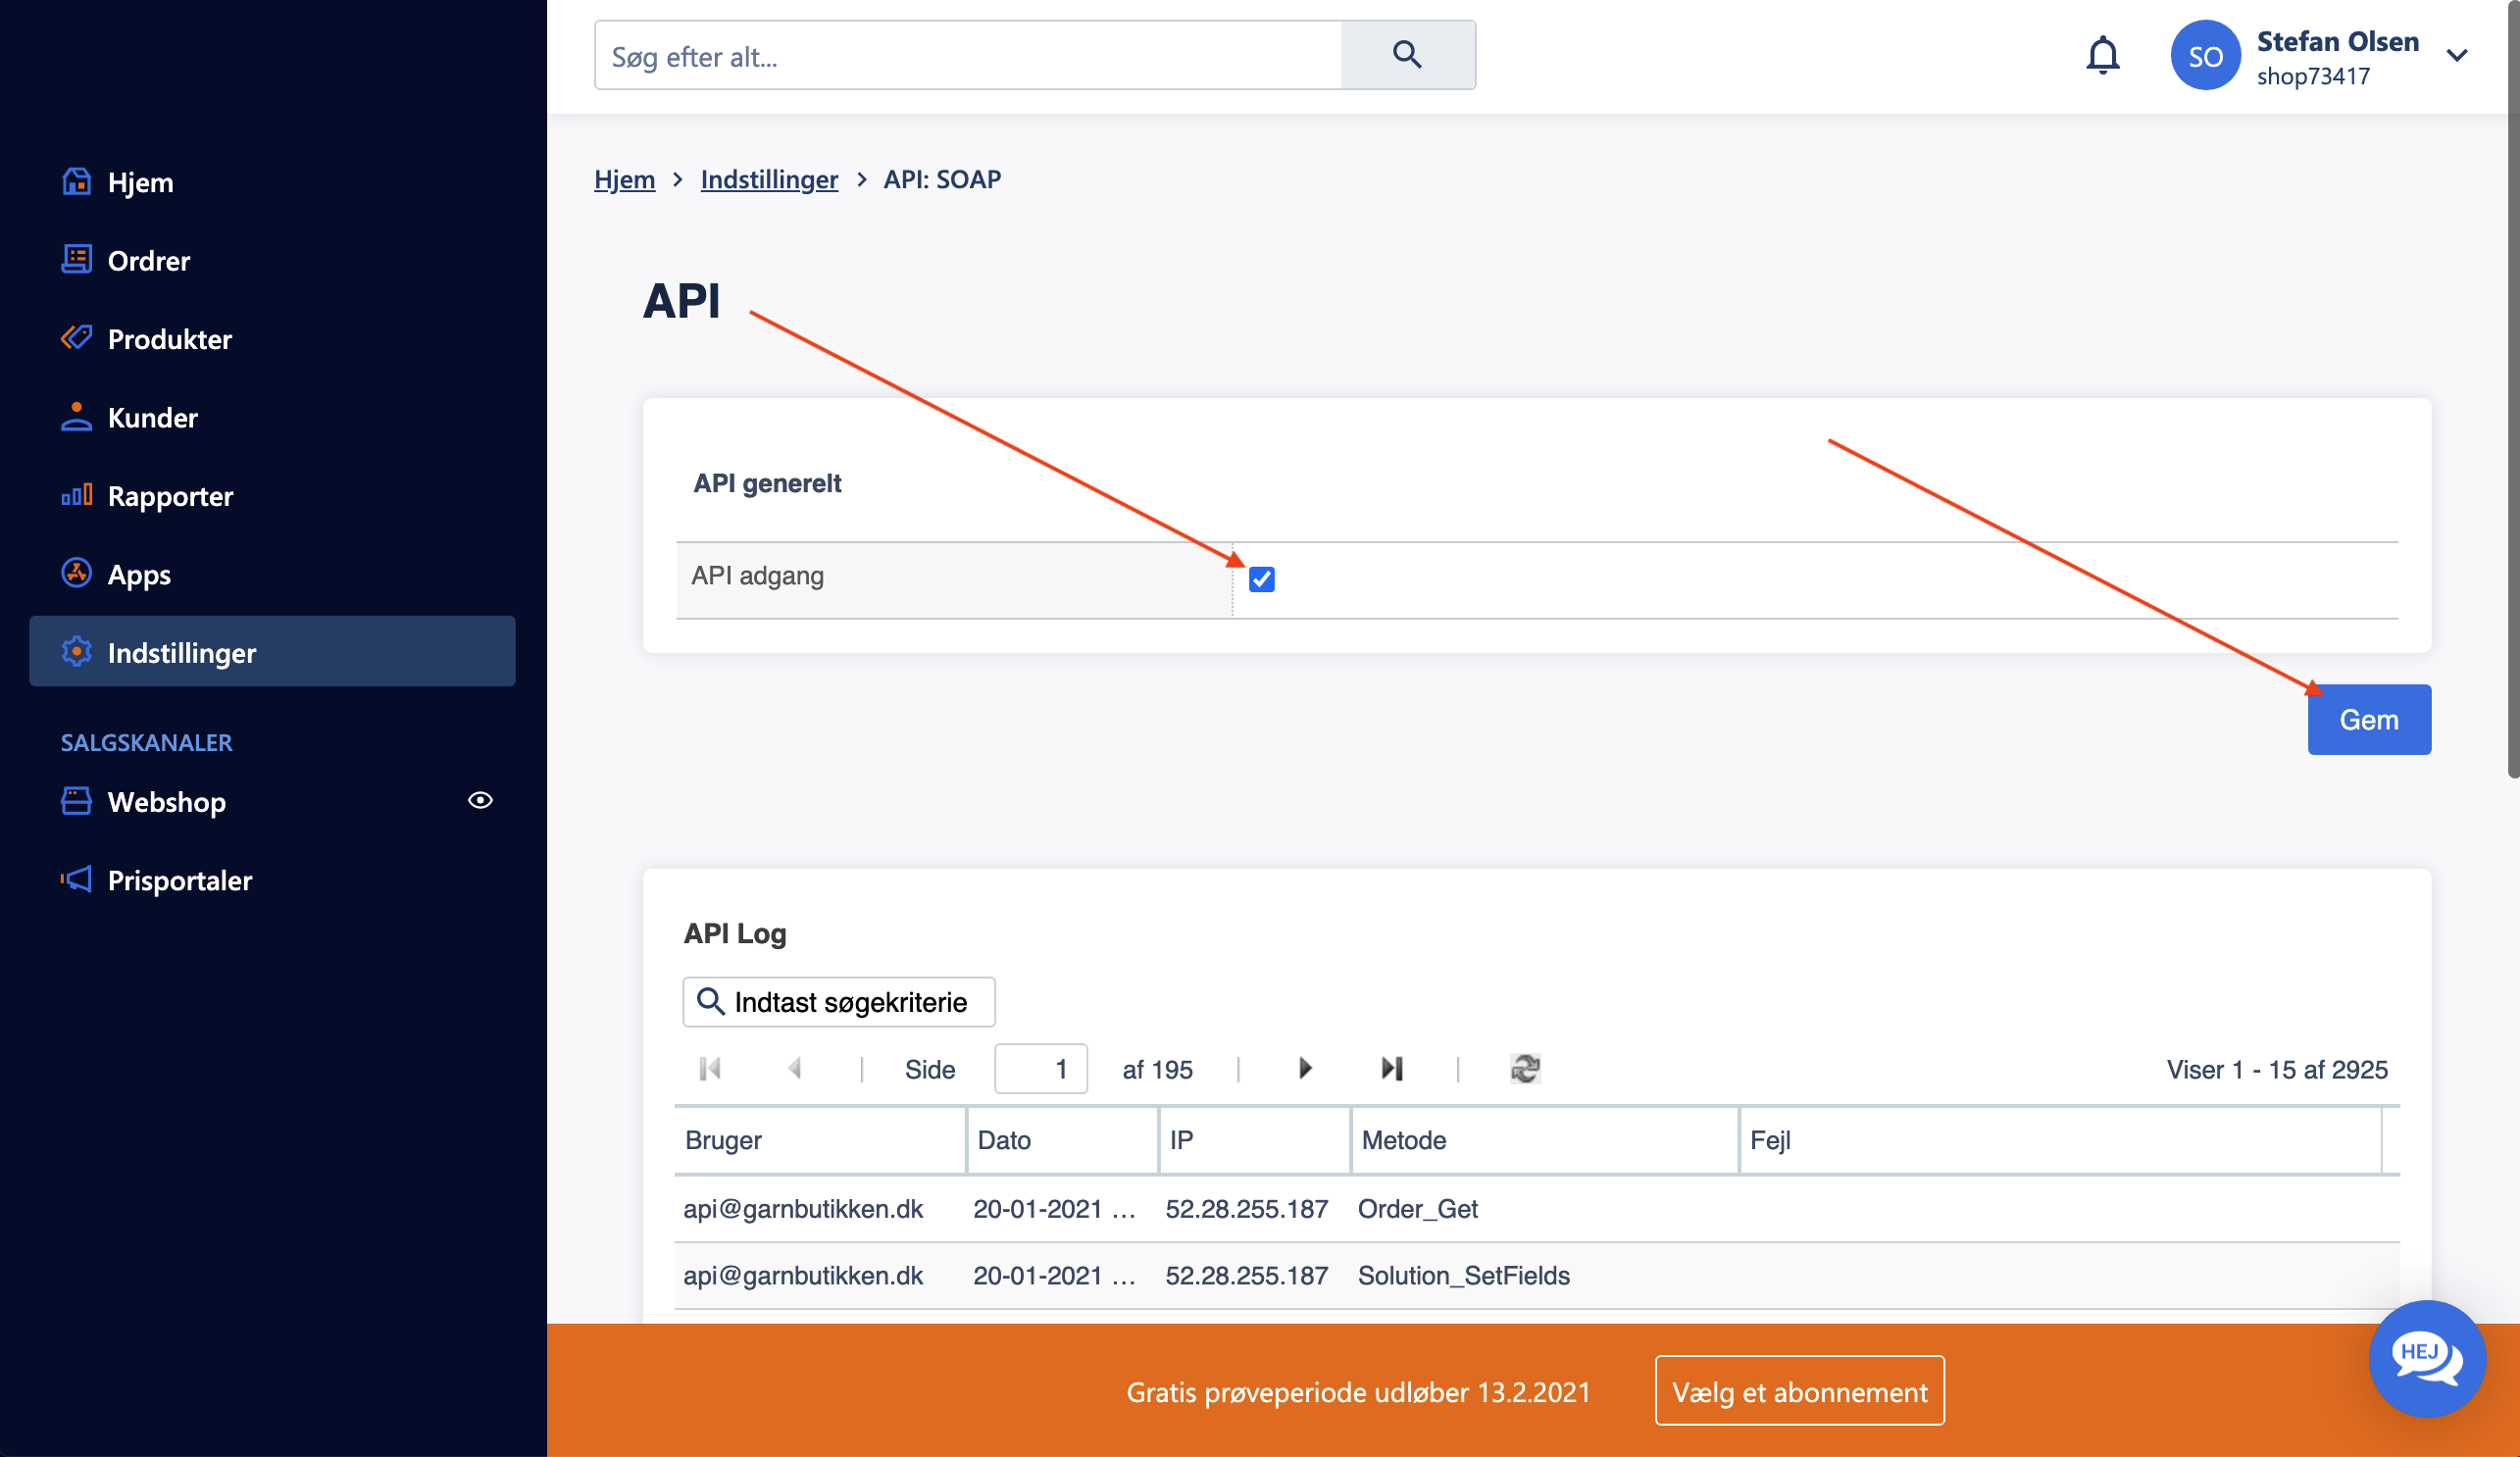
Create and configure data feeds to sync your JTL products, categories, and customer data to Clerk. This guide covers accessing feed settings, configuring options, and choosing the right creation method.

Creating data feeds #

This guide focuses on the crucial process of creating data feeds for the S360 Clerk plugin in your JTL webshop.

Data feeds are essential for keeping your product information up-to-date and synchronized with Clerk.

Follow these steps to ensure a seamless integration and optimal performance.

...

Sync Data

1

Sync your Lightspeed products and attributes to Clerk. This guide covers customizing product data and choosing which products to sync.

Set up Sync #

To sync your Lightspeed store data with Clerk, you need to configure the data sync settings in Clerk.

  1. Go to my.clerk.io > Data > Configuration.

  2. Enter the following information for your Lightspeed store:

Sync Data

1

Sync your Magento 1 products, attributes, and order data to Clerk. This guide covers customizing product data, choosing which products to import, changing image sizes, and managing order sync.

Before syncing data, make sure you have installed and configured the Clerk extension in your Magento 1 backend. See the Get Started guide for installation instructions.

Set up Sync #

To sync your Magento 1 store data with Clerk, you need to configure the import URL in the Clerk extension and start the sync.

...

Sync Data

1

Sync your Magento 2 products, attributes, and customer data to Clerk. This guide covers customizing product and customer data, choosing which products to import, and managing order sync.

Before syncing data, make sure you have installed and configured the Clerk extension in your Magento 2 backend. See the Get Started guide for installation instructions.

Set up Sync #

To sync your Magento 2 store data with Clerk, you need to configure the data sync settings in Clerk.

...

Automated Flows

1

Set up automated email flows that show relevant products regularly, without you having to do anything after the initial setup. This guide walks you through creating triggers and setting up a best practice flow.

Best practice #

One of our best practices is the automated mail flow.

The idea is to setup emails that show relevant products regularly, without you having to do anything after the initial setup.

A good follow-up flow after a customer has purchased from you is this:

...

Sync Data

1

Sync your MyStore products and data to Clerk. This guide covers configuring the module and setting up data synchronization.

Before syncing data, make sure you have installed the Clerk.io module in your MyStore backend. See the Get Started guide for installation instructions.

Configure the module #

After installing the module, you need to configure it with your API keys and enable the data you want to sync.

  1. In your MyStore control panel, go to Utvidelser > Dine utvidelser.

    ...

Sync Data

1

Sync your PrestaShop products, attributes, and order data to Clerk. This guide covers customizing product data, choosing which products to import, and managing order sync.

Before syncing data, make sure you have installed and configured the Clerk module in your PrestaShop backend. See the Get Started guide for installation instructions.

Set up Sync #

To sync your PrestaShop store data with Clerk, you need to configure the data sync settings in Clerk.

...

Sync Data

1

Sync your ScanNet products and attributes to Clerk. This guide covers setting up API access and syncing your catalog.

Enable API Access #

Before syncing your catalog, you need to enable API access in your ScanNet store:

  1. In your ScanNet administration, go to Indstillinger > API: SOAP.
API setup in ScanNet
  1. Under API generelt, check the box for API adgang.
  2. Click Gem to save the settings.
Enable API access

Create API User #

To allow Clerk to access your store data, create a dedicated API user:

...

Sync Data

1

Sync your Shopify products, meta-fields, and subscribers to Clerk. This guide covers creating an app in Shopify’s Developer Dashboard, customizing product data, and syncing subscriber information.

Set up Sync #

To sync your Shopify store data with Clerk, you need to create an app in Shopify’s Developer Dashboard and configure it in Clerk. The user setting up the sync must have access to the Developer Dashboard and permissions to develop apps on the Shopify store.

...

Sync Data

1

Sync your Shoporama products and data to Clerk. This guide covers setting up data synchronization.

Set up Sync #

To sync your Shoporama store data with Clerk, you need to create an API access token in Shoporama and configure it in Clerk.

You will need your API Access Token and your Store URL.

  1. In Shoporama, go to Settings > API.
API setup
  1. Click Add access.
Add access
  1. Name the API account “Clerk.io” and set rights to Read only. Save.
Set rights
  1. Copy the generated Access Token.
Copy token
  1. Go to my.clerk.io > Data > Configuration and paste the Access Token and Store URL into the appropriate fields.

    ...