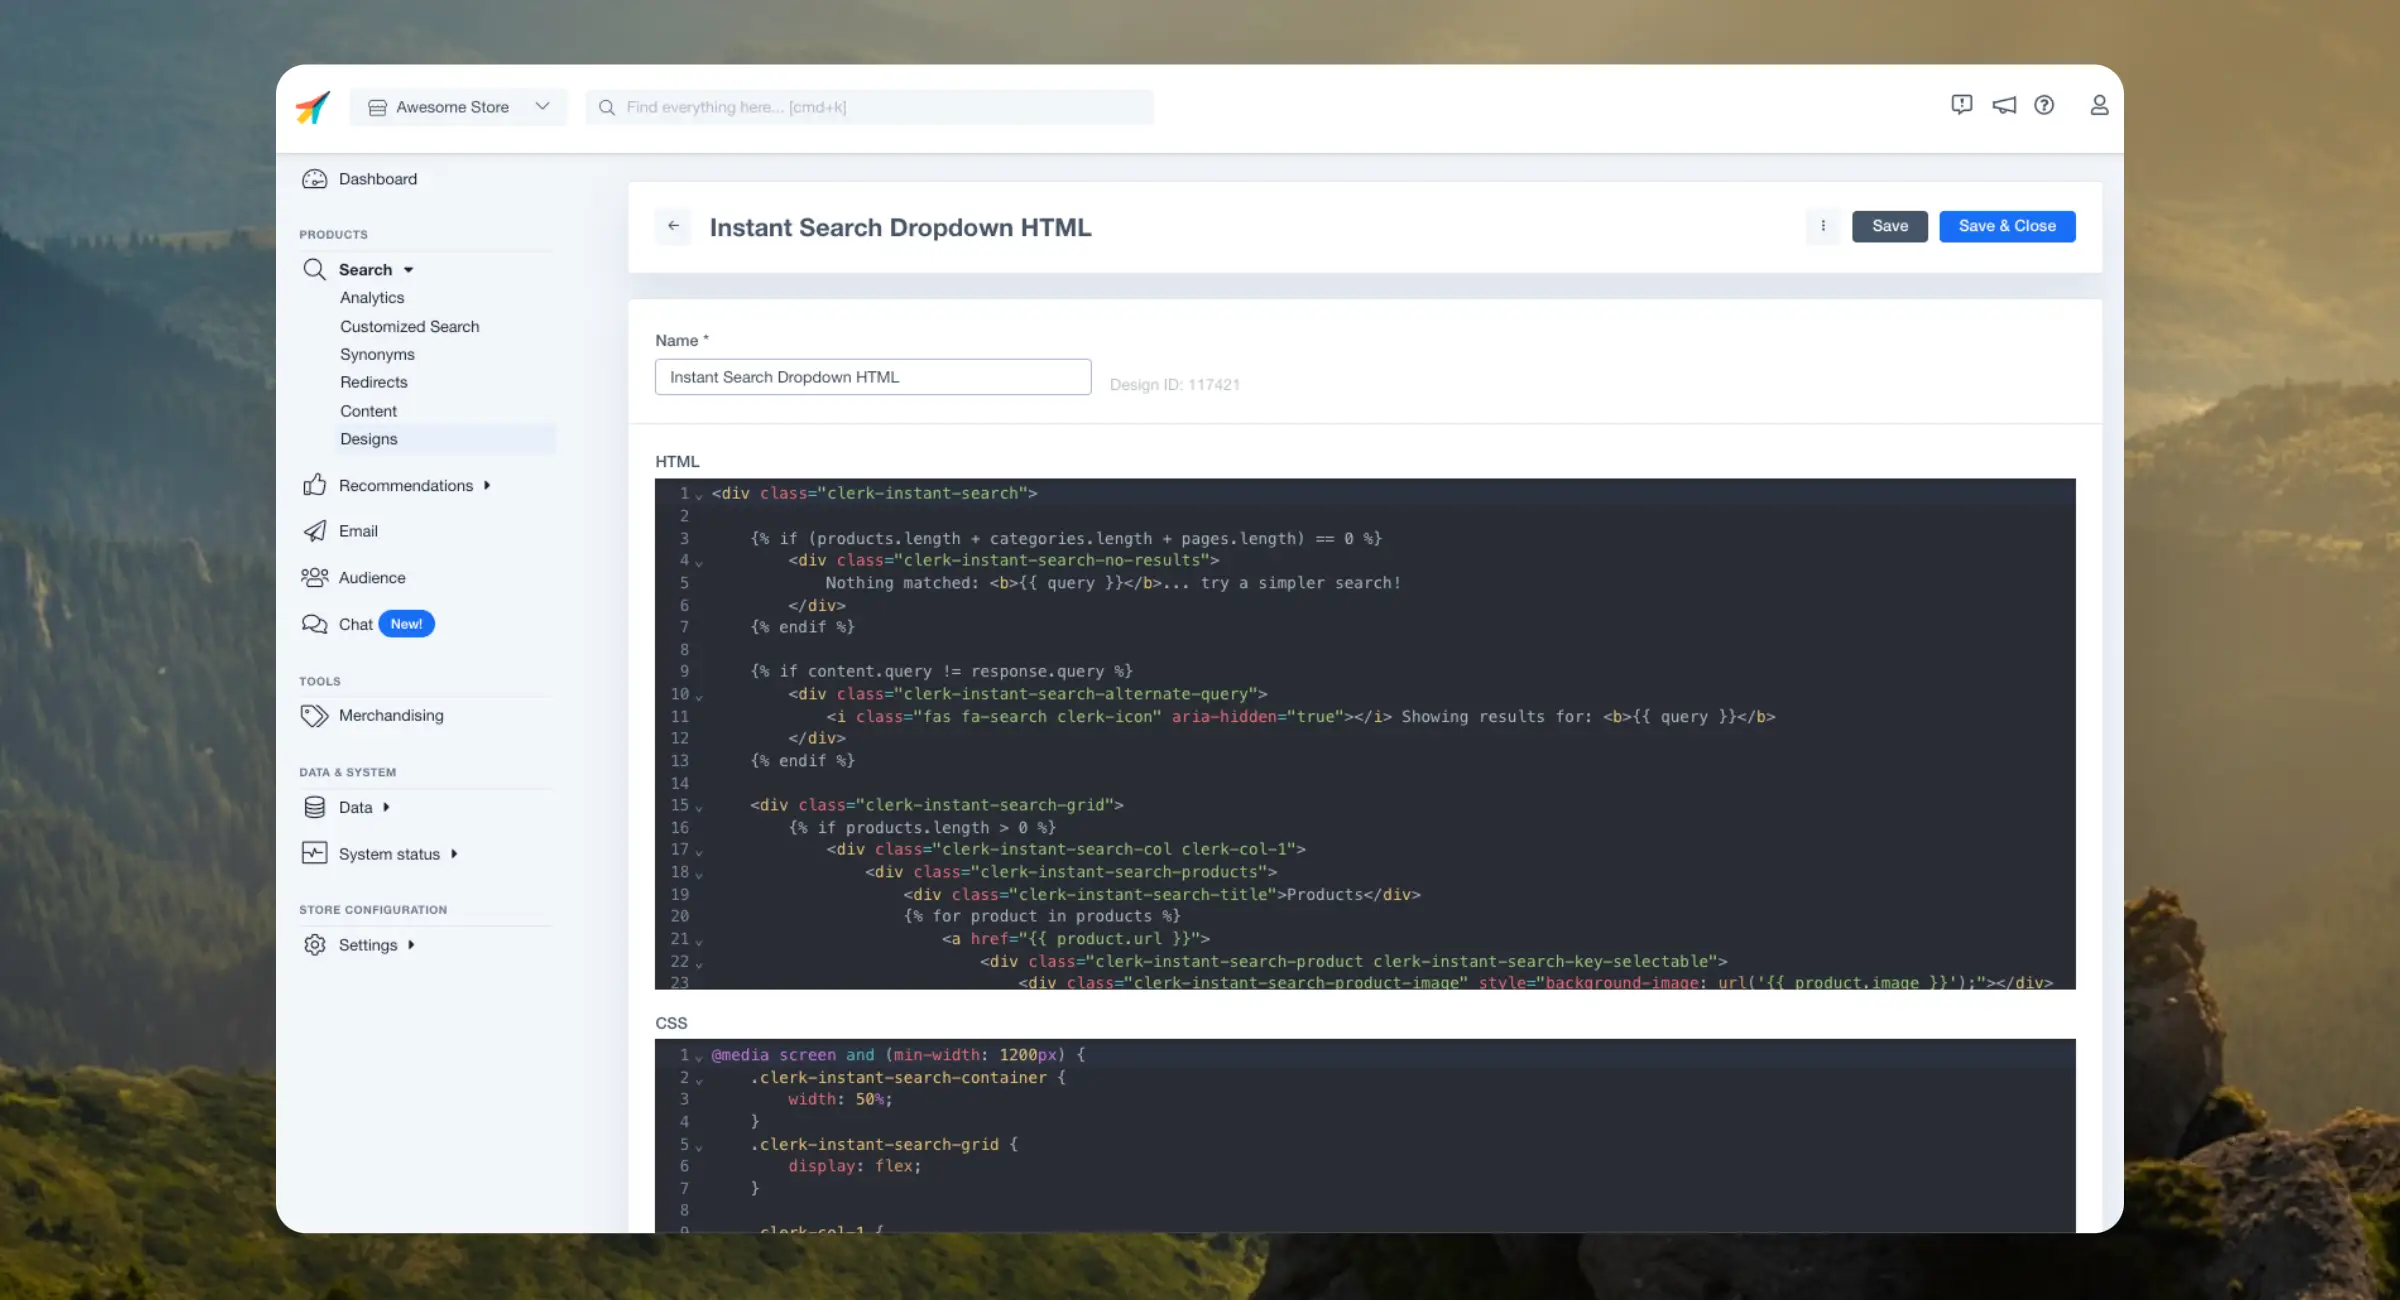
Code Designs

Liquid for managing code designs. It’s a safe and flexible templating language that enables you to create any kind of design you want for your Clerk elements. This article covers the basics.You can check the full documentation in our developer docs.
Clerk uses a subset of Liquid. Only the features listed in our Clerk.js Template Language are supported in Code Designs.
Objects #
Data points that are displayed when the design is rendered. They are wrapped with {{ and }}. E.g:
{{ product.price }}
In this example, Liquid is accessing the product object and renders the price attribute contained in it.
Designs consist of an HTML markup combined with attributes that display info about your products, categories and pages objects.
Here is a simple design using product variables:
<div class="product-card">
	<img src="{{ product.image }}" />
	<div class="product-name">{{ product.name }}</div>
	<div class="product-price">{{ product.price }}</div>
</div>
Expressions #
Objects can also be rendered with expressions, like using math to calculate a discount percentage:
{{ ((product.list_price/product.price) / product.list_price) * 100 }}
Variables #
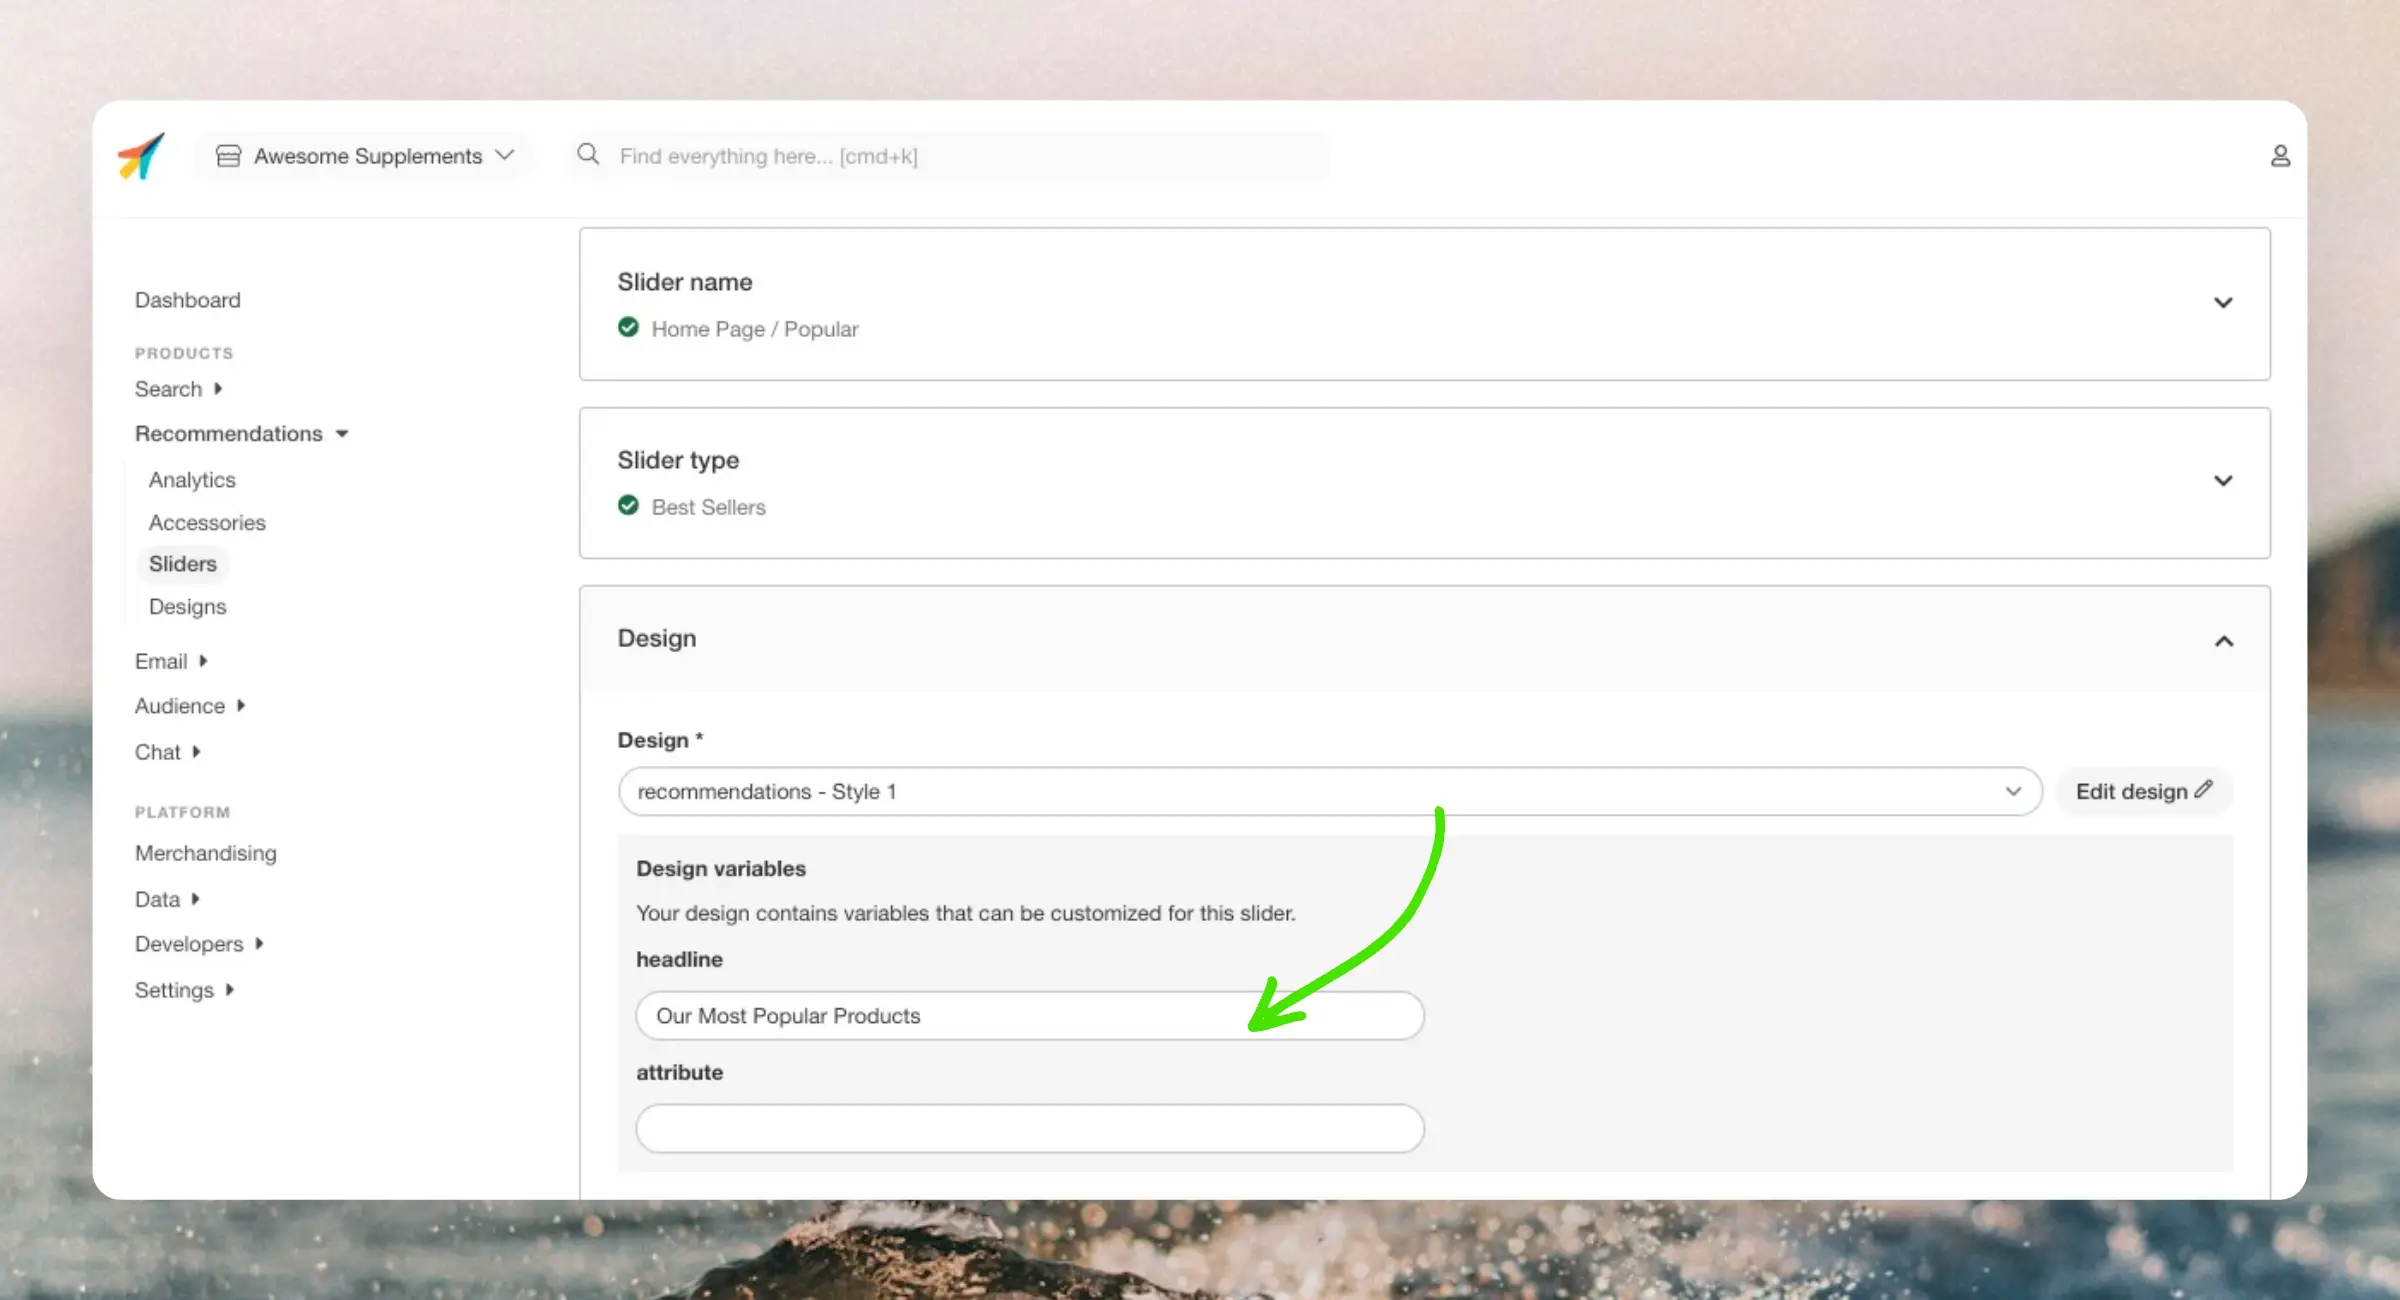
Using the syntax {{ VARIABLE_NAME }} you can create variables that are configurable for each
Content that use the design. E.g. If you want to add a unique headline to all banners using the same design, you could do it with:
<h2>{{ headline }}</h2>
This will show a text-field with the variable name on the Content settings page. Any text added here will rendered for that Content. Variables can have any name of your choice.

Logics #
Used to create functionaliy in the design, like showing an HTML block on a certain condition, or iterating over lists. They are wrapped with {% and %}.
If Statements #
Ued to render parts of a design based on one or more conditions. They consist of an opening {% if %} and a closing {% endif %}.
{% if product.on_sale == true %}
	<div class="product-discount">On sale!</div>
{% endif %}
If statements can also include else blocks to render if the initial statement evaluates to false:
{% if product.price < 100 %}
	<div class="price-desc">A cheap product!</div>
{% else %}
	<div class="price-desc">A high-end product!</div>
{% endif %}
Boolean attributes can be used without explicitly writing true or false:
{% if product.in_stock %}
	<div class="product-stock">In Stock</div>
{% endif %}
For Loops #
Used to iterate over lists. Designs generally include at least one for-loop for iterating over the list of objects to display.
They consist of an opening {% for %} and a closing {% endfor %}:
{% for product in products %}
	<div class="product-card">
		<img src="{{ product.image }}" />
		<div class="product-name">{{ product.name }}</div>
		<div class="product-price">{{ product.price }}</div>
	</div>
{% endfor %}
For loops can also be nested to display list attributes within objects:
{% for product in products %}
	<div class="product-card">
		<img src="{{ product.image }}" />
		<div class="product-name">{{ product.name }}</div>
		<div class="product-price">{{ product.price }}</div>
		<ul class="product-tags">
		{% for tag in product.tags %}
			<li class="single-tag">{{ tag }}</li>
		{% endfor %}
		</ul>
	</div>
{% endfor %}
Formatters #
These are custom Javascript functions that add new functionality to your designs. Clerk.js already comes bundled with a range of different ones you can use.
You can also create your own ones in two ways:
- In my.clerk.io under Developers > Formatters.
- As a configuration adedd to Clerk.js.
Here is an example of configuring Clerk.js with 3 different formatters:
Clerk('config', {
	key: 'O7UITkJIXqXibeQF9ONobiGGKYYKtbvh',
	formatters: {
		log_price: function(price) {
			console.log(price);
		},
		calculate_discount: function(old_price, new_price) {
			return old_price-new_price;
		},
		substring: function(text) {
			var short_string = text.substring(0,20);
			return short_string;
		}
	}
});
They are used in your designs with the syntax {{ ATTRIBUTE | FORMATTER }}:
<div class="price">{{ product.price | log_price }}</div>
If your formatters require several attributes, the first one is written before the pipe, and any additional attributes are written after the formatter name:
<div class="discount">{{ product.list_price | calculate_discount product.price }}</div>
Hosting #
Designs can be hosted in my.clerk.io or in your sites source code. The best approach depends on your webshop setup and your needs.
In Clerk #
Designs are split into HTML and CSS, letting you create self-contained designs that are injected into your site on pageload.
This is a good choice if you want to have all functionality available from a single place, as it also allows you to update your Clerk elements with Content without re-inserting snippets.
Designs are managed on the Store level and are created individually for Search, Recommendations and Email.
They are created here: Designs > New Design > Other Designs > Blank > With code.
On Site #
Designs are hosted directly in your source code inside Clerk snippets or as blocks that can be referenced.
Hosting designs yourself is a good idea if you want to reuse the same designs across several different sites as you will likely already share the source code between them.
With this approach, you won’t use the Content functionality, which means you also have to configure the API endpoint, limit and labels in your snippets.
Inside snippet #
Simply add the design between the snippets opening and closing tags.
<span
  id="popular"
  class="clerk"
  data-api="recommendations/popular"
  data-labels='["Home Page / Popular"]'
  data-limit="10">

  <ul class="product-list">
    {% for product in products %}
      <li class="product">
        <h2 class="product-name">{{ product.name }}</h2>

        <img src="{{ product.image }}" title="{{ product.name }}" />

        <div class="price">${{ product.price | money }}</div>
        <a href="{{ product.url }}">Buy Now</a>
      </li>
    {% endfor %}
  </ul>
</span>
With reference #
Create a block using <script type=text/x-template> that has an ID you can reference in the snippet.
<div
  id="popular"
  class="clerk"
  data-api="recommendations/popular"
  data-labels='["Home Page / Popular"]'
  data-limit="10"
  data-template="#clerk-template">
</div>

<script type="text/x-template" id="clerk-template">
  <h1>{{ headline }}</h1>

  {% for product in products %}
  	<div class="product">
      <h2>{{ product.name }}</h2>
      <img src="{{ product.image }}" />
      <a href="{{ product.url }}">Buy Now</a>
    </div>
  {% endfor %}
</script>
Full Example #
Below is a Recommendations design that combines all of the above concepts. You can use this as a starting point for your designs.
HTML #
<div class="clerk-recommendations">
<div class="clerk-recommendations-headline">{{ headline }}</div>
<div class="clerk-slider">
{% for product in products %}
<div>
<a href="{{ product.url }}">
<div class="clerk-slider-product">
{% if product.price < product.list_price %}
<div class="clerk-slider-badge">On Sale</div>
{% endif %}
<div class="clerk-slider-tags">
{% if true %}
<div class="clerk-slider-tag">Hot</div>
{% endif %}
</div>
<div class="clerk-slider-image" style="background-image: url('{{ product.image }}');"> </div>
<div class="clerk-slider-name">{{ product.name }}</div>
<div class="clerk-slider-pricing">
{% if product.price < product.list_price %}
<div class="clerk-slider-list-price">{{ product.list_price | money }}</div>
{% endif %}
<div class="clerk-slider-price">{{ product.price | money }}</div>
</div>
<div class="clerk-slider-button">Buy Now</div>
</div>
</a>
</div>
{% endfor %}
</div>
</div>
CSS #
.clerk-recommendations {
    margin: 1em 0;
}

.clerk-recommendations-headline {
    font-weight: bold;
    font-size: 2em;

    text-align: center;
}

.clerk-slider {

}

.clerk-slider-product {
    position: relative;
    overflow: hidden;

    display: inline-block;

    width: 10em;

    margin: 1em;
    padding: 1em;

    background-color: white;

    border: 1px solid #eee;
    border-radius: 1em;

    box-shadow: 0 .1em .2em 0 rgba(0,0,0,.08);

    text-align: center;
}

.clerk-slider-badge {
    position: absolute;
    top: 5px;
    right: -35px;

    display: inline-block;

    width: 120px;

    margin: 10px auto;
    padding: 5px 0;

    border-radius: 3px;

    background-color: #fbc531;

    font-size: 10px;
    color: white;

    text-align: center;
    letter-spacing: 1px;

    transform: rotate(45deg);
}

.clerk-slider-tags {
    position: absolute;
    top: .8em;
    left: .8em;
}

.clerk-slider-tag {
    display: inline-block;

    padding: .2em .8em;

    border-radius: .3em;

    background-color: gray;

    font-size: 10px;
    color: white;

    letter-spacing: 1px;
}

.clerk-slider-image {
    width: 100%;
    height: 8em;

    margin-bottom: 1em;

    background-position: center center;
    background-repeat: no-repeat;
    background-size: contain;
}

.clerk-slider-name {
    overflow: hidden;

    height: 2.4em;

    margin-bottom: 1em;
}

.clerk-slider-pricing {
    display: flex;

    margin-bottom: 1em;

    font-size: 1.4em;
}

.clerk-slider-price {
    flex: 1;

    font-weight: bold;
}

.clerk-slider-list-price {
    flex: 1;

    opacity: .8;

    font-weight: normal;
    text-decoration: line-through;
    color: gray;
}

.clerk-slider-button {
    display: block;

    margin: 0 auto;
    padding: .6em 2em;

    border: none;
    border-radius: .5em;

    background-color: gray;
    color: white;

    text-transform: uppercase;
    text-align: center;

    white-space: nowrap;

    font-weight: bold;

    cursor: pointer;
}