The
Clerk.io Toolbox Script has been made to make it easy to install the
Clerk.io extension in your Magento webshop without using Magento Connect.
The Toolbox Script will be run directly from a terminal. We suggest these:
- Apple: iTerm, you will have to download it from the Internet;
...Instant Search & Search Page
#
Clerk.io’s search function consists of two parts:
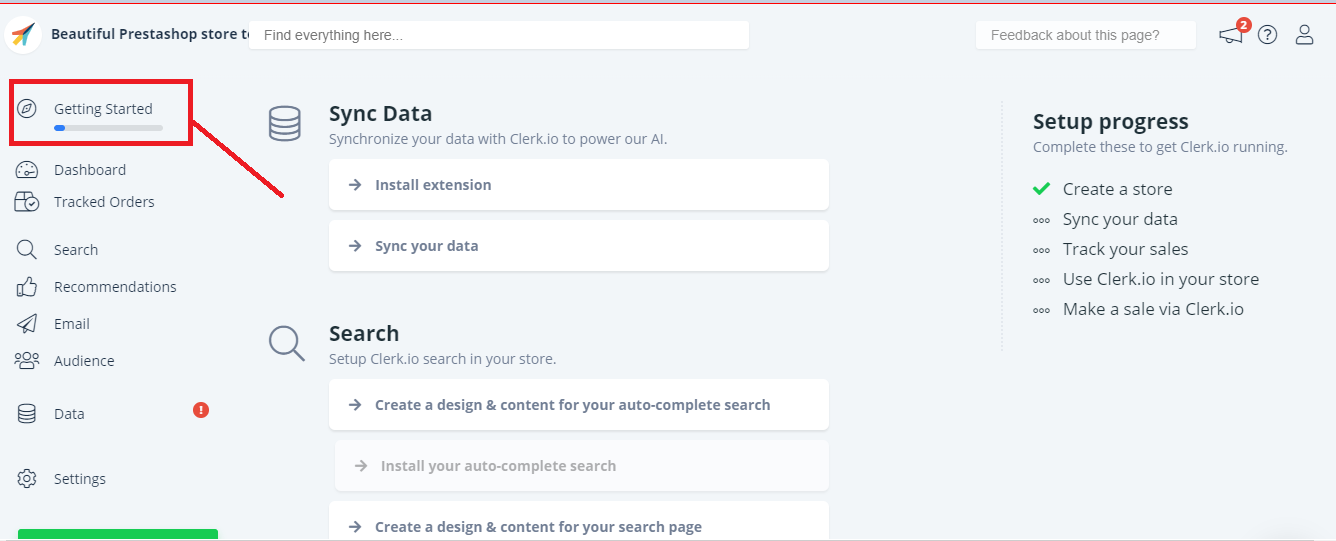
From the main menu start by clicking on Getting Started:
1. Create Standard Designs and Content
#
The first thing you need to do, is create Standard Designs and Content.
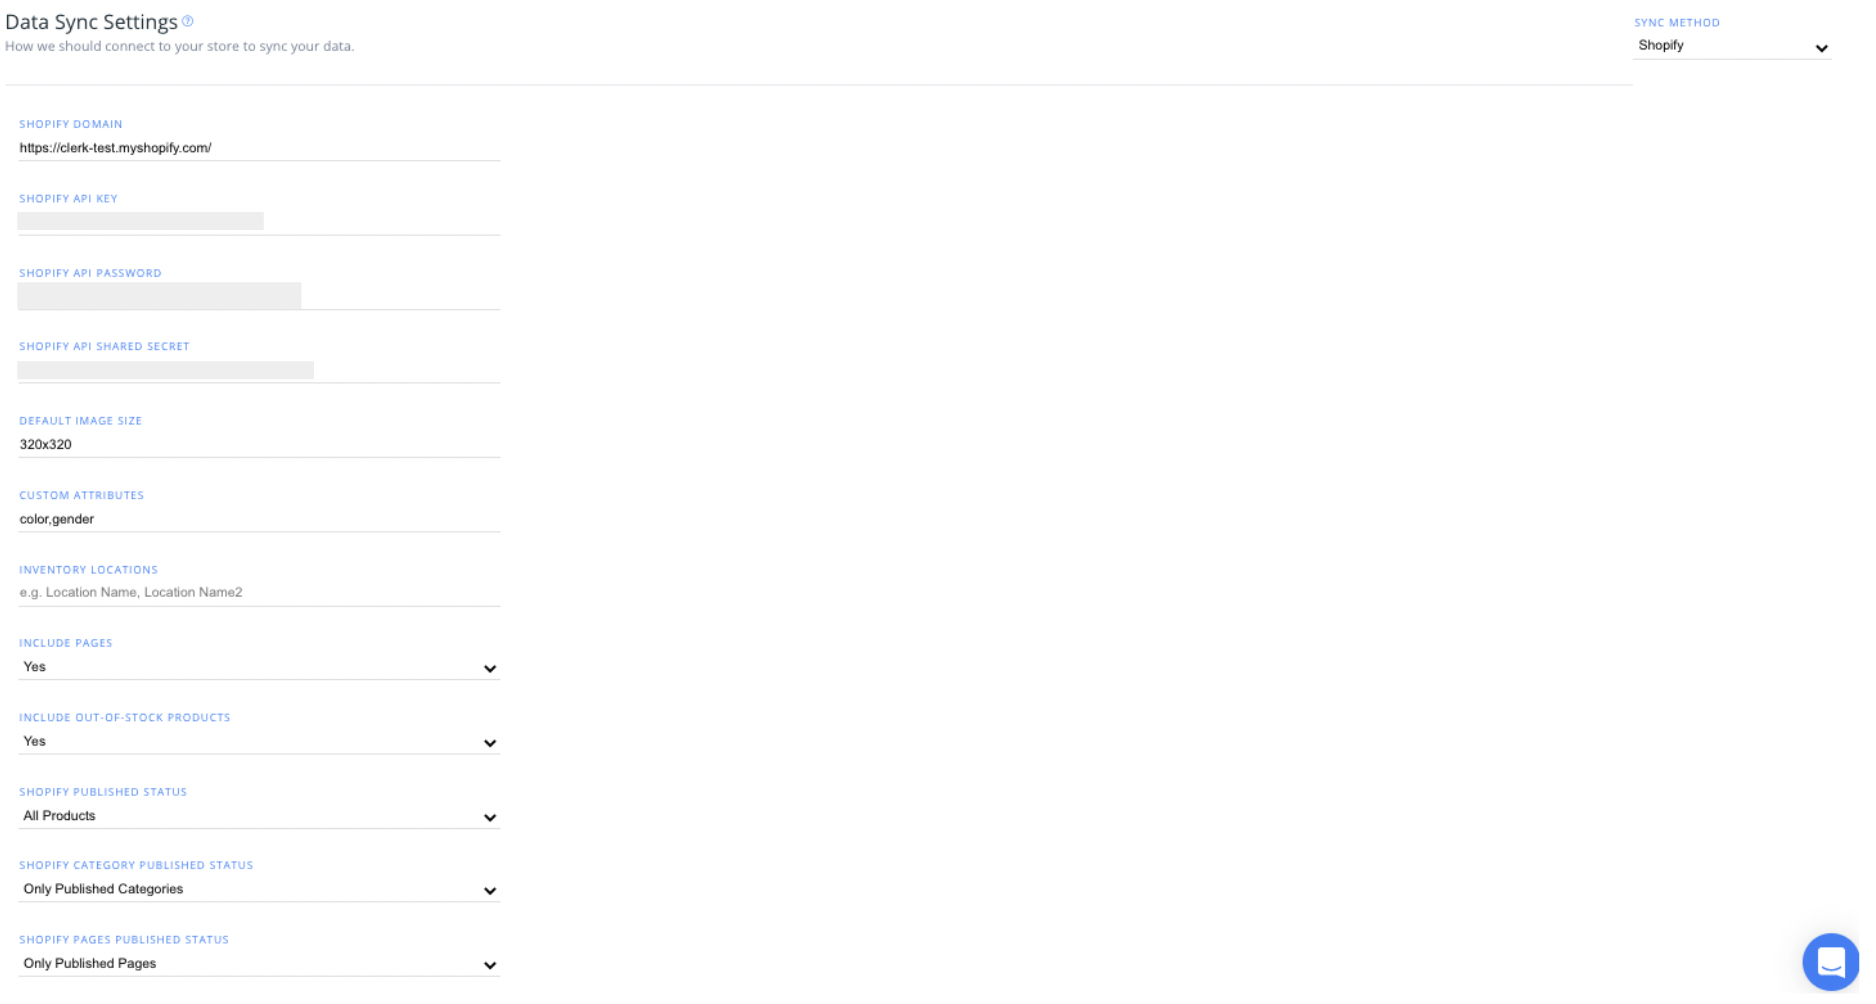
...After entering your store information in your Shopify admin page, you can choose your integration options within my.clerk.io. Click “Data” in the left-side menu, then scroll down to “Data Sync Settings” to view your options.
Image Size, Custom Attributes, & Inventory Locations
#
Default Image Size is where you can set the size for the images to be used in your Clerk.io Content
Set your Custom Attributes to be synced with Clerk.io in the next section, by writing in the custom value names, comma separated.
...
Uninstalling
#
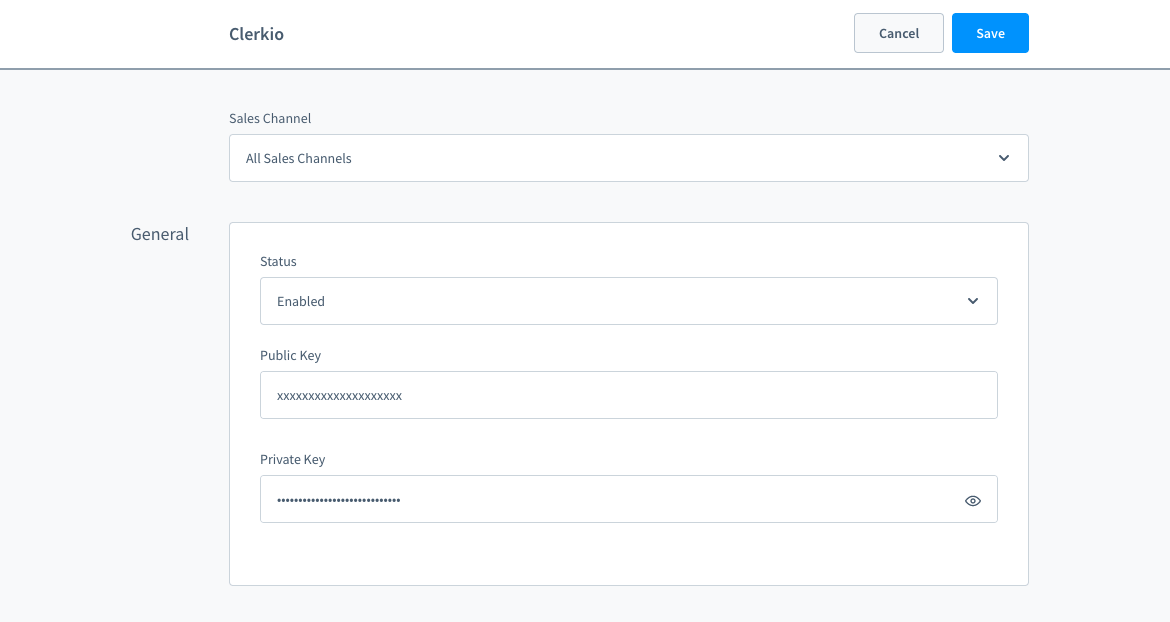
To uninstall Clerk.io from your Shopware 6 webshop, you’ll want to disable the plugin in your webshop’s admin portal.
To access the Clerk.io plugin, log into your Shopware 6 store, then head to Settings > System > Plugins, and choosing “Config” with the three dots next to the Clerk.io plugin.
In the “General” section, simply switch the status from “Enabled” to “Disabled.” You can also remove the entire plugin from your Shopware 6 store afterward.
...Instant Search & Search Page
#
Clerk.io’s search function consists of two parts:
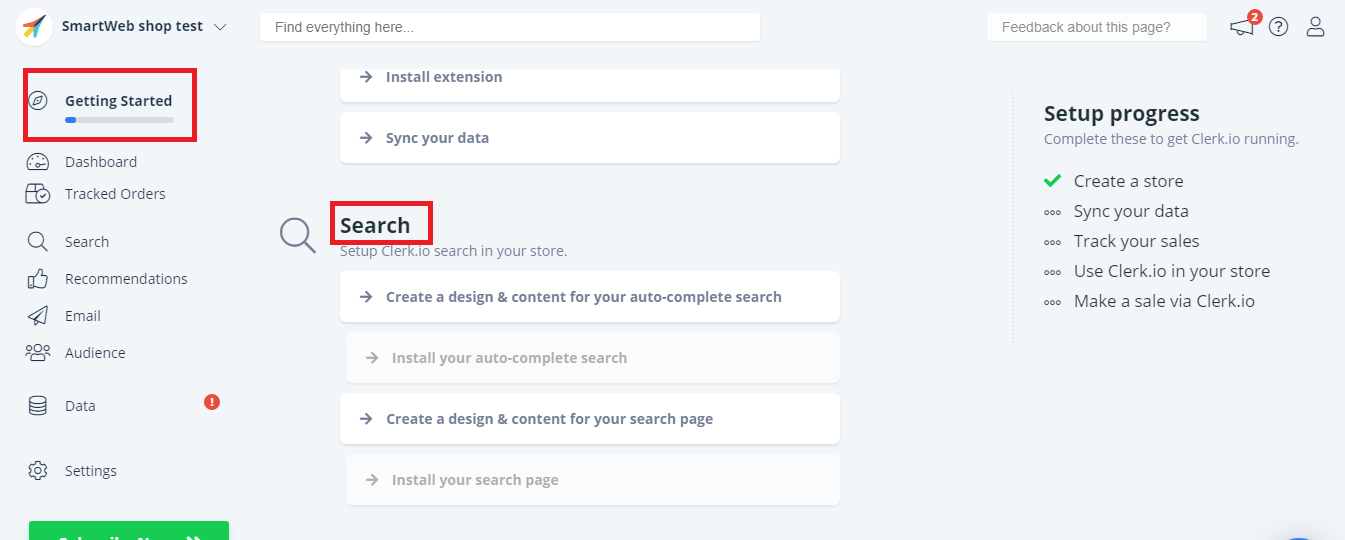
From the main menu start by clicking on Getting Started:
1. Create Standard Designs and Content
#
The first thing you need to do, is create Standard Designs and Content.
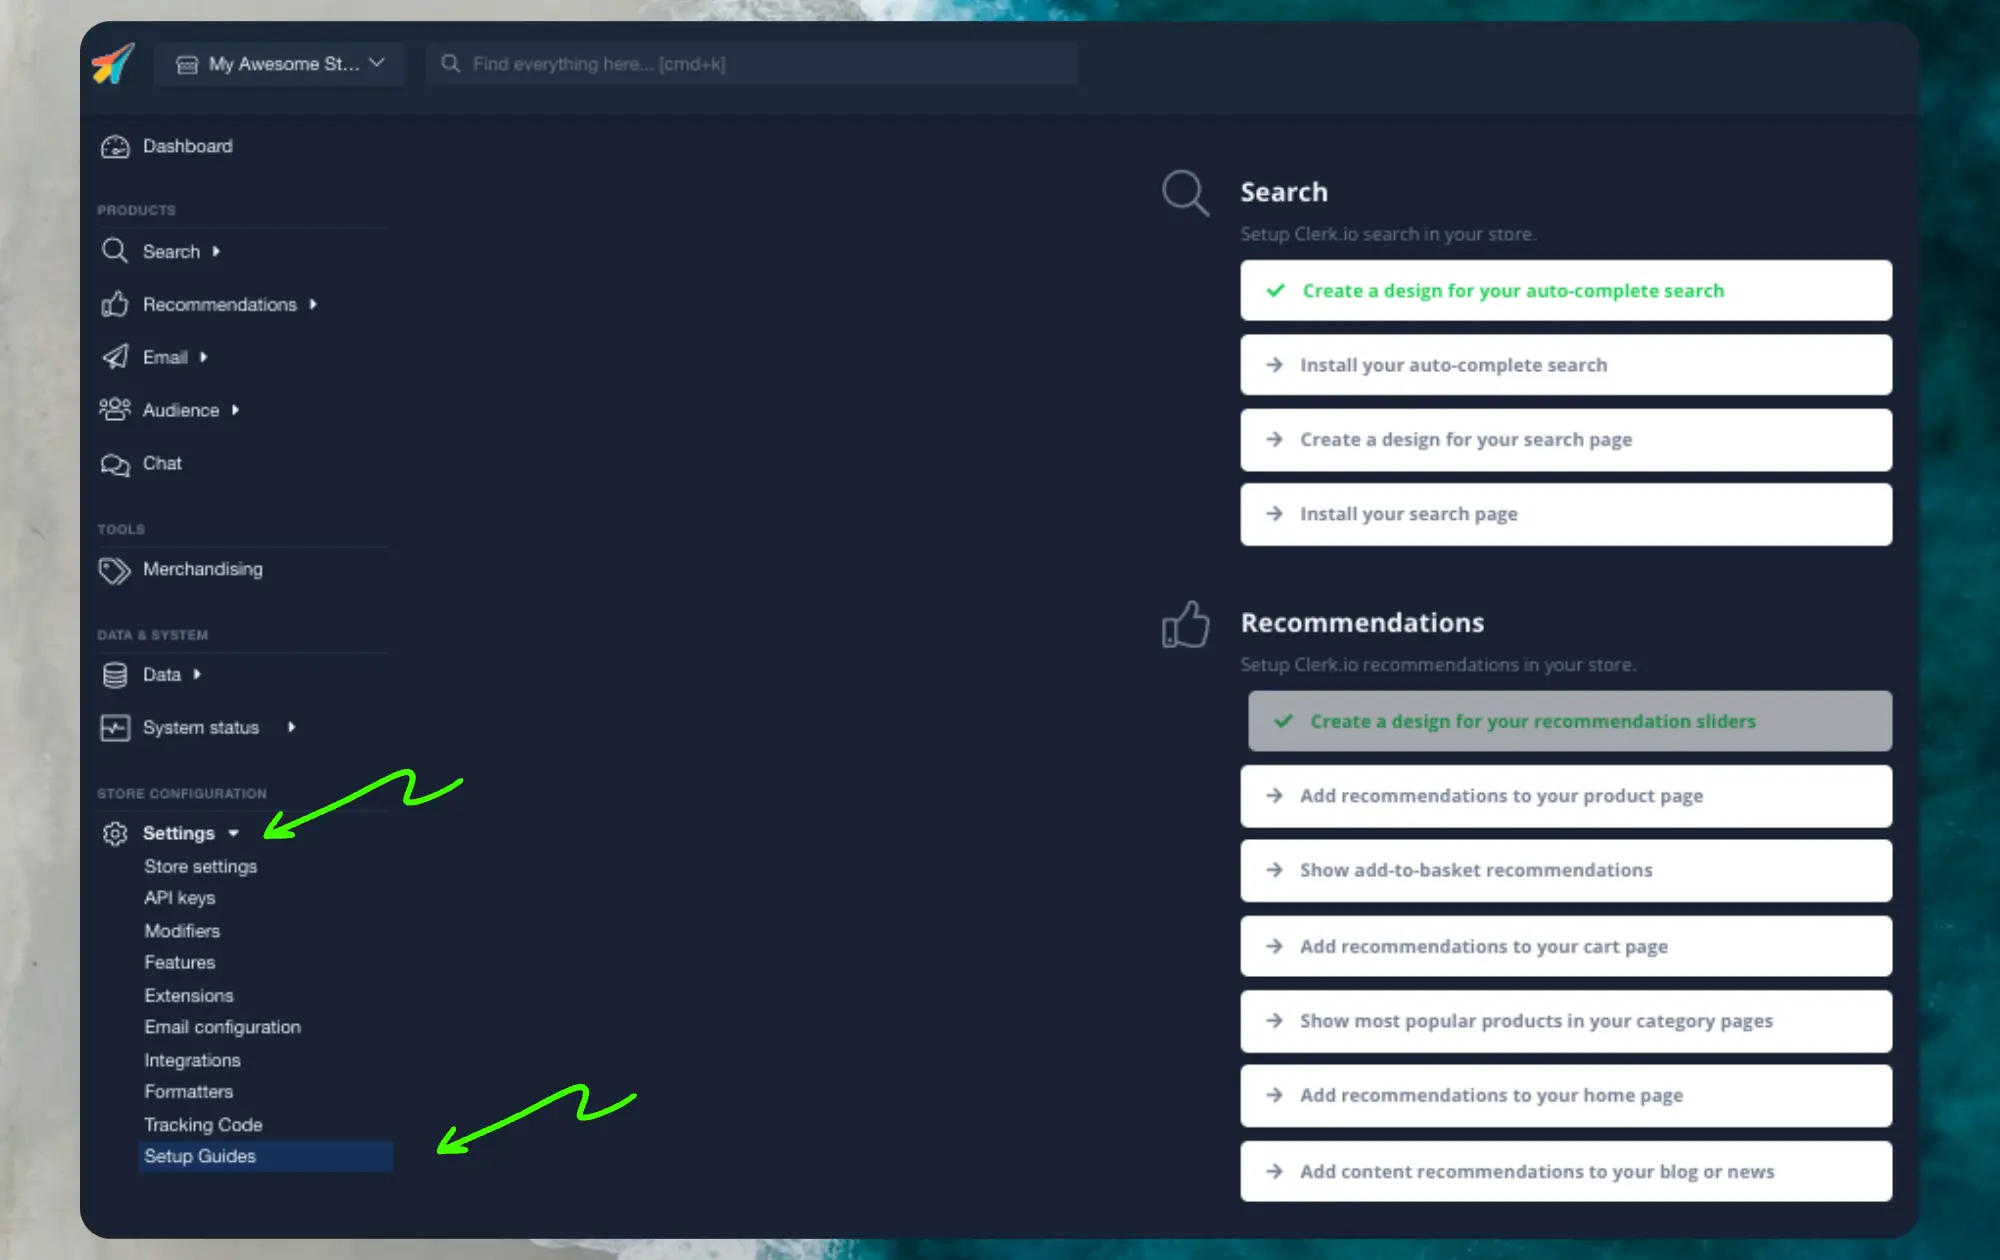
...General
#
Clerk.io’s Recommendations can be installed on any page of the webshop, to help customers find the right products.
With the Setup Guide, you can see which pages to install recommendations on, and which types to use, to get our Best Practice running.
From the main menu start by clicking on Getting Started:
1. Create a Standard Design
#
The first thing you need to do, is create a Standard Design for your sliders.
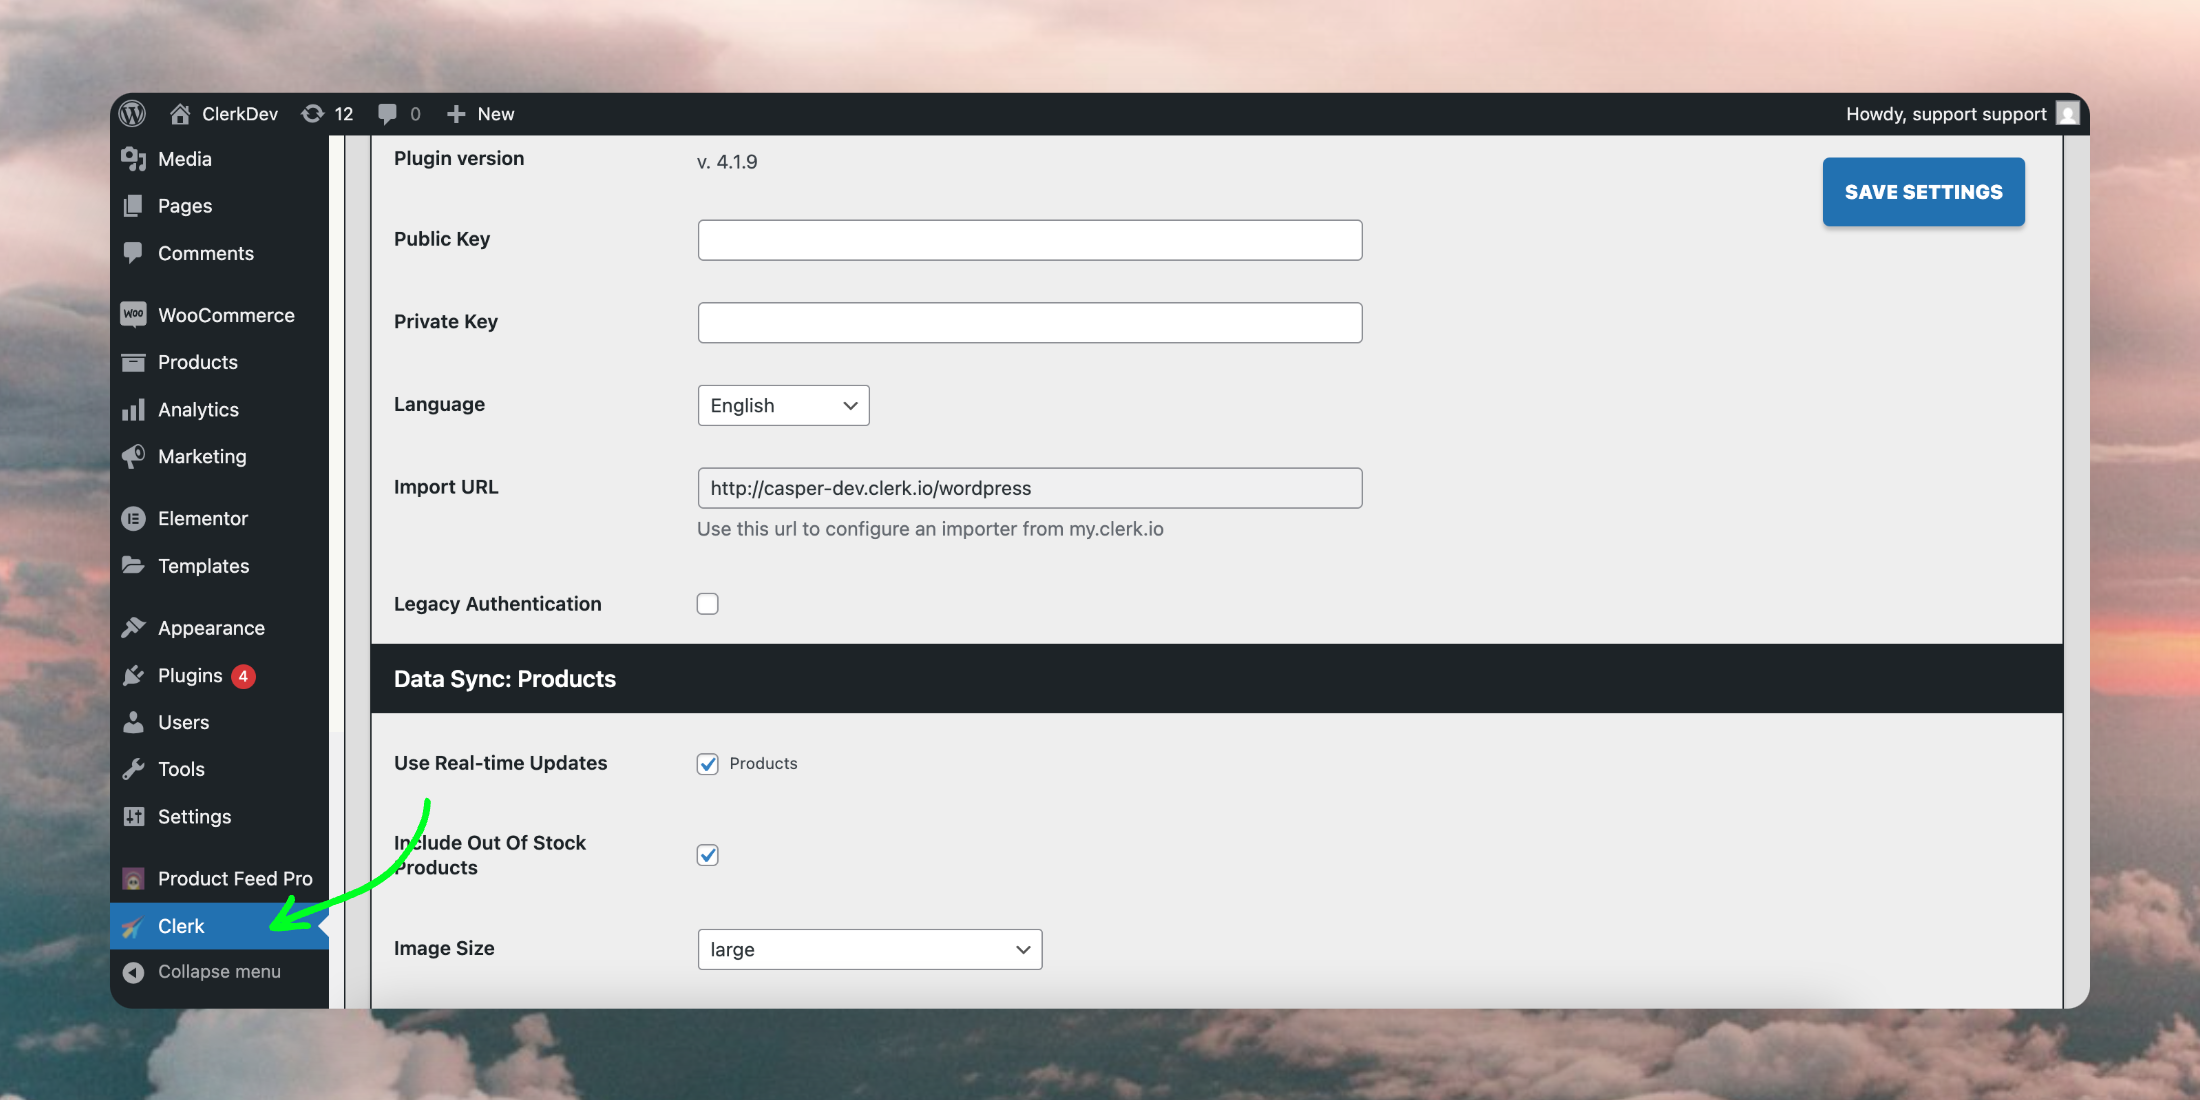
...Plugin Settings
#
Once the plugin is successfully
installed in WooCommerce, it will appear in the side menu of your backend:
...Basics
#
Clerk.io’s AI automatically segments your customers into Loyalty groups based on their purchase behavior. Their placement is primarily defined based on the number of orders and the total revenue they have spent.
These groups can be used to identify how important customers are to retain, and to focus your marketing efforts on the groups you gain most from.
Customers can move in and out of these groups depending on how your total customer base changes over time.
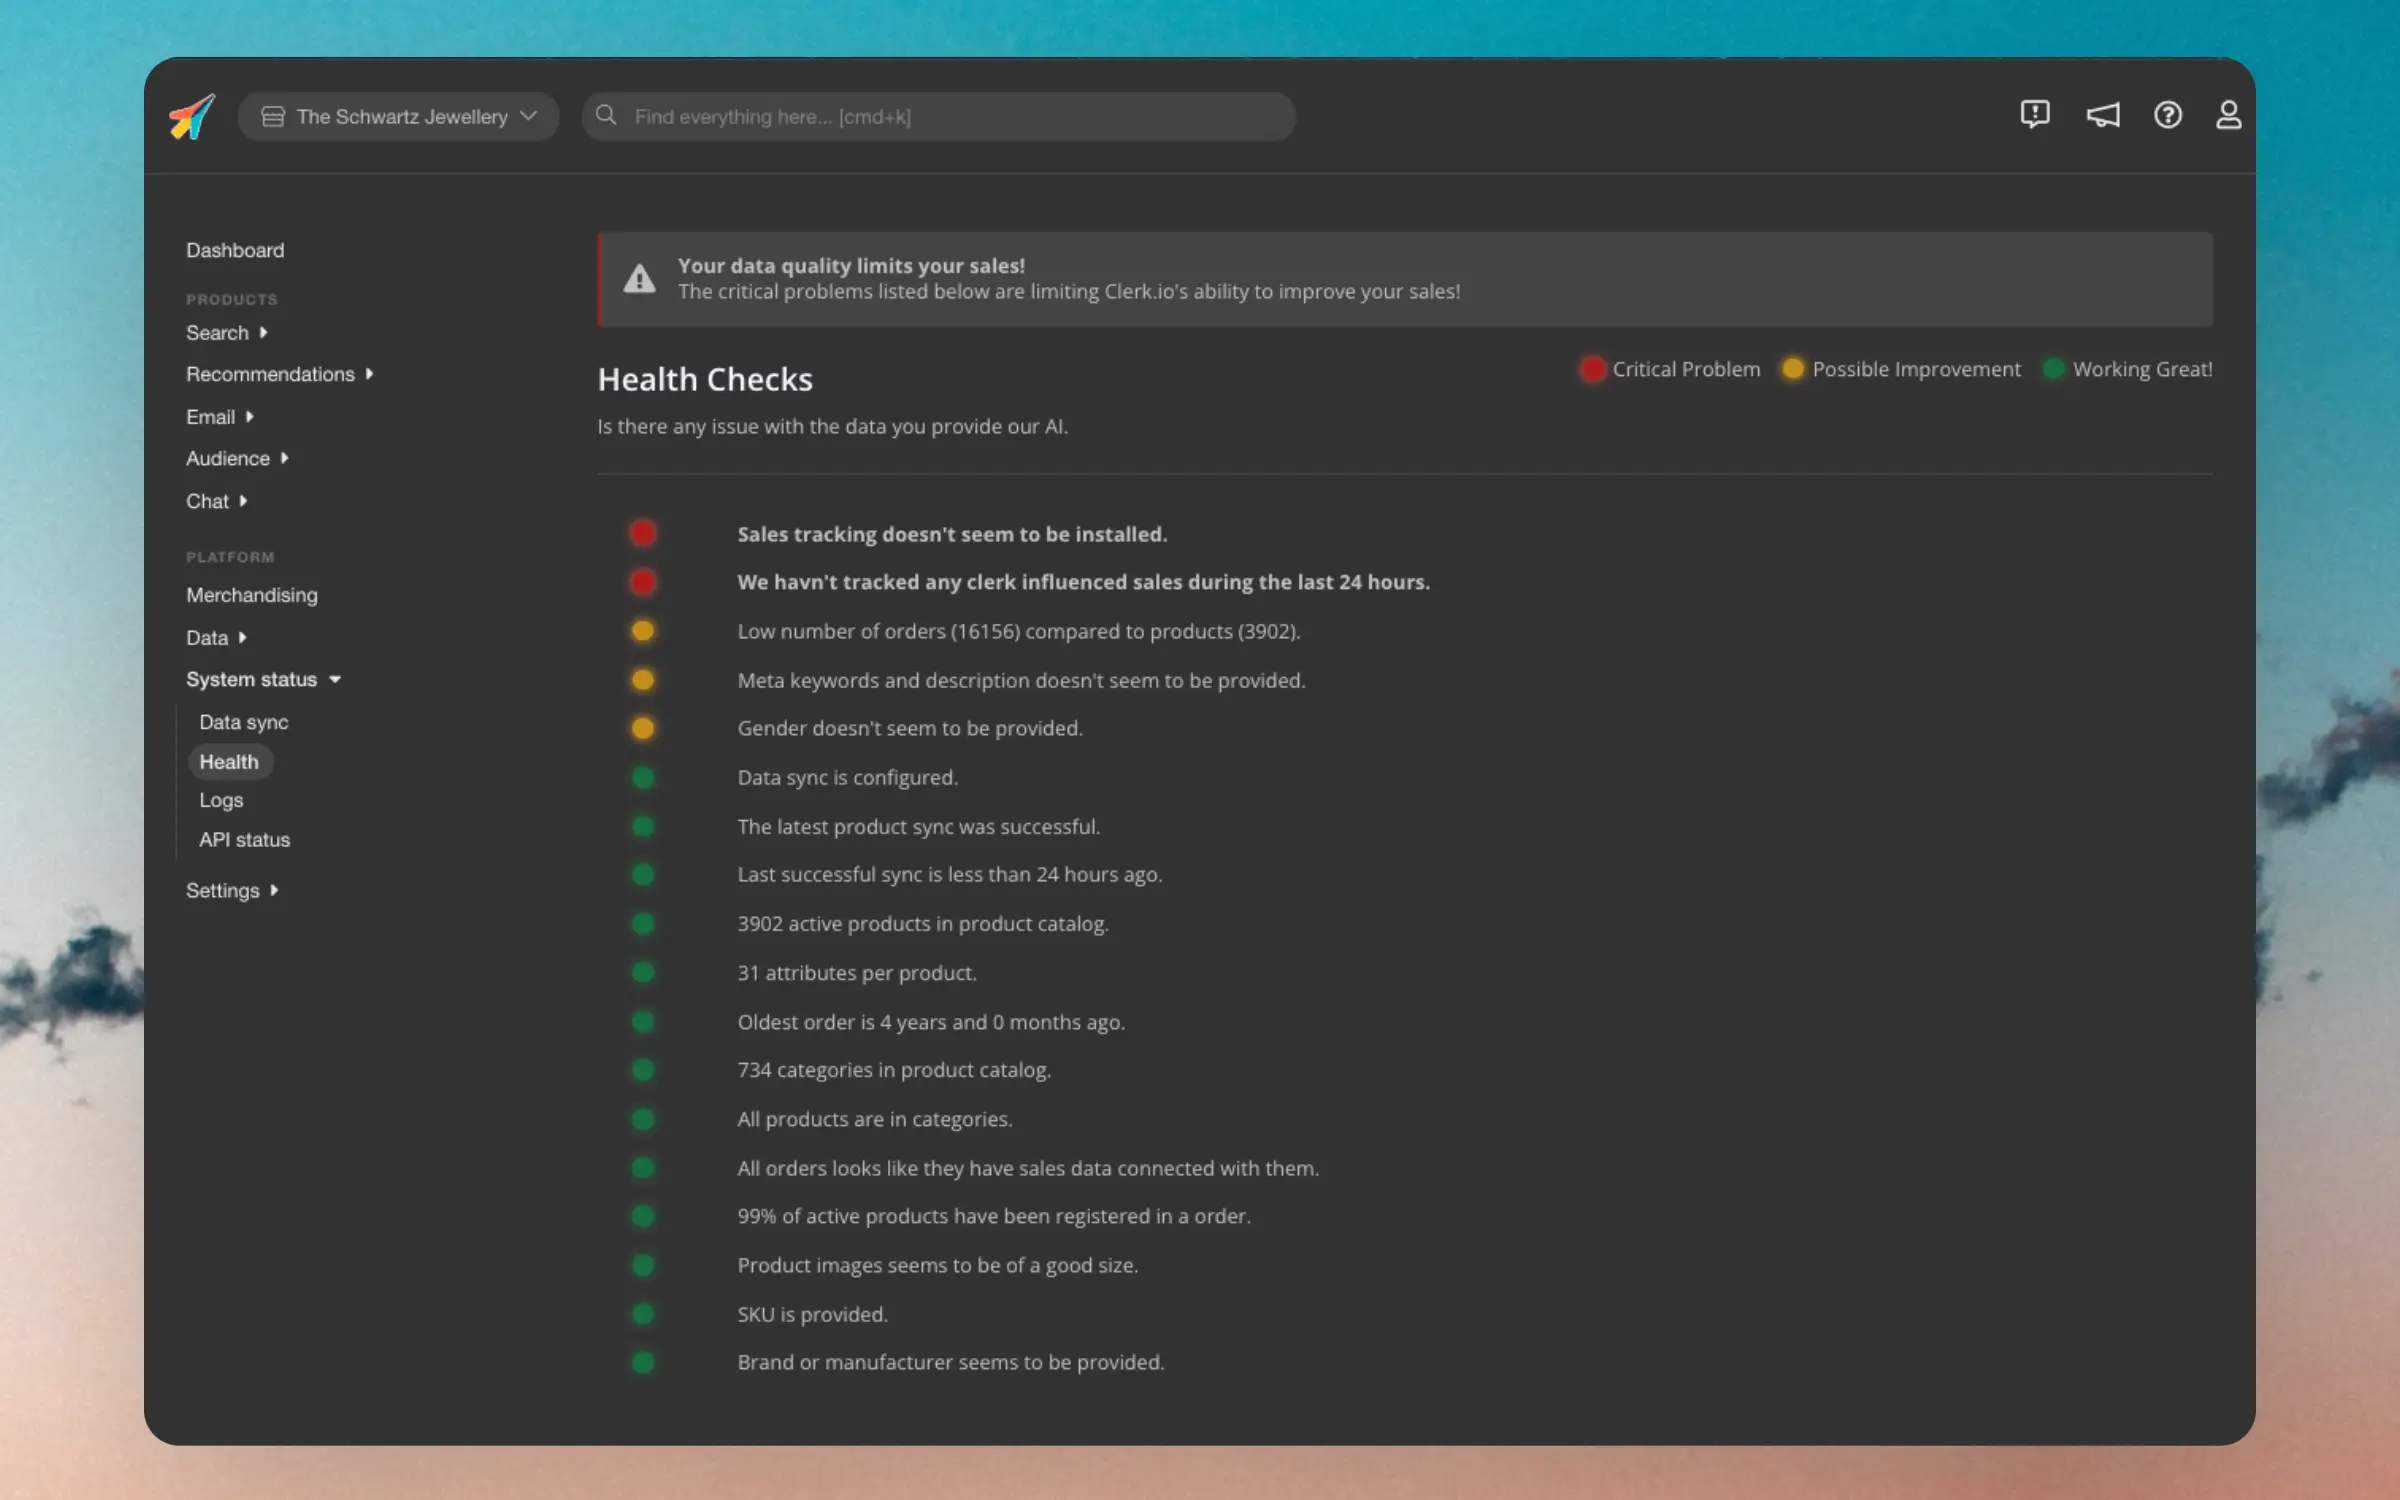
...Sending high quality data to Clerk is essential for getting the best possible results. This dashboard is your one-stop page for monitoring the quality of your data.
Each points of the dashboard has one of 3 statuses:
- Red: Critical for showing the right results.
- Yellow: Could be improved for slightly better results.
- Green: Works as expected.
If you see any issues marked with red, it’s highly advised to fix them as soon as possible, as otherwise you will lose out on valuabe sales through Clerk.
...