1-min intro
Get a quick rundown of how Clerk works.
This code is meant to be a starting point that can be tailored to your needs.
Many browsers support voice search natively, making it fairly straightforward for developers to implement into Clerk.io’s search features.
Below is an example script that can be used to transcribe text using a microphone. Specifically, it will insert text into Clerk.io’s Omnisearch input field.
It adds a button that, when clicked, triggers the browser’s voice recognition API and inserts the text into the input field.
...Here you can find everything you need to know about Clerks products and features.


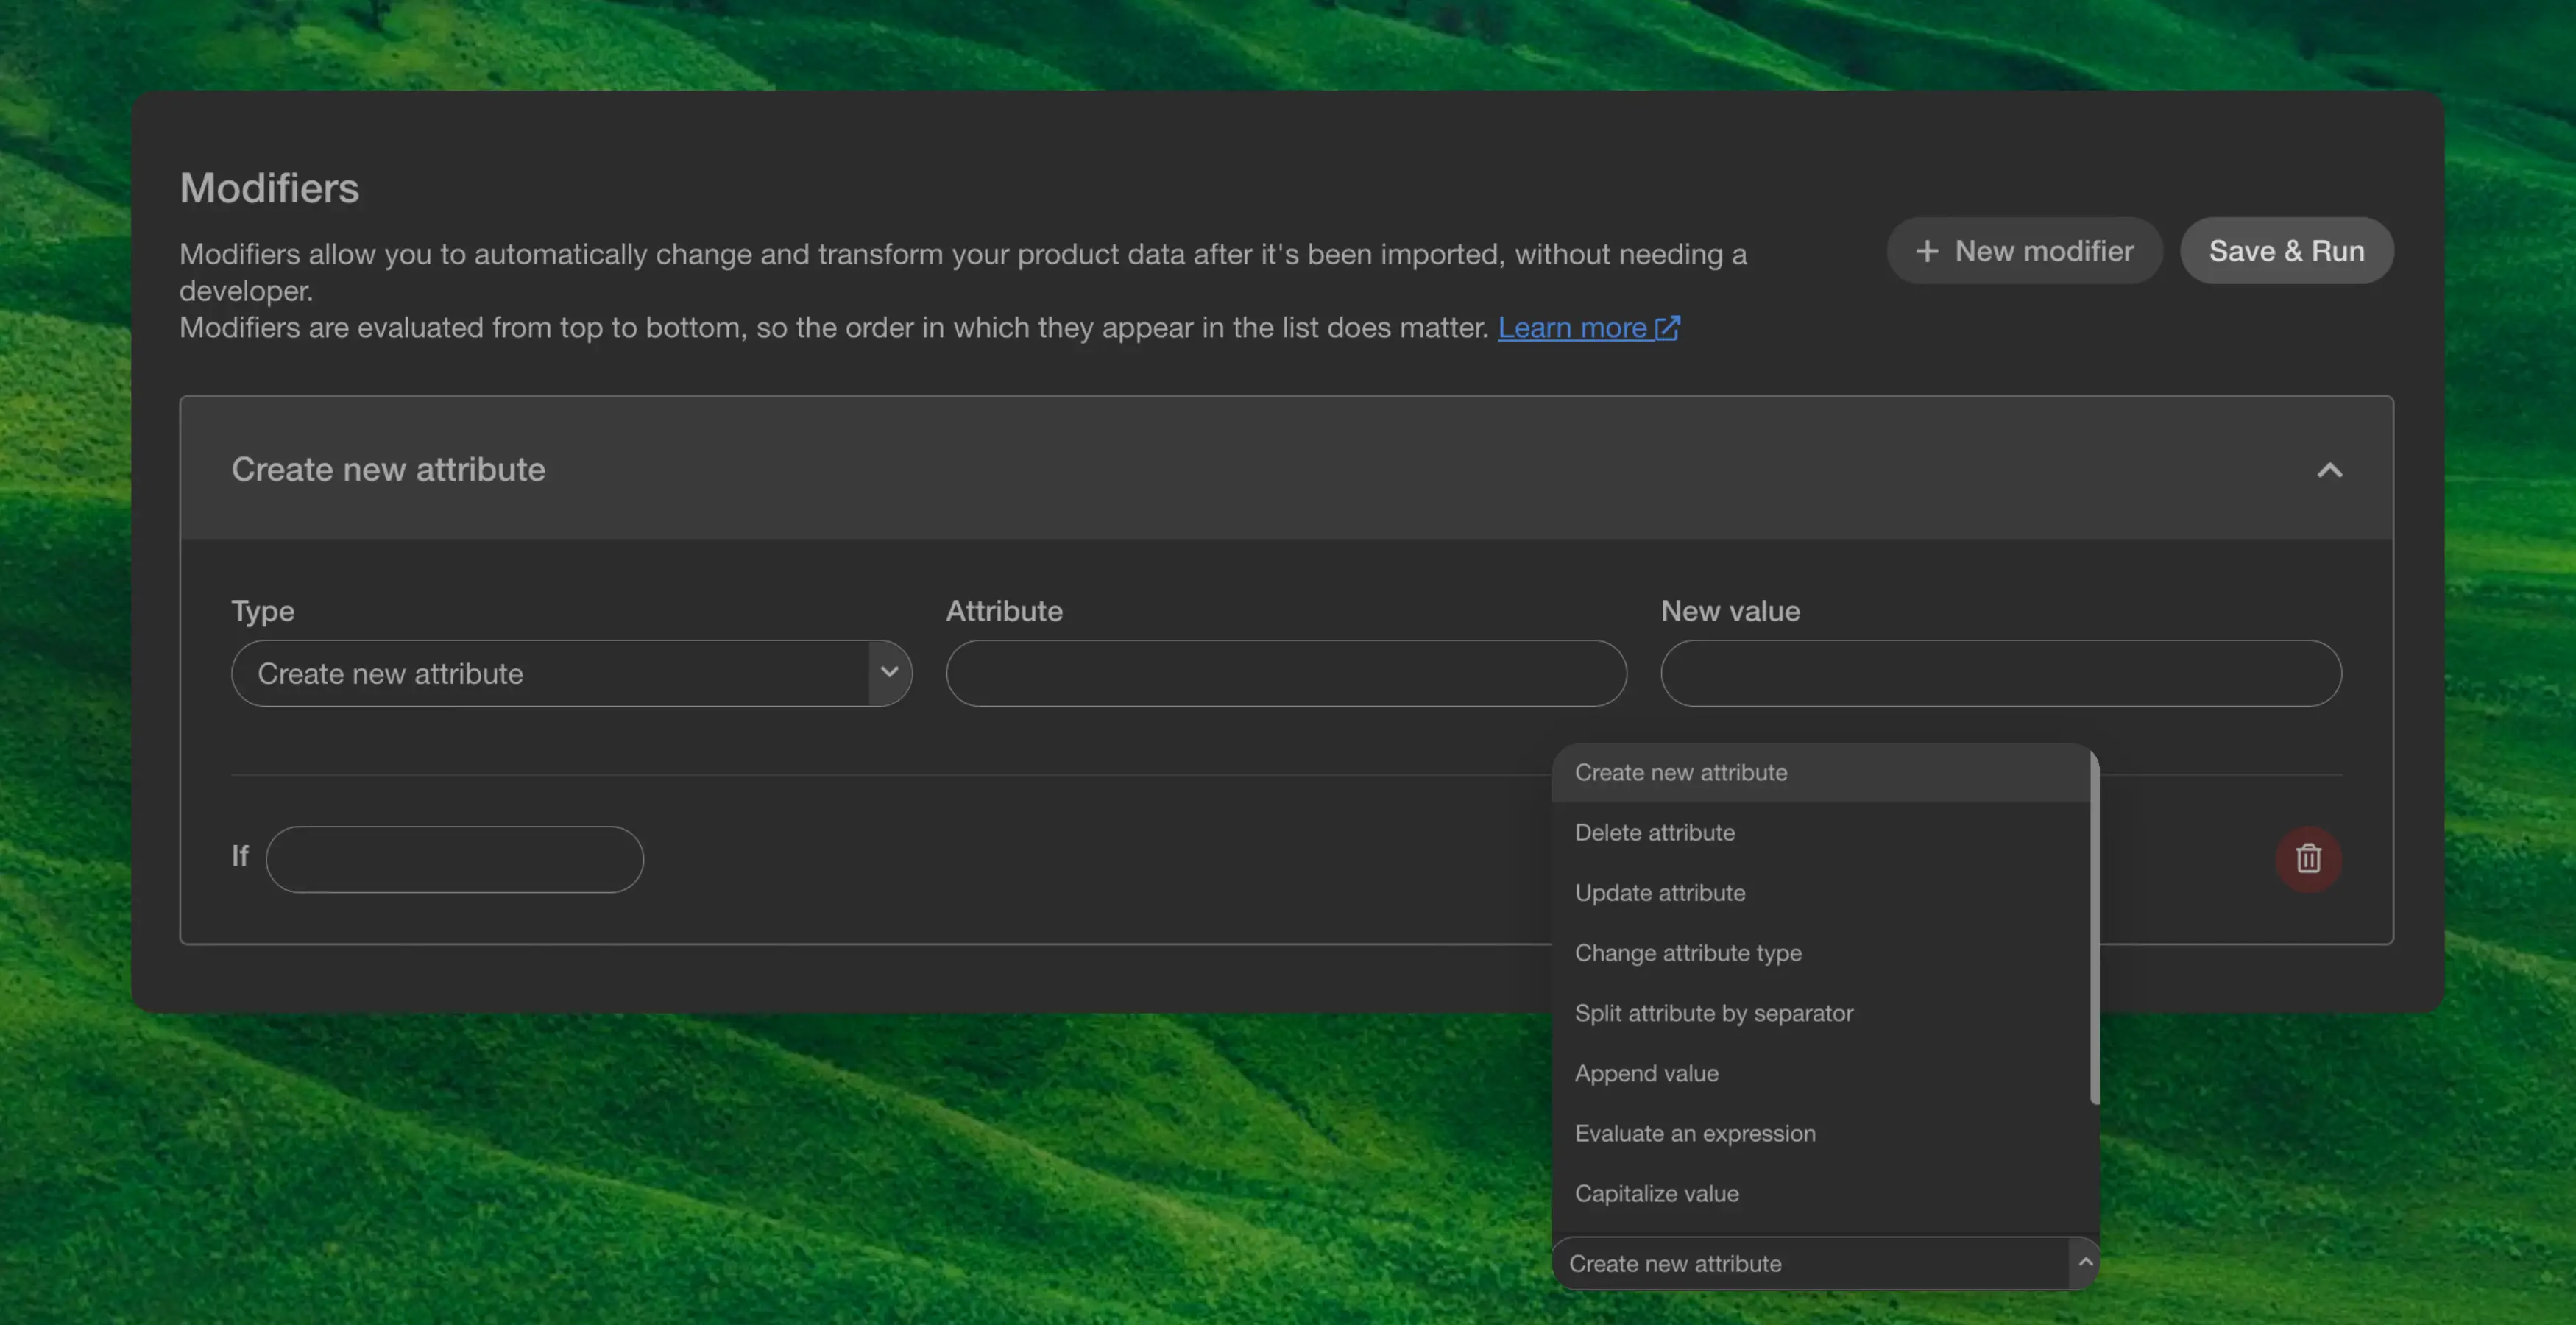
Modifiers is a powerful tool that allows you to change the product data after the sync without the need to get a developer to make changes in the data-feed. Modifiers are evaluated from top to bottom, so the order in which they appear in the list does matter.
You have different types of modifiers, here is the complete list:
| Command | Effect |
|---|---|
Create new attribute | Adds an attribute to all products |
Delete attribute | Removes an attribute on all products |
Update attribute | Update an attribute on all products |
Change attribute type | Changes the type of an attribute on all products |
Split attribute by separator | Split a string by separator, into a list of strings. |
Append value | Appends a value to an existing list attribute |
Evaluate an expression | Evaluates an expression in an attribute |
Capitalize value | Formats a string to title casing with first character uppercased |
Make value uppercase | Formats a string to all upper characters |
Make value lowercase | Formats a string to all lowercase characters |
Formatted attribute | Formats a string in an attribute |
All commands have an if input field. The if can be added to anything with a statement, and the command will only be run on the attribute if the statement evaluates to true.
...Before you start!
Make sure that you have made the initial integration on the webshop so that Clerk is synced with your product catalog and order history.
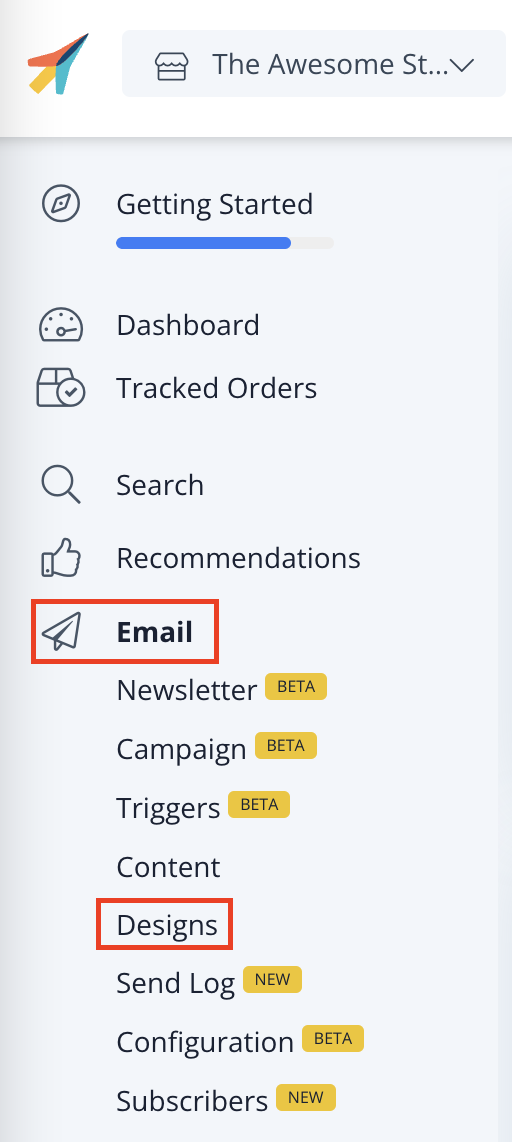
The first thing you have to do is create a Design for your emails. You can create as many different designs as you want and each Design can be used across many different recommendations blocks.
1. In my.clerk.io backend, head to the menu on the left hand side. Click Email -> Designs.
...Before you start!
Make sure that you have made the initial integration on the webshop so that Clerk.io is synced with your product catalog and order history.
The first thing you have to do is create a Design for your emails. You can create as many different designs as you want and each Design can be used across many different recommendations blocks.
Audience can be setup to automatically sync a group of customers to ActiveCampaign so your lists are always up to date.
You only have to setup the sync once, and then ActiveCampaign will be kept updated with the Audiences you have chosen, even as they change from day to day.
Clerk never pushes new email addresses to Active Campaign. We update existing contacts and lists, based on email addresses already in the platform.
1.1In the ActiveCampaign backend, start by going to Settings and then Developer
...