Before you start!
Make sure that you have made the initial integration on the webshop so that
Clerk.io is synced with your product catalog and order history.
1. Create an Email Design
#
The first thing you have to do is create a Design for your emails. You can create as many different designs as you want and each Design can be used across many different recommendations blocks.
1. In
my.clerk.io backend, head to the menu on the left hand side. Click Email -> Designs.
...Audience can be setup to automatically sync a group of customers to Apsis so your lists are always up to date.
You only have to setup the sync once, and then Apsis will be kept updated with the Audiences you have chosen, even as they change from day to day.
Clerk never pushes new email addresses to Active Campaign. We update existing contacts and lists, based on email addresses already in the platform.
1. Create API key in Apsis
#
1.1 Start by logging in to your Apsis backend and go to Konto
...Clerk.io needs a timestamp or unique ID from the email client to make sure Google doesn’t cache results.
This requires a couple of things to be setup in Autopilot, before it will work, which you can read below.
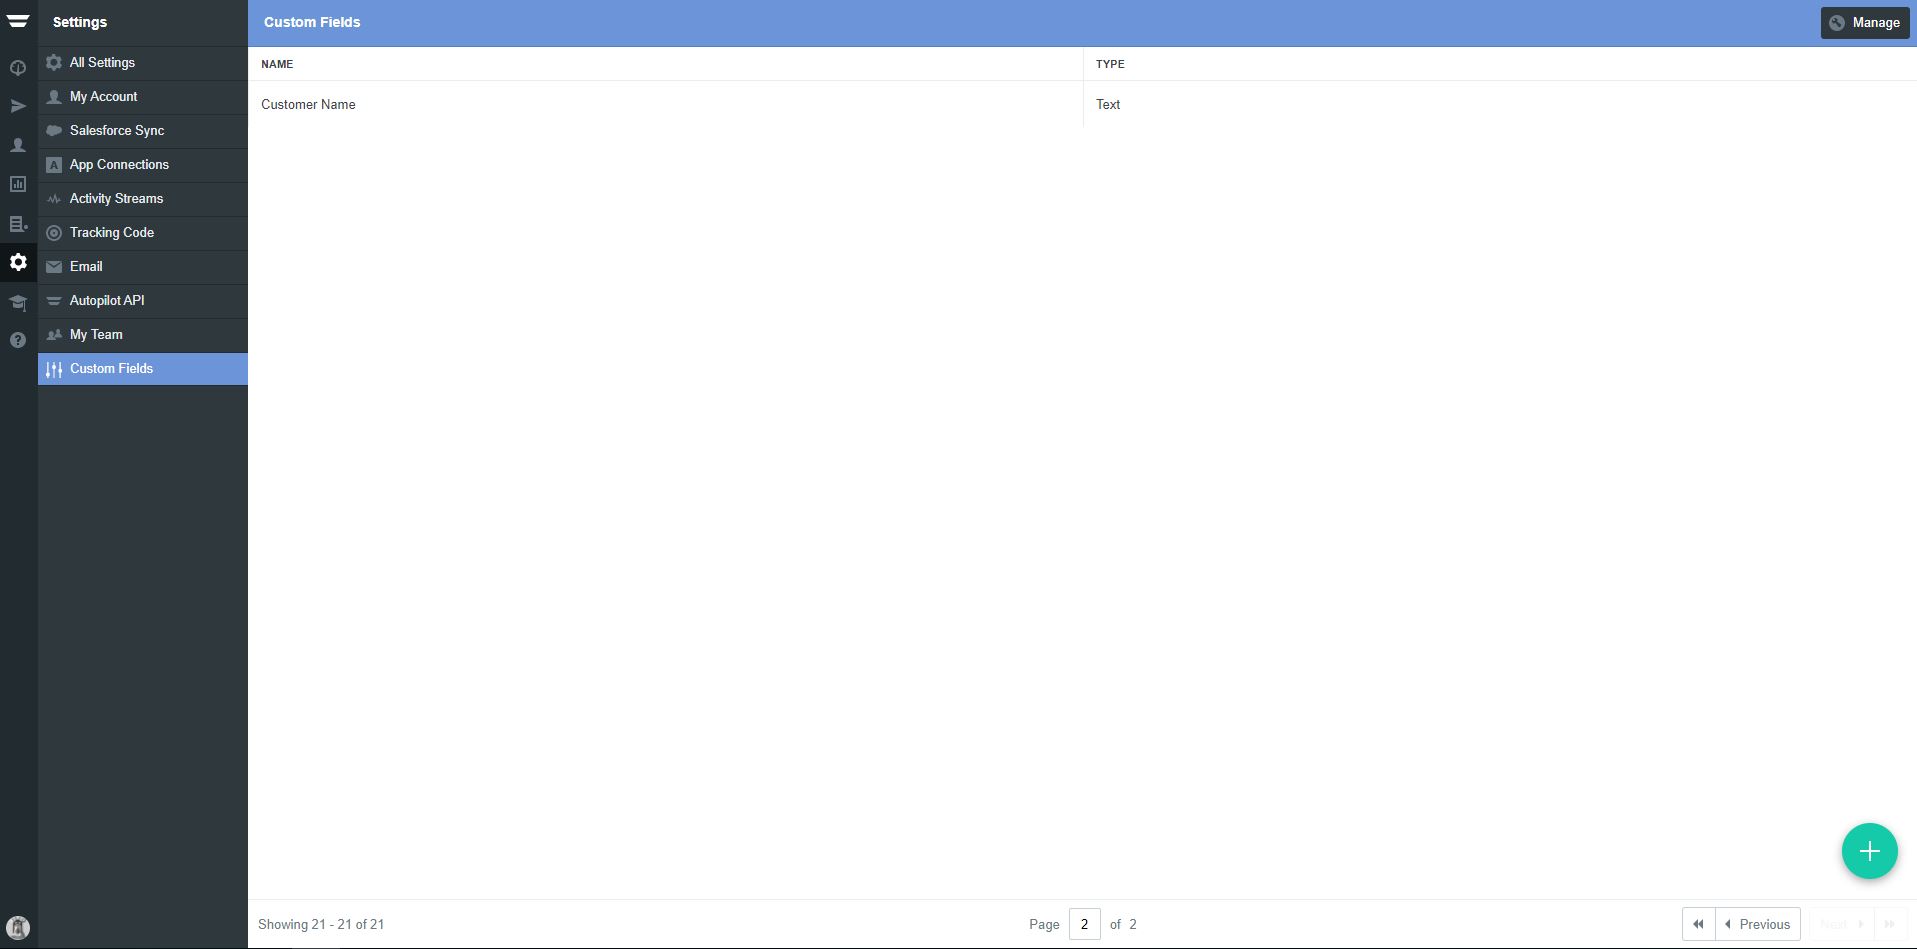
1. Login to Autopilot and go to Settings:
2. Choose Custom Fields:
3. Click the green plus in the right corner, to add a new Field. Name the field ClerkDate and choose Type = Date.
...Integration Setup
#
Brevo was also previously known as Sendinblue.
To maintain Audiences in Brevo, you need an API Key and a Folder Name.
In my.clerk.io, go to Settings > Integrations and click New Exporter.
From the dropdown, select Sendinblue and give it a name of your choice.
Go to your Brevo backend.
In the top right, find your Account Name, click it to see a dropdown.
In this dropdown, click SMTP & API.
...
Before you start!
Make sure that you have made the initial integration on the webshop so that
Clerk.io is synced with your product catalog and order history.
1. Create an Email Design
#
The first thing you have to do is create a Design for your emails. You can create as many different designs as you want and each Design can be used across many different recommendations blocks.
1. In
my.clerk.io backend, head to the menu on the left hand side. Click Email -> Designs.
...Integration Setup
#
To maintain Audiences in CleverReach, you need a Client ID and a Client Secret.
- Go to your CleverReach Backend.
- In the top right, click your Account to get a dropdown.
- Click My Account > Extras > REST API.
- Click the Create new OAuth app button.
- In the popup window, click the empty image box to upload/choose an image for your OAuth app.
- In App Name, type a name for the integration - e.g., “Clerk.io”.
- From the dropdown list, choose REST API Version 3.
- Do not change the asterisk in Redirect URL.
- Under Scopes, check all 5: Recipients, Reports, Forms, Emails, SSL.
- Click the Create now button.
- Your OAuth app is created with a status '! not certified !'.
- Click the ellipsis (3 dots) > Edit.
- Choose OAuth2 App Data menu and copy Client ID & Client Secret into the fields in my.clerk.io
- Note that you should get your OAuth app certified or the integration with Clerk won’t work.
- Click the Close button.
- In my.clerk.io, click Update exporter to finalise the setup.
Audience Sync
#
You can now create Audiences and choose CleverReach as an option under the Export tab of each Audience you create. This will continuously sync the Audience with CleverReach, where you can send marketing to them.
...