Sync Data
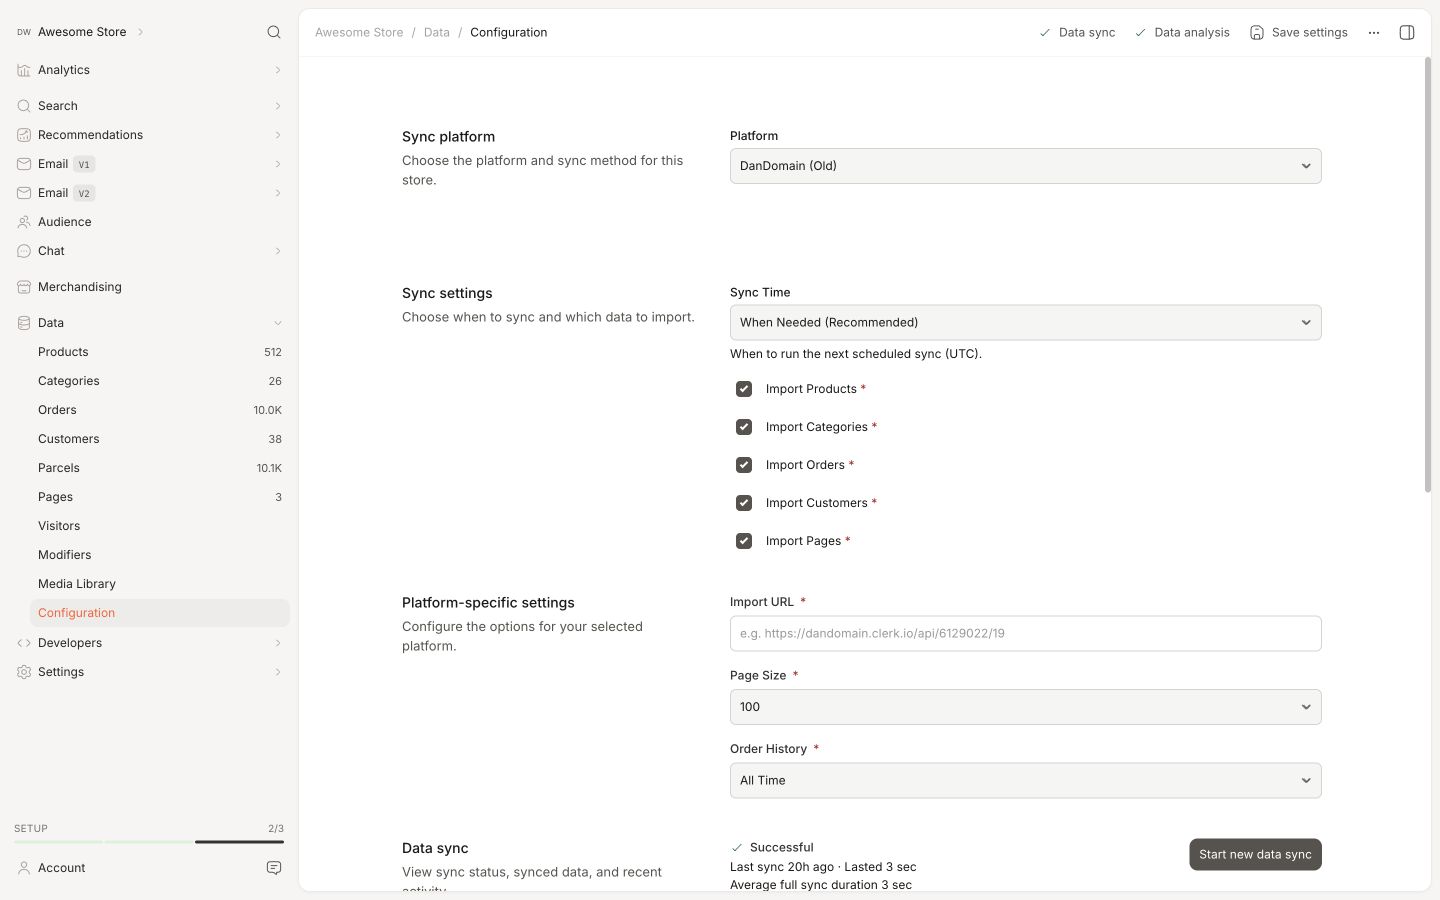
Sync your DanDomain Classic products, attributes, and order data to Clerk. This guide covers customizing product data, choosing which orders to import, and managing order sync.
Before syncing data, make sure you have installed and configured the Clerk.io app in your DanDomain Classic backend. See the Get Started guide for installation instructions.
Set up Sync #
To sync your DanDomain Classic store data with Clerk, you need to configure the import URL in the Clerk app and start the sync.
In the DanDomain app, copy the Import URL.
Go to my.clerk.io > Data > Configuration and paste the Import URL into the Import URL field.
Select the language of your domain.
If you plan to use Email & Audience, set Collect Emails to Yes in the DanDomain app and Save.
Click Start Sync and wait for the sync to complete.
Customizing product data #
The DanDomain App supports sending custom attributes that you have added in DanDomain Classic.
Start by logging in to your DanDomain Classic backend and go to Clerk.io in the side-menu.
Login using your Password.
In the app, under General you will find a text-field called Additional Product Attributes.
Start typing in the name of your attribute, and it will show up if it exists:
Click Gem to save your changes.
After implementing your attributes, go to my.clerk.io->Data and click Start New Data Sync in the upper right corner.
Your attributes will now be available.
Choosing orders to import #
In DanDomain, its possible to choose the exact status on order must have to be seen as completed.
To make sure Clerk only tracks finished orders, you can select the status you use normally, in the App.
Go to the DanDomain backend.
Click Clerk.io in the side-menu and login to the app.
Start by making sure that Advanced Settings have been activated. To enable it, click Profile.
Then check Show Advanced Settings and click Gem.
Click Back.
Under Synchronization click the dropdown next to Ordre status for afsluttede ordre.
Choose the order status that DanDomain should treat as completed.
Select the appropriate status, and click Gem.
Deactivate order tracking #
After the first data sync has run successfully, order sync from DanDomain Classic can be deactivated as the sales-tracking from the extension takes over.
To deactivate order sync, go to your DanDomain Classic backend, choose Clerk under Shortcuts to Apps, and log in to the Clerk plugin.
Under Synchronization, select Disable Order Synchronization.
Scroll to the top of the page and click Save to apply the change.