Sync Data
Sync your Lightspeed products and attributes to Clerk. This guide covers customizing product data and choosing which products to sync.
Set up Sync #
To sync your Lightspeed store data with Clerk, you need to configure the data sync settings in Clerk.
Go to my.clerk.io > Data > Configuration.
Enter the following information for your Lightspeed store:
Domain: Your webshop URL (for example, https://www.beautifulshop.nl/).
Cluster ID: See Lightspeed’s Server Clusters documentation (choose the cluster for your region, e.g. https://api.webshopapp.com/nl for NL).
API Key and API Secret: Contact Lightspeed Support to have these generated for your store.
Language (optional): Use codes like en or nl for multi-language setups.
Insert the details into the importer fields. Optional advanced settings can be left as they are.

- Click Start Sync and wait for the sync to complete.
Customizing product data #
Most attributes used in your Lightspeed store will automatically sync to Clerk with the Lightspeed Importer.
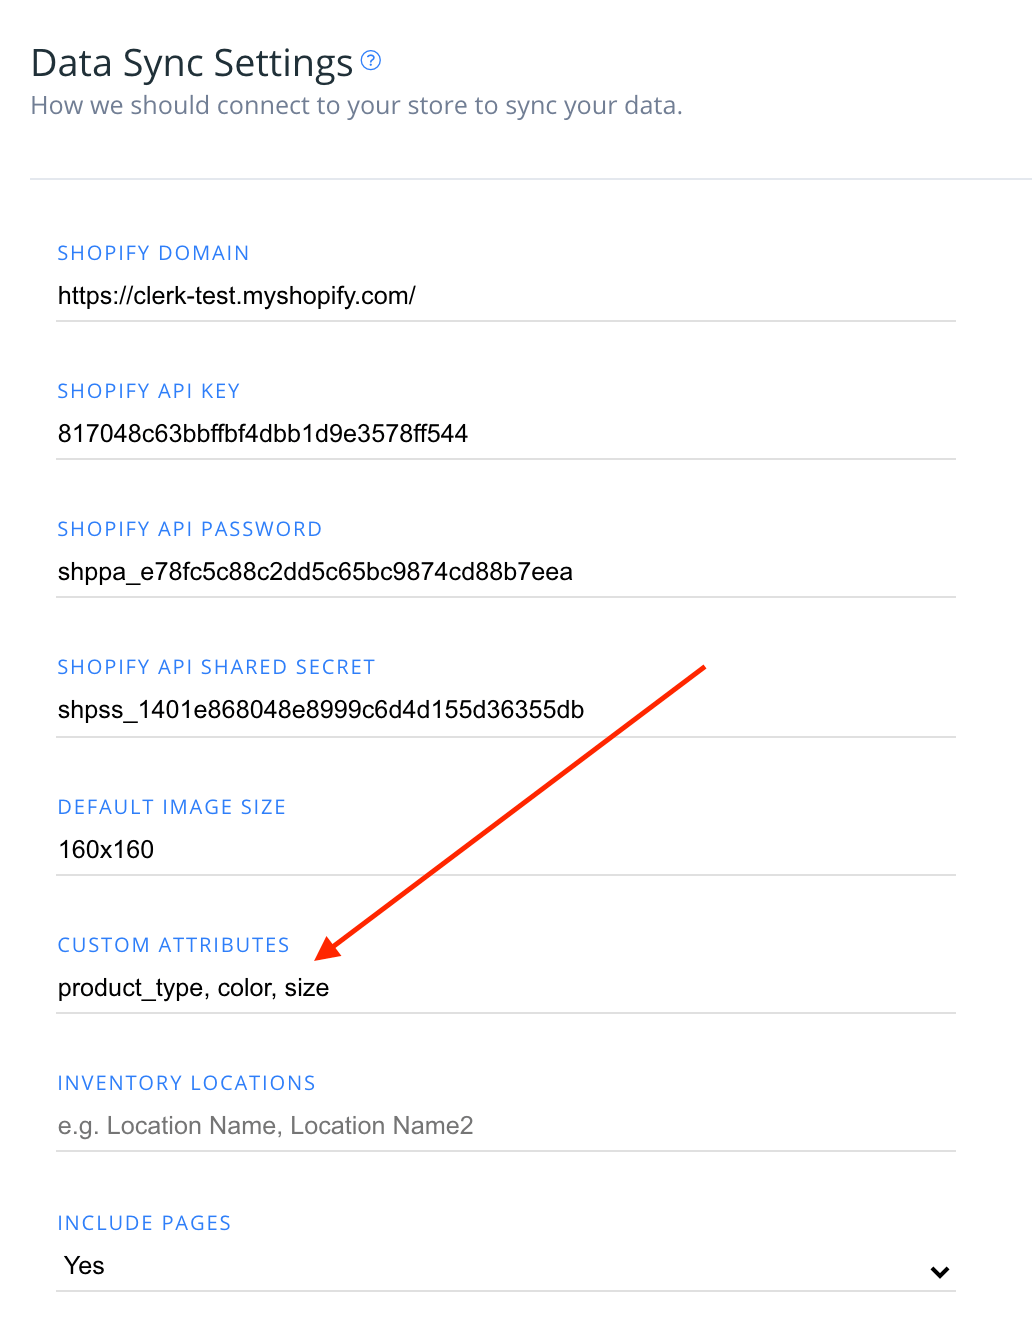
Attributes can also be added from your webstore through my.clerk.io > Data > Configuration.
Simply scroll down to the field called Custom Attributes, and type in the attributes you want to include for products as comma-separated values, like this:
Choosing products to sync #
If you’d like to keep specific products from syncing to Clerk, the easiest route is to mark these products “not visible” in your webshop’s Lightspeed admin portal.
Clerk will only sync products that are marked “visible” here.