FAQ
Running into issues with your PrestaShop integration? This FAQ covers the most common problems and their solutions, from formatters to sync errors.
Using formatters #
Clerk.js allows you to write custom JavaScript functions that add new functionality to your Designs.
Formatters can be added in two ways:
Through my.clerk.io > Developers > Formatters, where each Formatter can be created as separate entries.
As a configuration for Clerk.js, in the tracking-script that is inserted on all pages, where multiple formatters can be added at once.
For PrestaShop, this file contains the tracking-script:
modules->clerk->views->templates->hook->clerk_js.tpl
Example formatter #
An example can be seen below. Please be aware this is Clerk V2 (latest version):
<!-- Start of Clerk.io E-commerce Personalisation tool - www.clerk.io -->
<script type="text/javascript">
  (function(w,d){
    var e=d.createElement('script');e.type='text/javascript';e.async=true;
    e.src='https://cdn.clerk.io/clerk.js';
    var s=d.getElementsByTagName('script')[0];s.parentNode.insertBefore(e,s);
    w.__clerk_q=w.__clerk_q||[];w.Clerk=w.Clerk||function(){ w.__clerk_q.push(arguments) };
  })(window,document);

  Clerk('config', {
        key: '{$clerk_public_key}',
        collect_email: {$clerk_datasync_collect_emails},
        language: '{$language}',
        formatters: {
             log_price: function(price) {
             console.log(price);
          }
      },
    });
</script>
<!-- End of Clerk.io E-commerce Personalisation tool - www.clerk.io -->
Multiple formatters #
You can write any number of Formatters, separated by comma:
formatters: {
  log_price: function(price) {
    console.log(price);
  },
  calculate_discount: function(price, special_price) {
    return price - special_price;
  },
  substring: function(text) {
    var short_string = text.substring(0, 20);
    return short_string;
  }
}
Use in designs #
After creating your Formatters, you can use them in your Designs using this syntax:
{% raw %}{{ price | log_price }} {{ price | calculate_discount | special_price }}{% endraw %}
This allows you to create any functionality in your Designs that you require.
HTTP authentication #
HTTP authentication is often used on staging sites to avoid unwanted visitors.
This will block the Clerk importer and display a 401 Unauthorized error in the sync log.
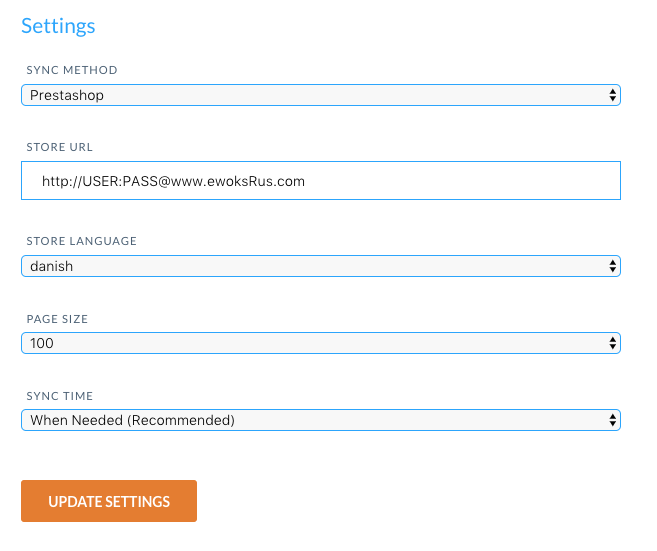
You can fix this by inserting the authentication info in the import URL.
In my.clerk.io > Data > Configuration, update your import URL like this:
https://USER:PASS@www.ewoksRus.com
Common sync errors #
Note: We recommend always updating the module to the latest version to get all up-to-date features from Clerk.
When importing data with Clerk’s PrestaShop module, your webshop’s server is responsible for sending product, category, and sales data to Clerk.
However, in some cases, the server’s configuration might block the import from accessing the data, causing an error in Data Sync.
Below is a list of the most common errors and how to fix them.
401 Unauthorized #
This error happens if your webshop or dev environment requires HTTP authentication to access it.
This is solved by inserting the Username and Password as part of the Import URL:
http://username:password@prestashop.clerk.io/clerk/api/store/1
403 Forbidden #
This error happens if your server blocks the importer from accessing it.
In most cases, you simply need to whitelist the importer’s IP address to give it access.
The latest IP address can be found here.
Also check your public key, private key, and import URL are correct for the store you are operating within my.clerk.io.
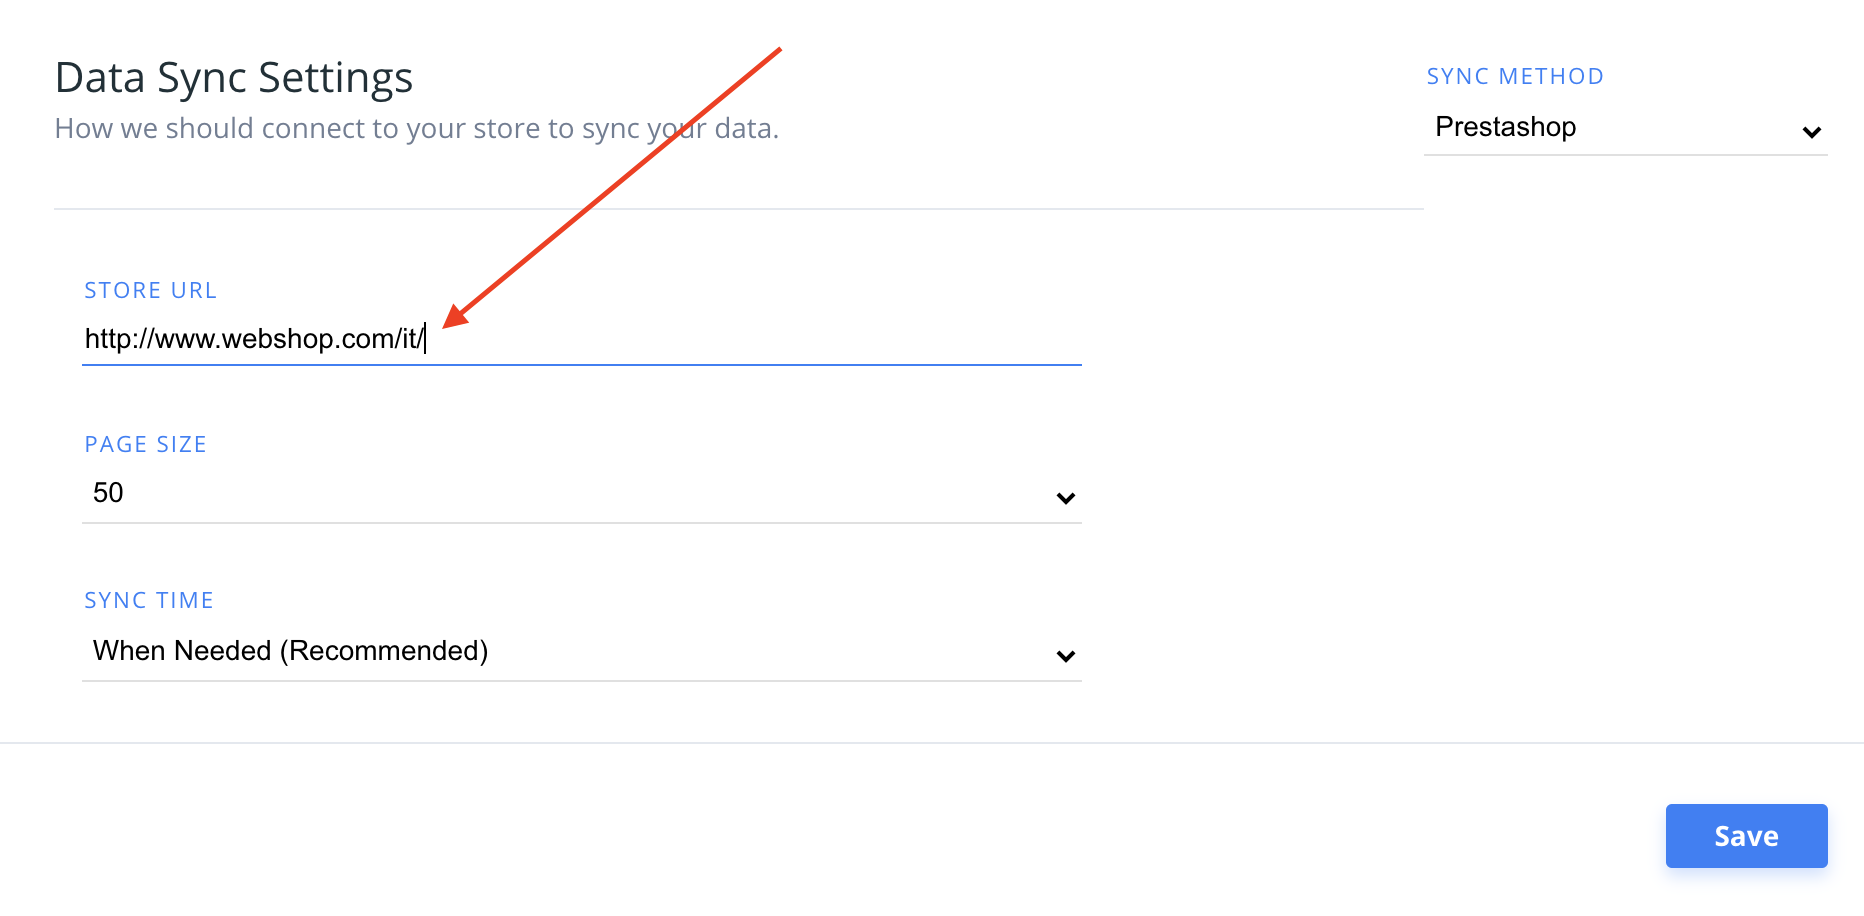
In some cases, this error will also be shown if you are using different language-domains, like http://webshop.com/it.
In this case, make sure to include the full domain you want to sync:
What if I have already whitelisted but the same error still occurs?
There are a few instances when you have whitelisted the importer’s IP address, and the error still persists.
In these cases, we recommend you look into these areas:
The authentication part of the body may be removed from the request from the shop’s server.
Rate limit for the server in regards to Cloudflare.
Double-check if the importer URL has https included.
404 Not Found #
This error happens if the importer could not access the link that sends data from the webshop.
In most cases, it happens because the module is either:
Not installed at all
A cache causes the link to not be initialized
First, make sure that you have installed the module correctly.
Second, be sure to empty your webshop’s cache before trying a new import.
429 Too Many Requests #
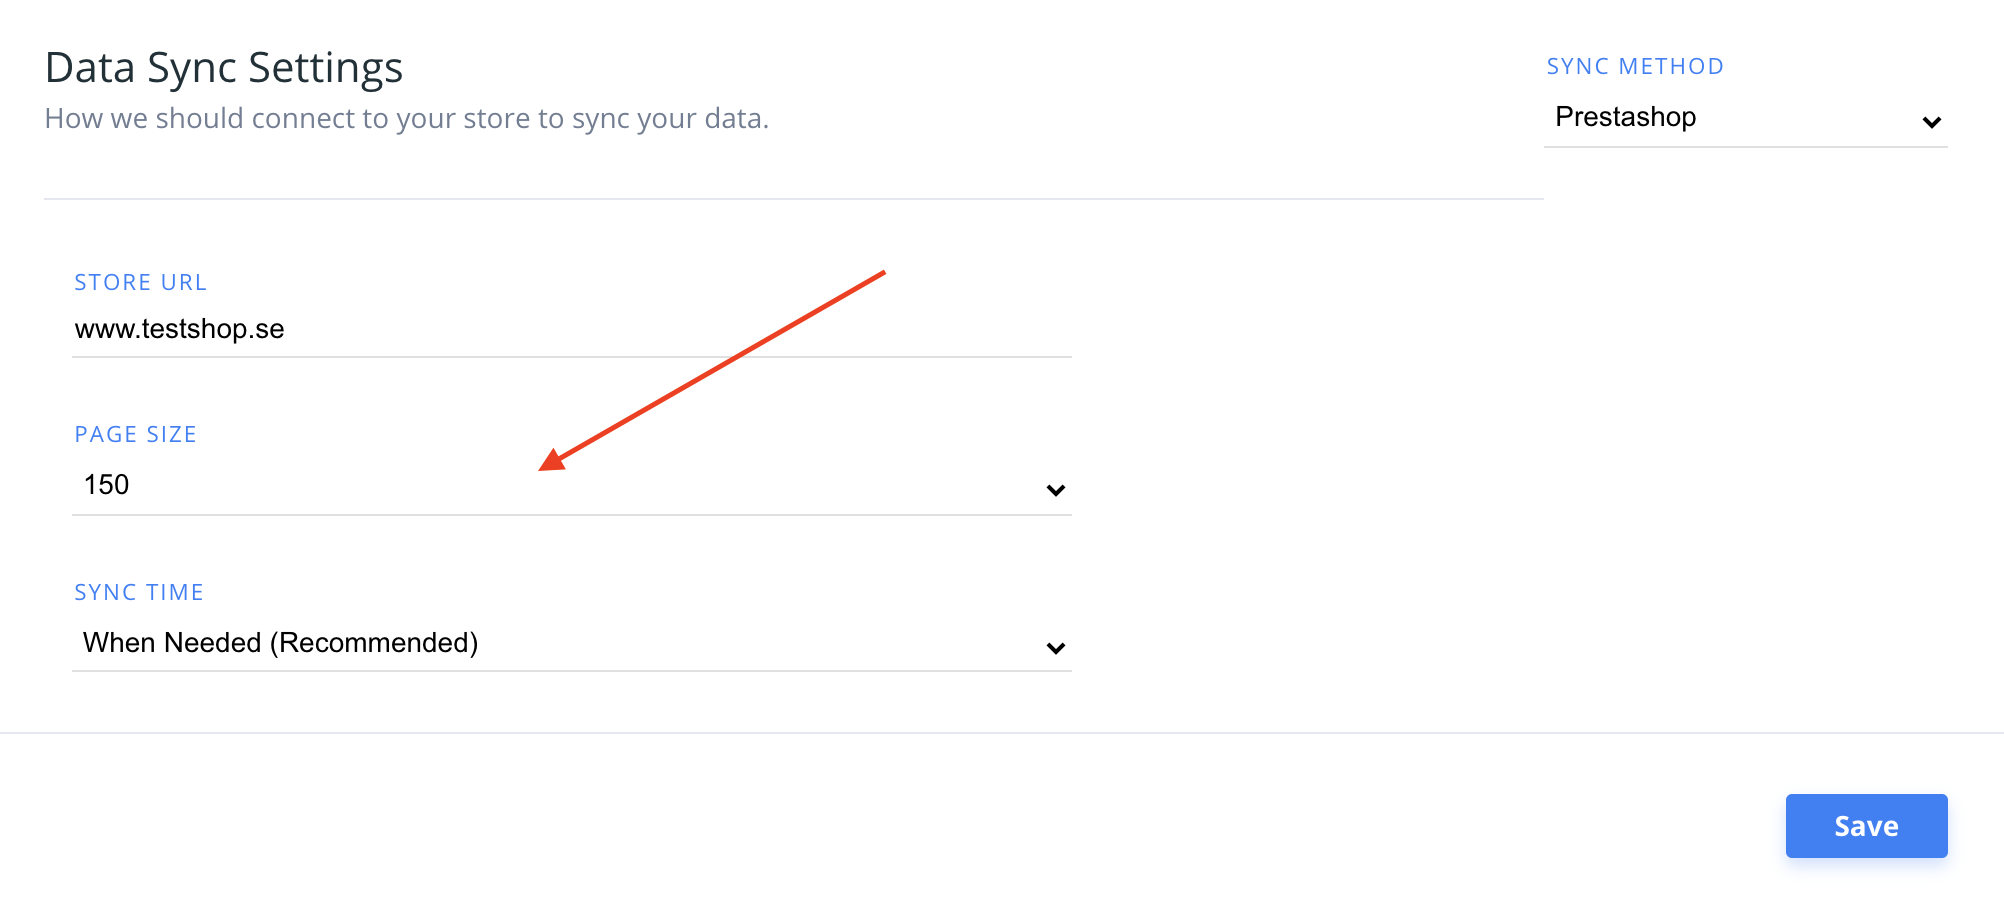
This error happens if your server denies the importer access because of too many incoming requests.
You can fix this by setting the request limit higher for your server or by setting Page Size to a higher value in my.clerk.io > Data > Configuration, causing the importer to make fewer, bigger requests:
If you are using the host provider Byte.nl, the importer usually returns this error because of their rate limiter. In this case, contact Byte.nl and ask them to whitelist the importer’s User-Agent “clerk”.
500 Internal Server Error #
This error means that your server encountered an internal error and was unable to specify which error happened.
In these cases, check your Server Log to identify which process crashed and why.
In most cases, it’s simply because of a product with an invalid attribute, or a function that is called incorrectly in the webshop.
If you have the Facebook Pixel App installed, this is known to cause a 500 error.
Try deactivating the app, and run a new sync. If it then works, keep the App deactivated, and manually copy the Facebook Pixel to your main theme file instead.
You can also try activating Debug Mode in PrestaShop, which will print the exact error message when you get a 500 error.
ALWAYS activate Debug Mode from FTP, to avoid potentially being locked out of PrestaShop’s Admin Panel. Check how to do it with FTP.
503 Service Unavailable #
This error is usually temporary and is caused by the server being too busy to handle the request.
Try again a bit later.
If the issue continues to happen, it could mean that the server is overloaded with processes and is close to maximum capacity.
Check the server load to identify if this is the case.
520 Unknown Error #
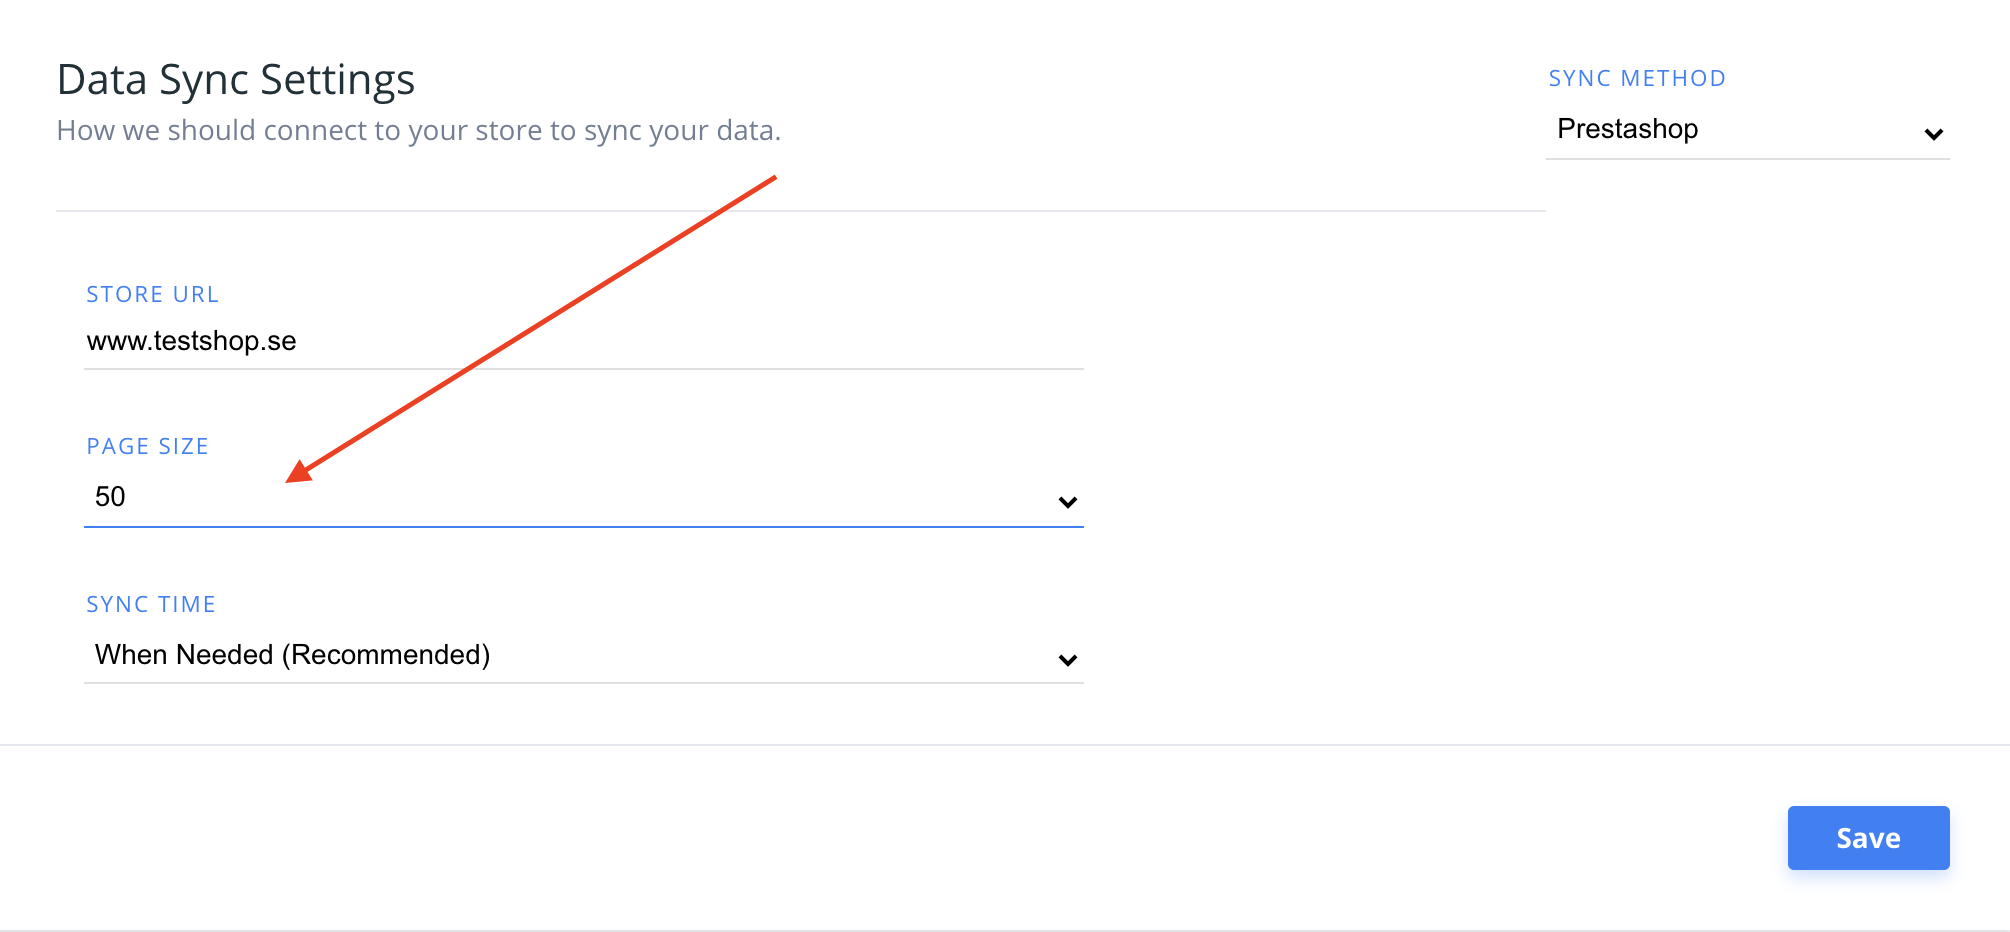
Usually this error is returned from Cloudflare, and often happens because of a bottleneck in PrestaShop that causes issues with higher Page Sizes.
To fix it, set your Page Size to 50, and run a new sync:
Invalid response #
This error is often caused when using the Facebook Pixel Module, which inserts a pixel in the top of all files in PrestaShop.
This will often cause the Data Sync to fail, because the pixel interferes with the data that Clerk is supposed to receive from PrestaShop.
Fixing this issue is quite easy—you simply need to make a small adjustment to pspixel.php which is the file generating the pixel.
Often this is found in one of the following 4 paths:
/modules/pspixel/pspixel.php
/modules/alcapixel/alcapixel.php
/modules/facebookpixel/facebookpixel.php
/modules/canonicalseo/canonicalseo.php
In the file, around line 196, you need to insert the following line of code inside the public function hookHeader($params):
if (strpos($_SERVER['REQUEST_URI'], '/module/clerk/') !== false) {
    return;
}
To support the newer data-sync:
if (Tools::getValue('module') == 'clerk') {
    return;
}
In the end, the file should look like this:
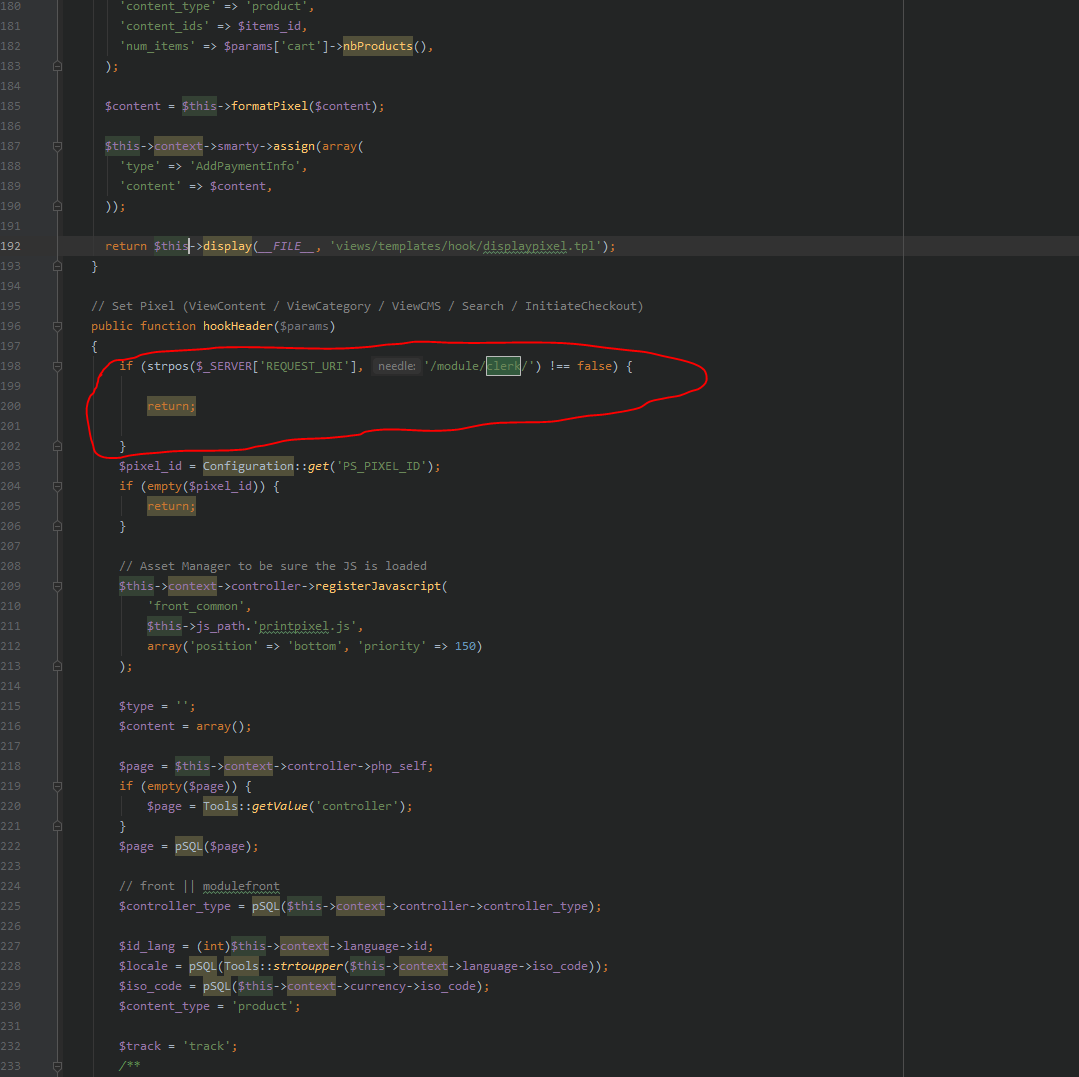
This will remove the pixel specifically from the links Clerk uses to import data from PrestaShop.
Deactivating CCC #
CCC (Concatenate, Combine and Cache) is a built-in PrestaShop functionality that allows you to reduce the number of requests of your template and then cache them.
Sometimes this functionality can interfere with our Data Sync process and block it.
If you are experiencing Data Sync errors, please open your PrestaShop backend and visit:
Advanced Parameters > PerformanceThen get to the section called:
CCC (Combine, Compress and Cache)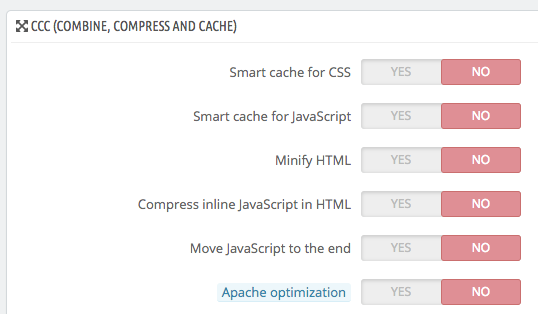
Deactivate all its sub functionalities, then save, empty the PrestaShop cache and enjoy!
P.S: You can achieve the same level of data compression—and so loading page performances—using a CDN or a dedicated PrestaShop module that enforces the same compression and combination of libraries.
Upgrade to Clerk.js 2 #
Clerk.js 2 is a faster and more flexible version of our JavaScript library.
It makes installing Clerk on any webshop easier.
However, since the two versions work slightly differently, you need to follow these steps to successfully upgrade.
The two main differences in Clerk.js 2 are that the Designs in my.clerk.io use the Liquid templating language, but they can also easily be created using the Design Editor.
Create designs #
Since Clerk.js 2 has a different approach to Designs, you need to create new ones.
You can create your Clerk.js 2 Designs in one of two ways:
Use the intuitive Design Editor to create new Designs, as described in the following points.
Convert your old Designs. Follow this guide to see how to do it.
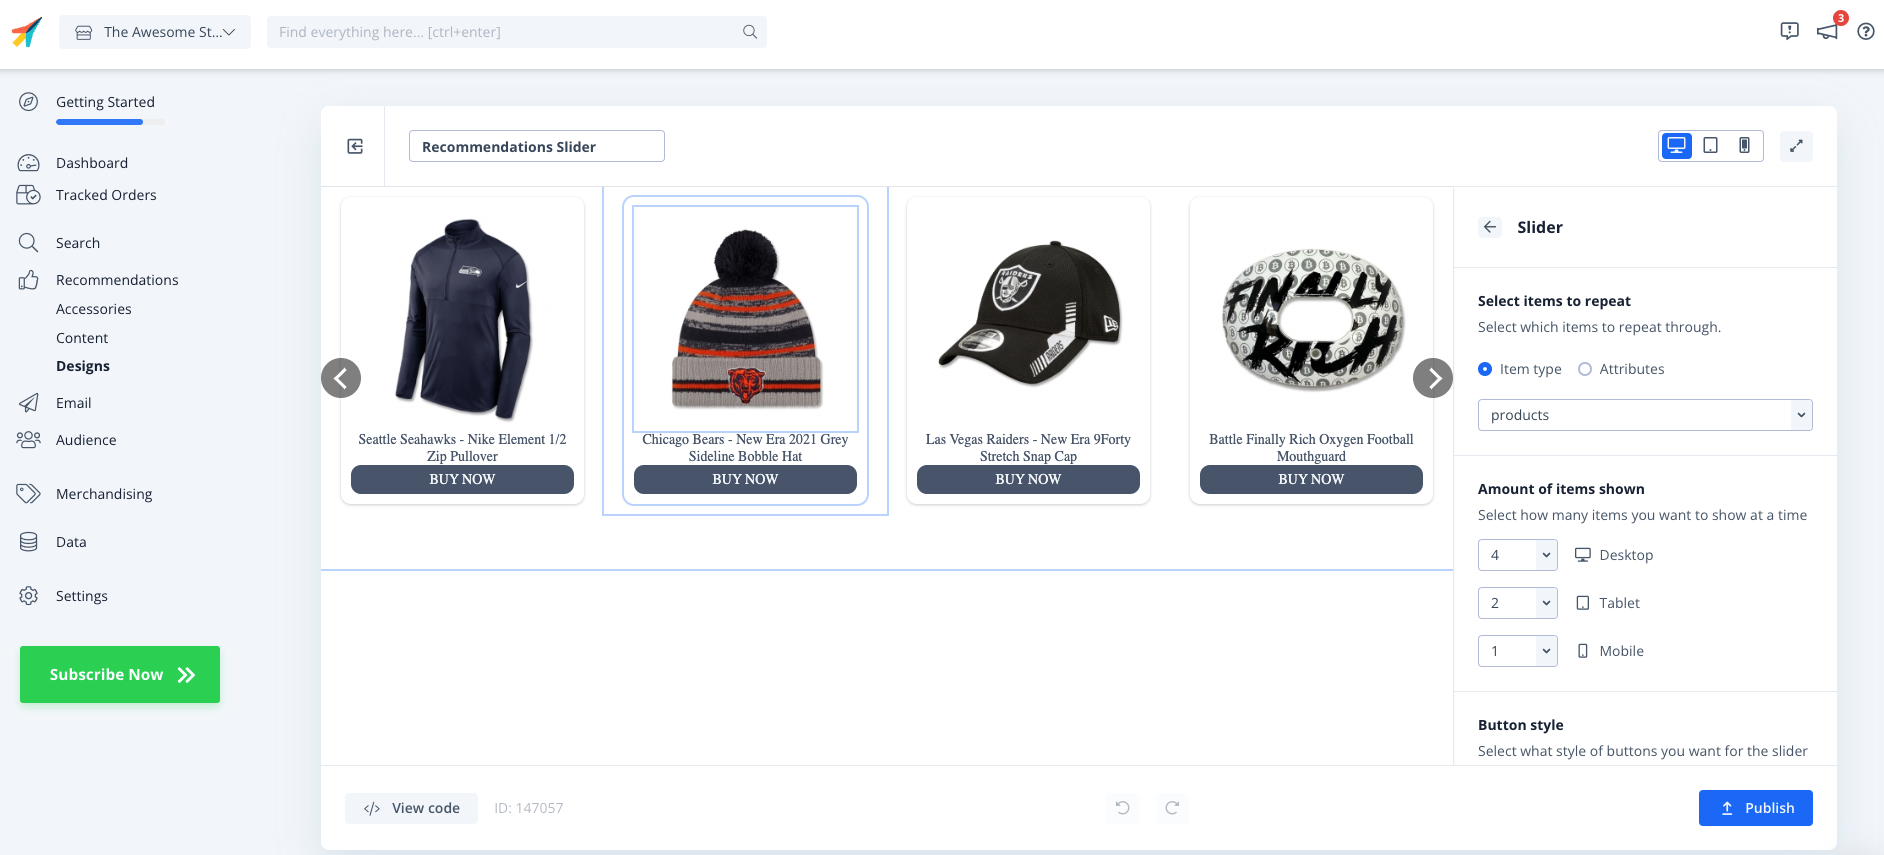
Design Editor option #
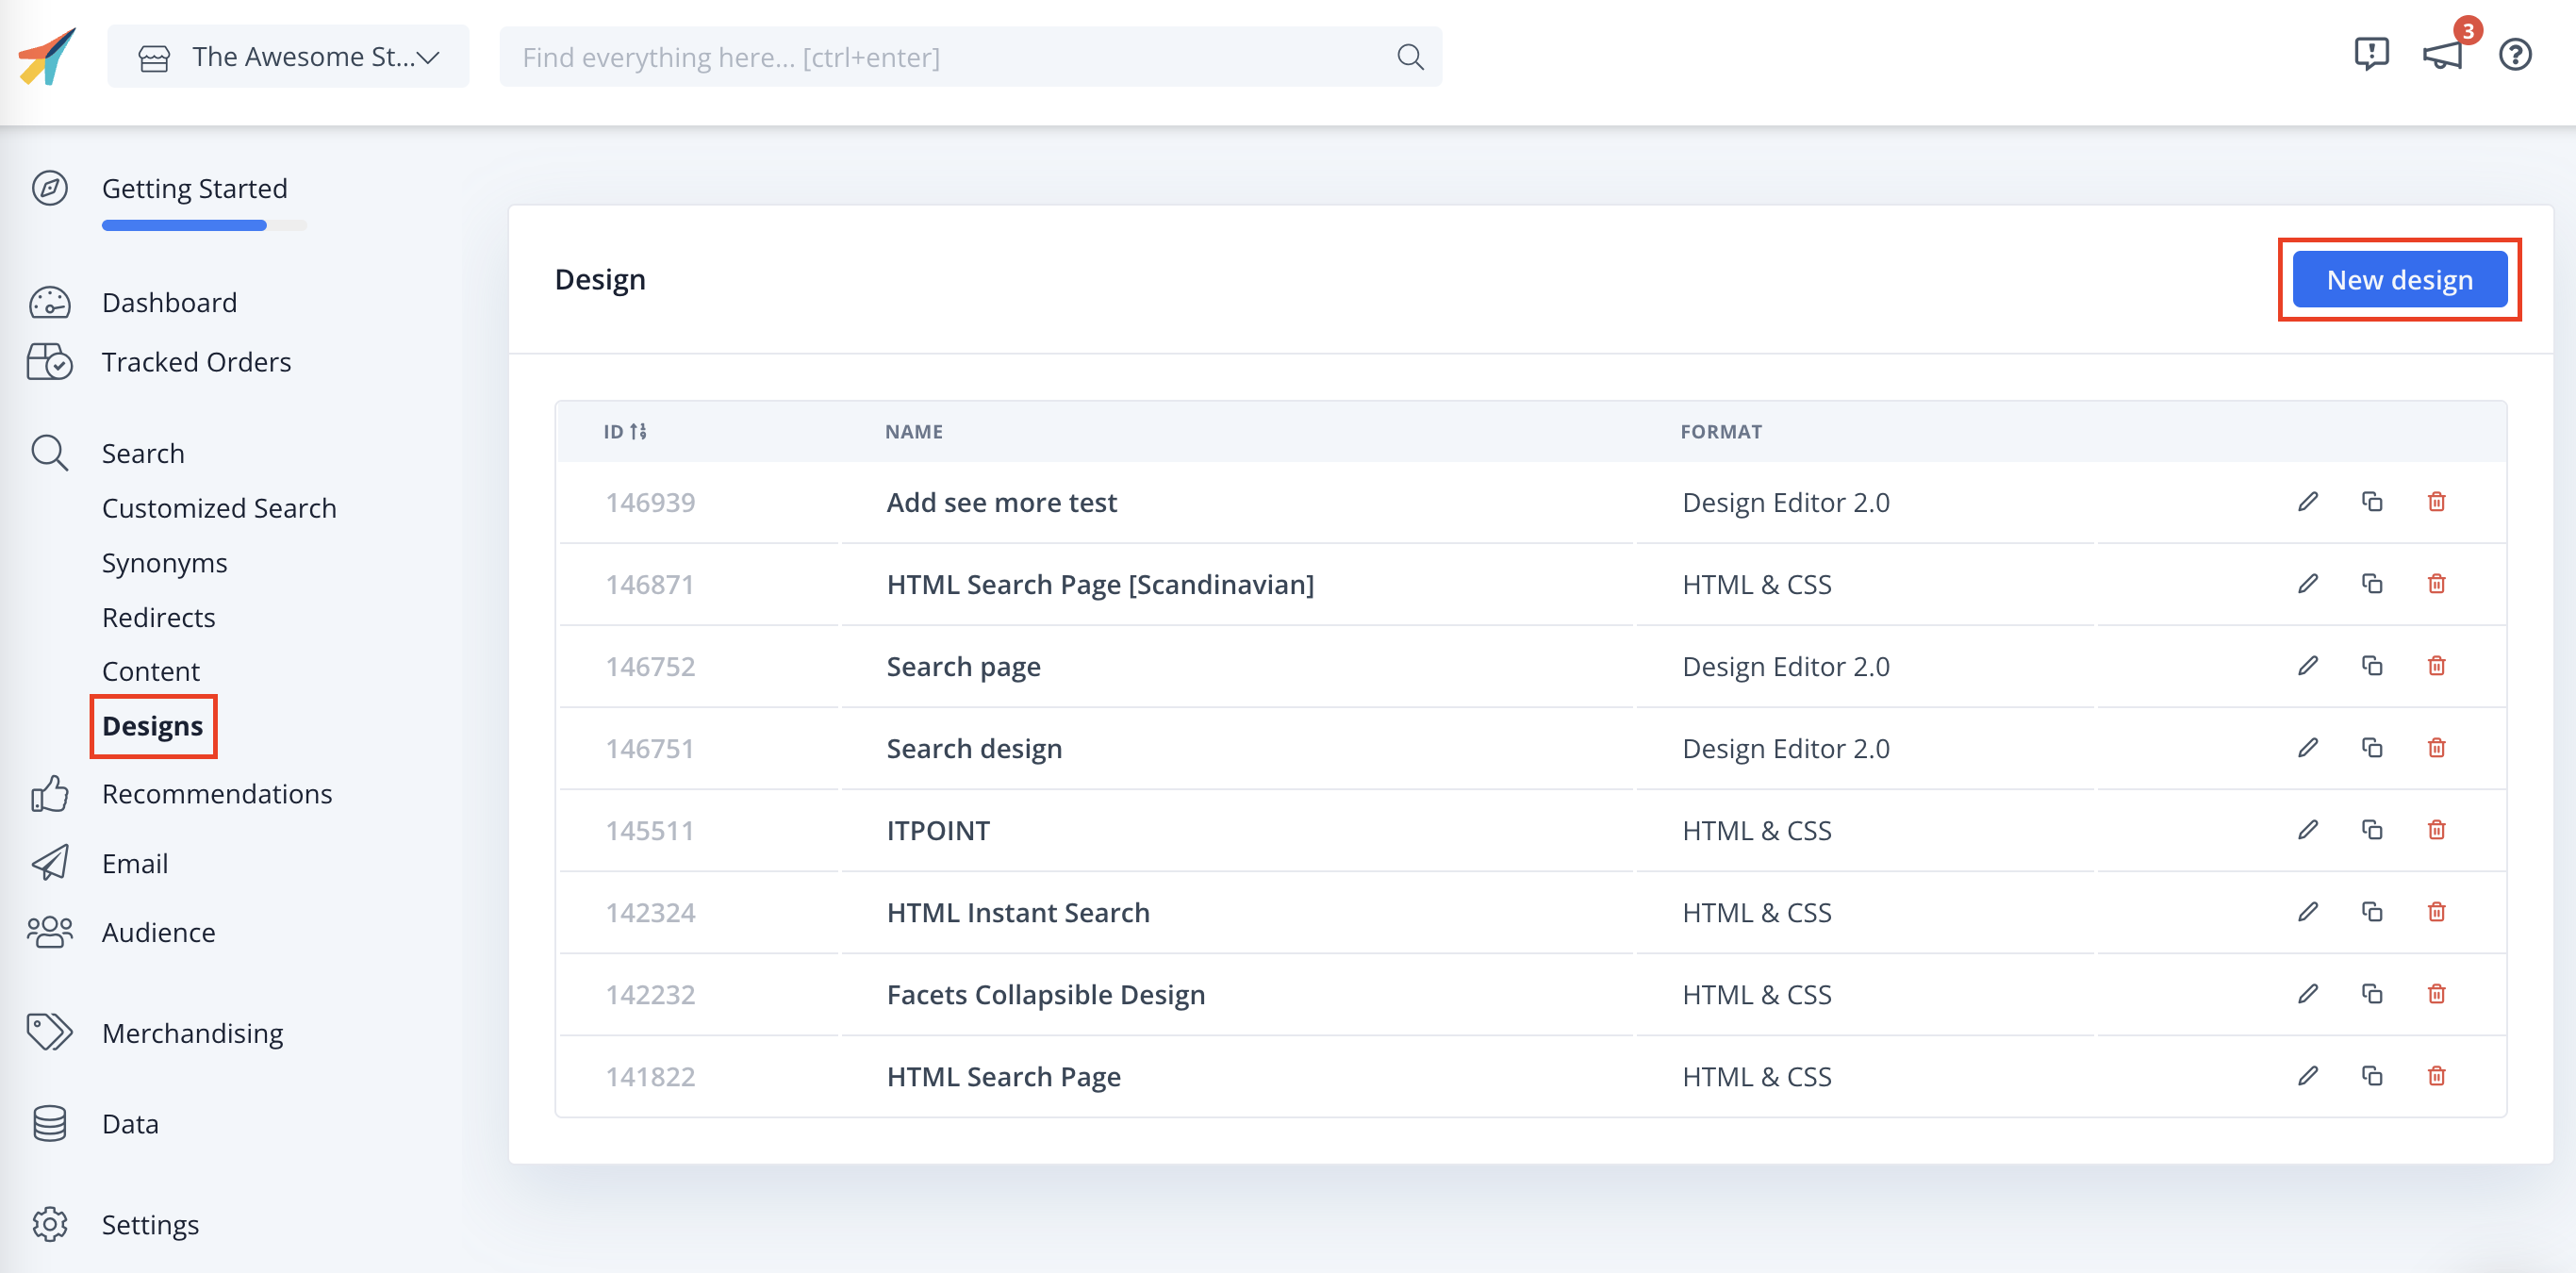
- Go to my.clerk.io > Recommendations/Search > Designs > New Design.
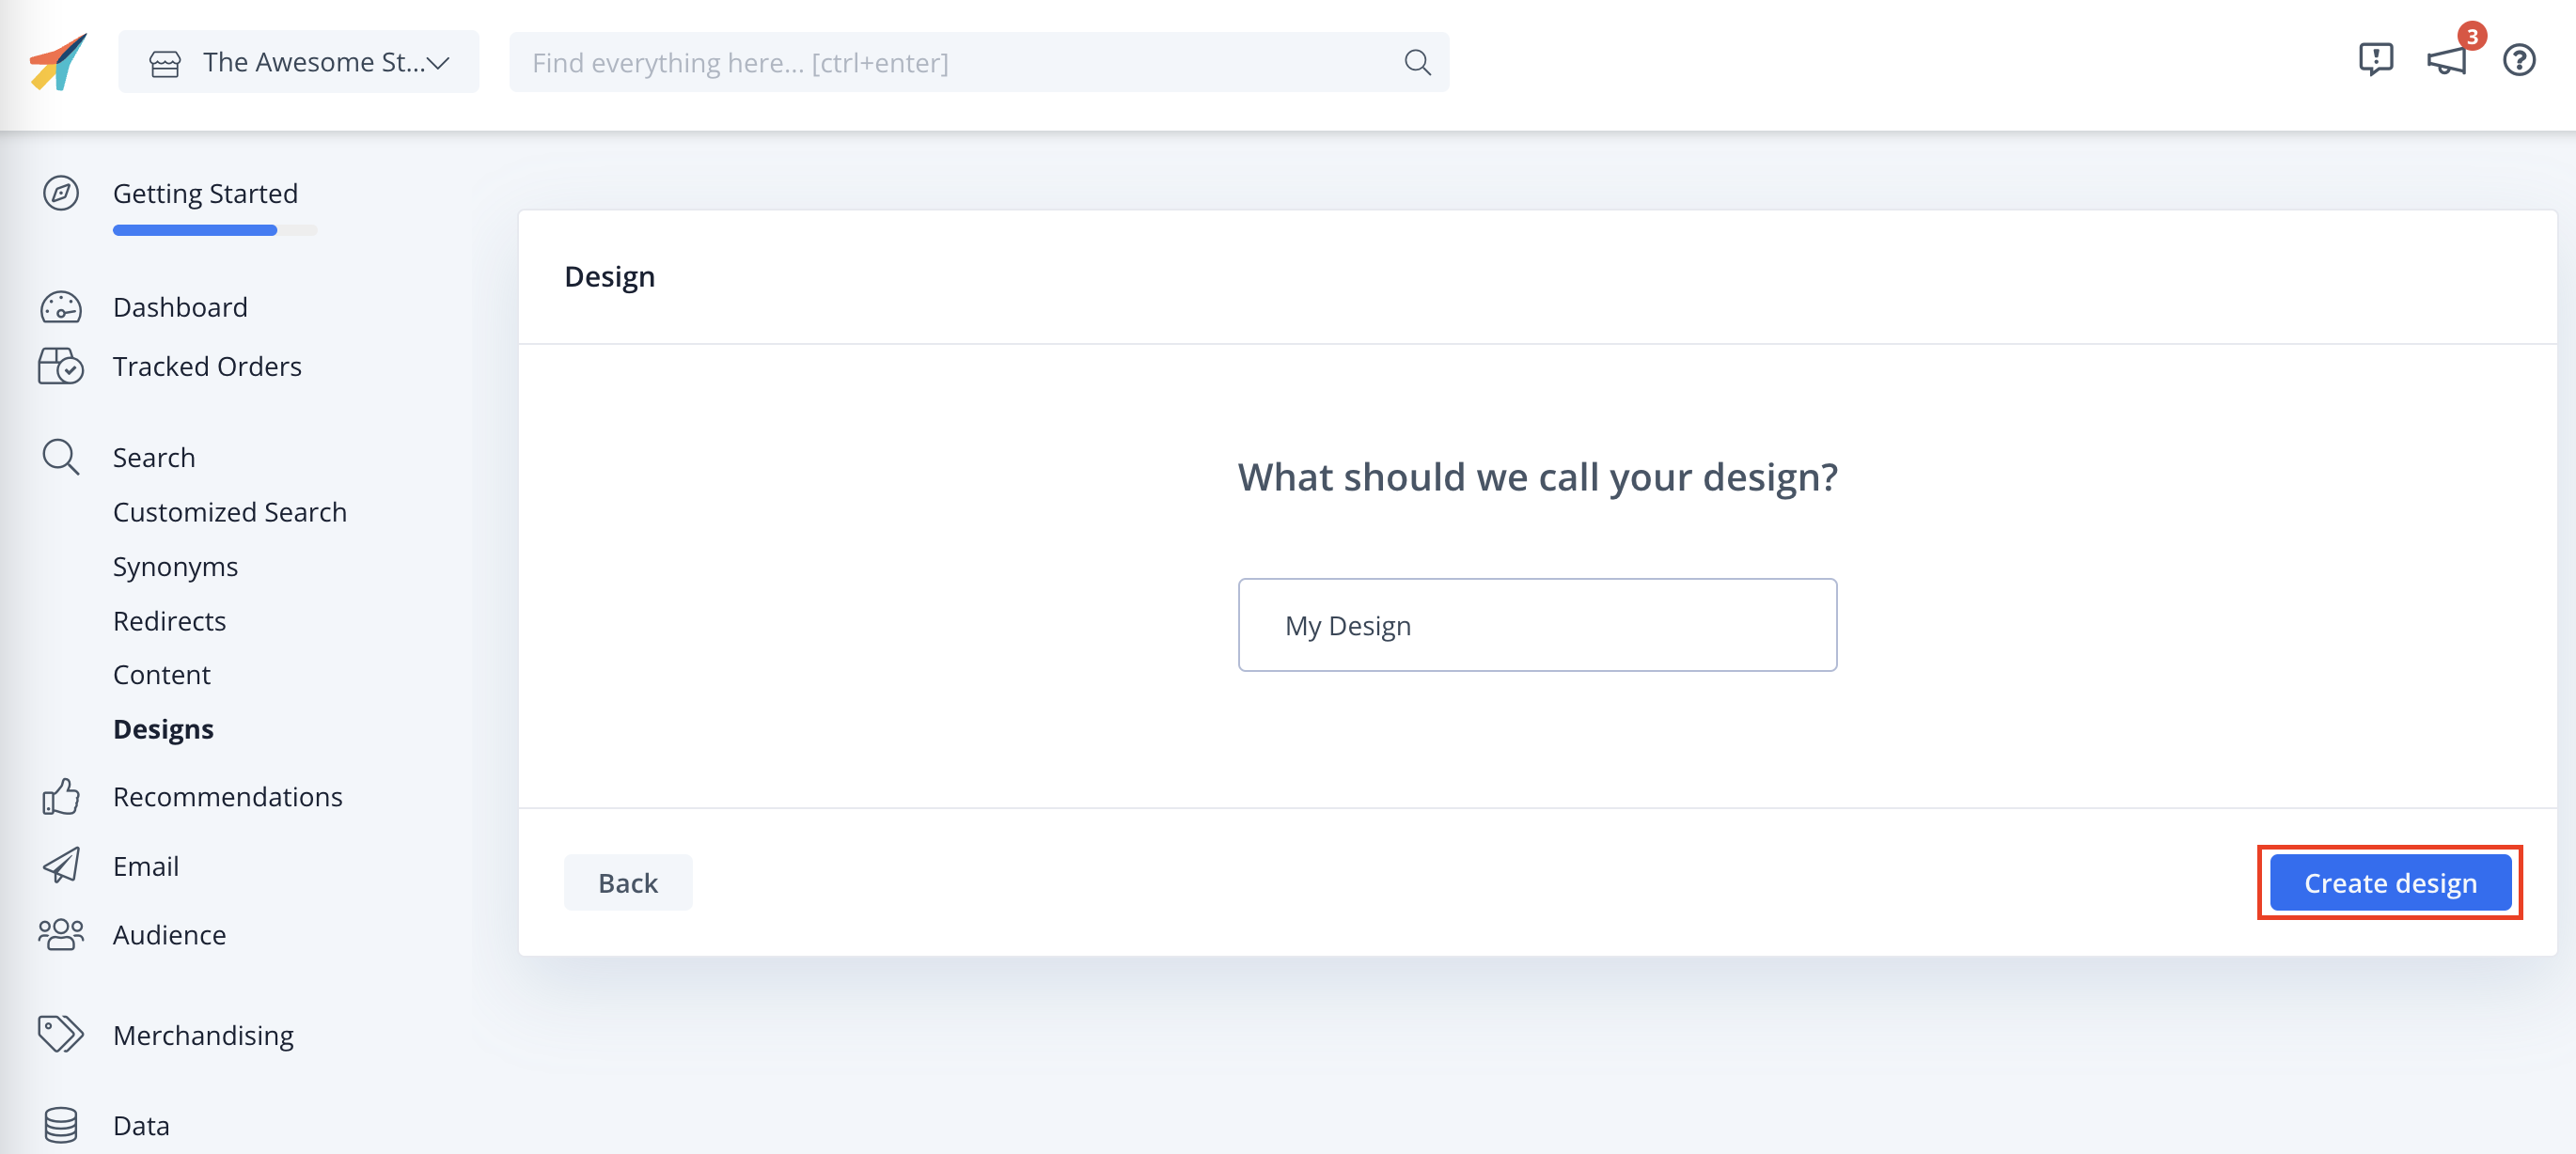
On the following screen, give your Design a Name (we recommend adding “V2” so it’s obvious that you are using Clerk.js 2).
Choose Design Type.
When you are done, click Create Design.
In the Design Editor, click any of the existing elements like the name, image, button, etc. to edit it, or drag-and-drop new elements to the Design to add more information about products.
Click Save Design when you are done, and go to Step 2 in the guide.
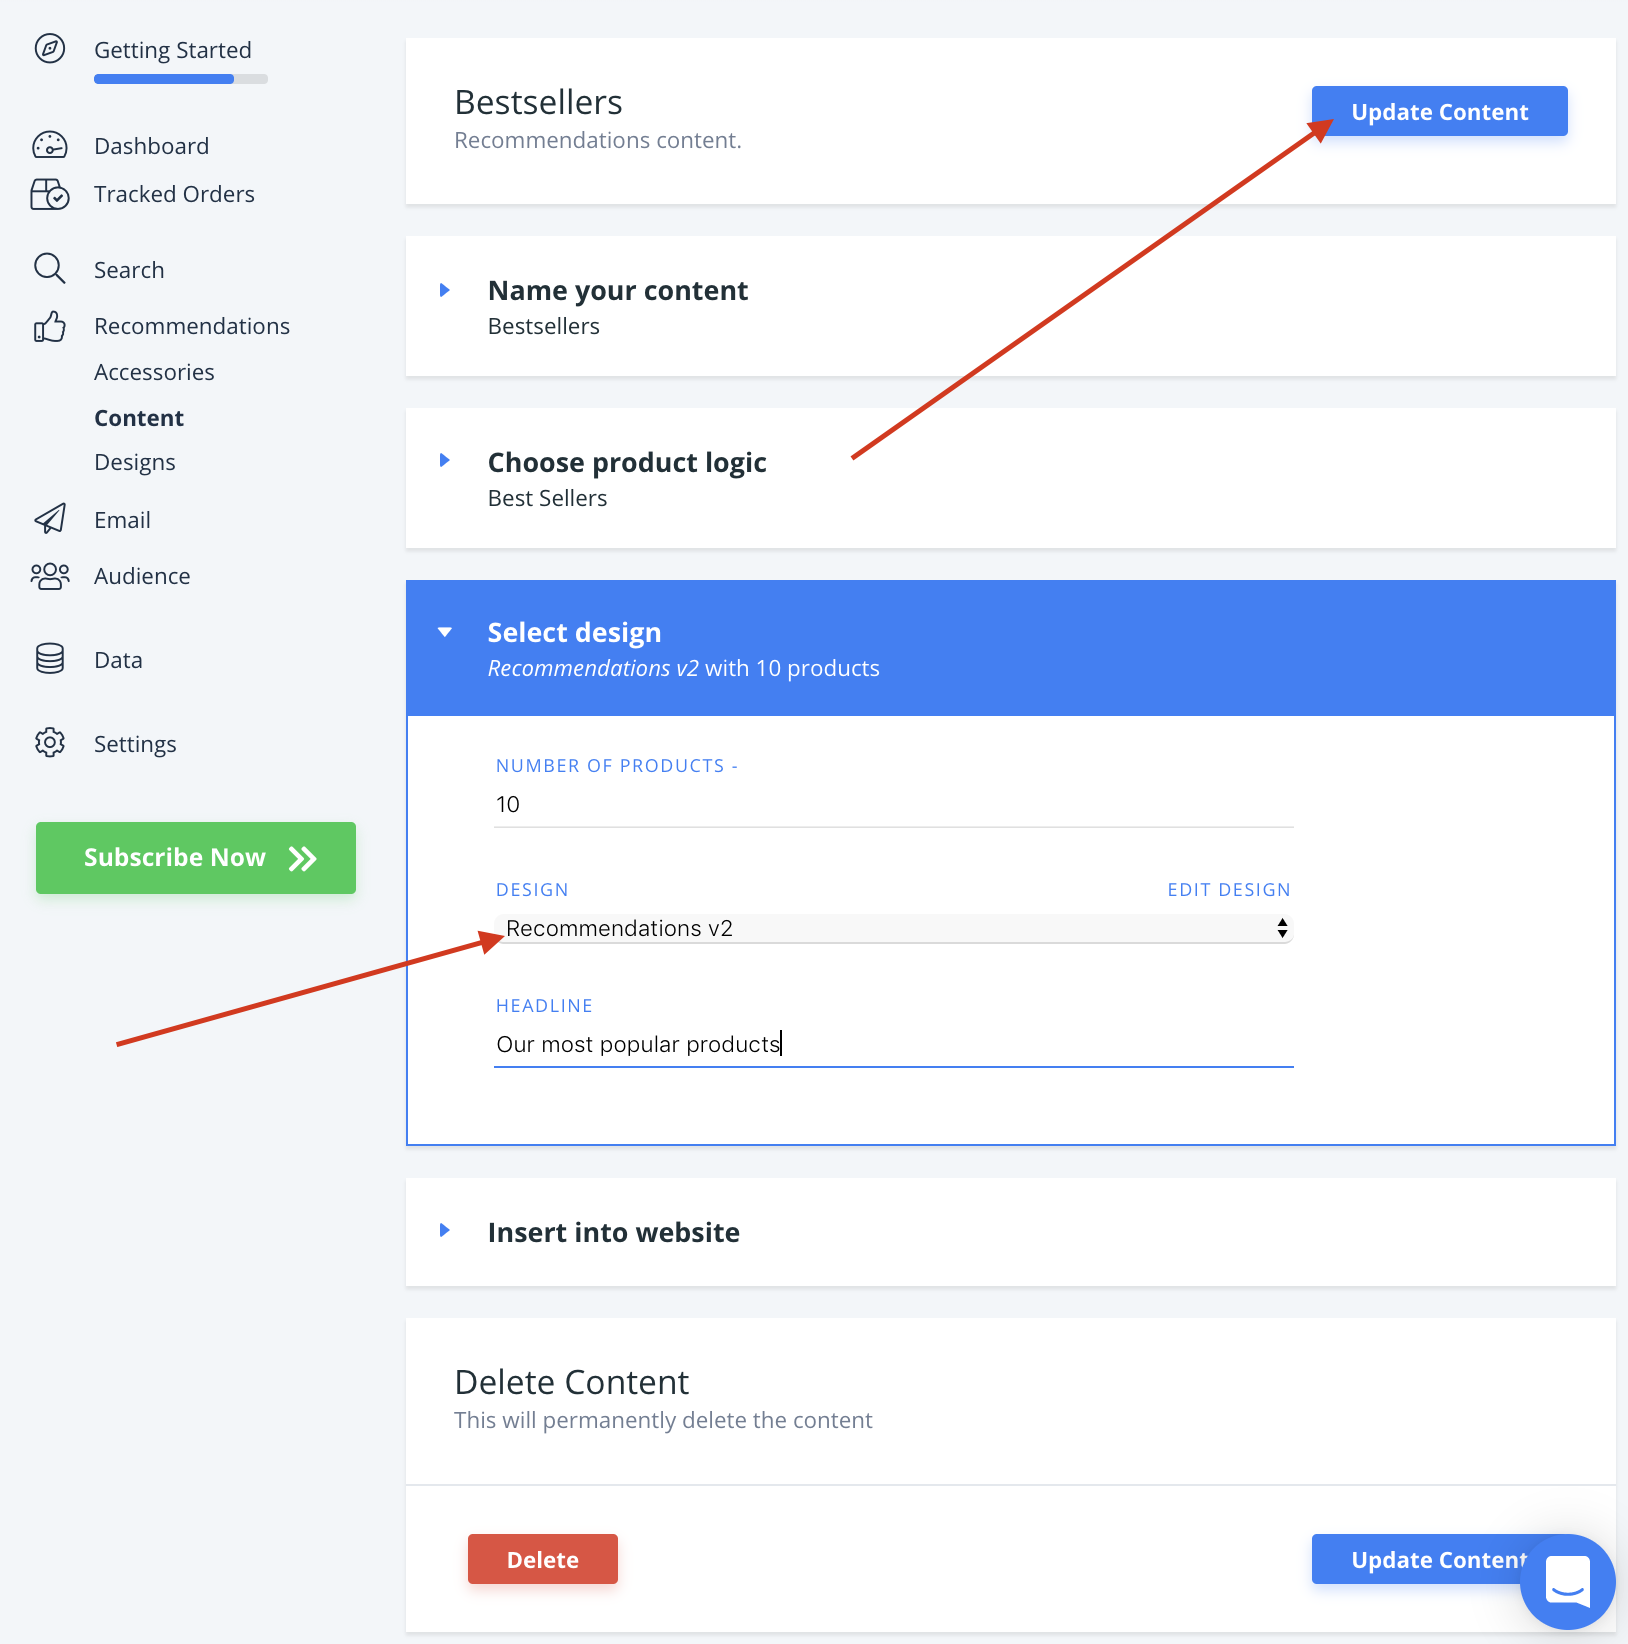
Go to Recommendations/Search > Elements and change your Clerk Element to use your new Design.
Click Update Element. This will temporarily cause them to not show up on your webshop until you are done with Step 2. Choose the new Design for all Elements that should be updated.
You are now ready to switch over to Clerk.js 2.
Upgrade module #
WARNING: Remember to take backups of any modified files, as they will be overwritten.
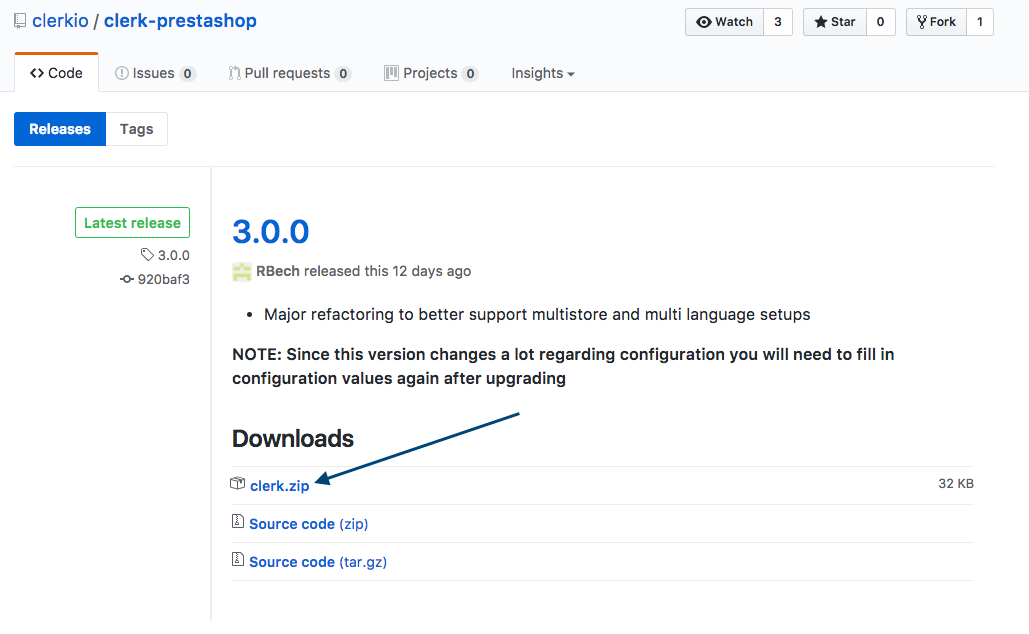
Start by downloading the latest version from this link:
https://github.com/clerkio/clerk-prestashop/releases/latest
Then log in to your PrestaShop admin and go to Modules And Services > Modules And Services.
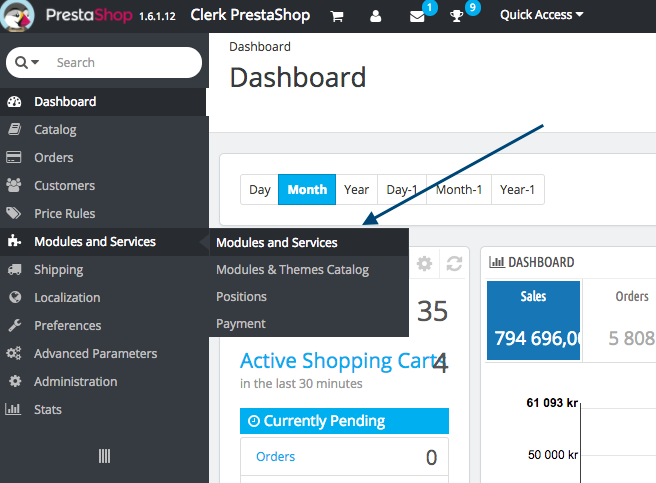
On this page, do the following:
Click Add New Module.
Click Choose a file and upload the clerk.zip file you just downloaded.
Click Upload this module.

PrestaShop will now display a success message, confirming that your module has now been upgraded.
Now you have the latest version of Clerk for PrestaShop installed, and Clerk.js 2 is running on your webshop!
The full documentation for Clerk.js 2 can be found here:
https://docs.clerk.io/docs/clerkjs-quick-start
Handling require.js #
This guide only applies when using up to v.4.4.1 of the PrestaShop Clerk extension.
In some setups, Require.js stops Clerk.js from loading, which means that no sliders or search results will be shown.
When this happens, the following error will be shown in your console:
Uncaught ReferenceError: Clerk is not defined
There are two ways to handle Require.js. Both approaches require you to make changes to the tracking-script in this file:
modules->clerk->views->hook->visitor_tracking.tpl
Include in Require.js #
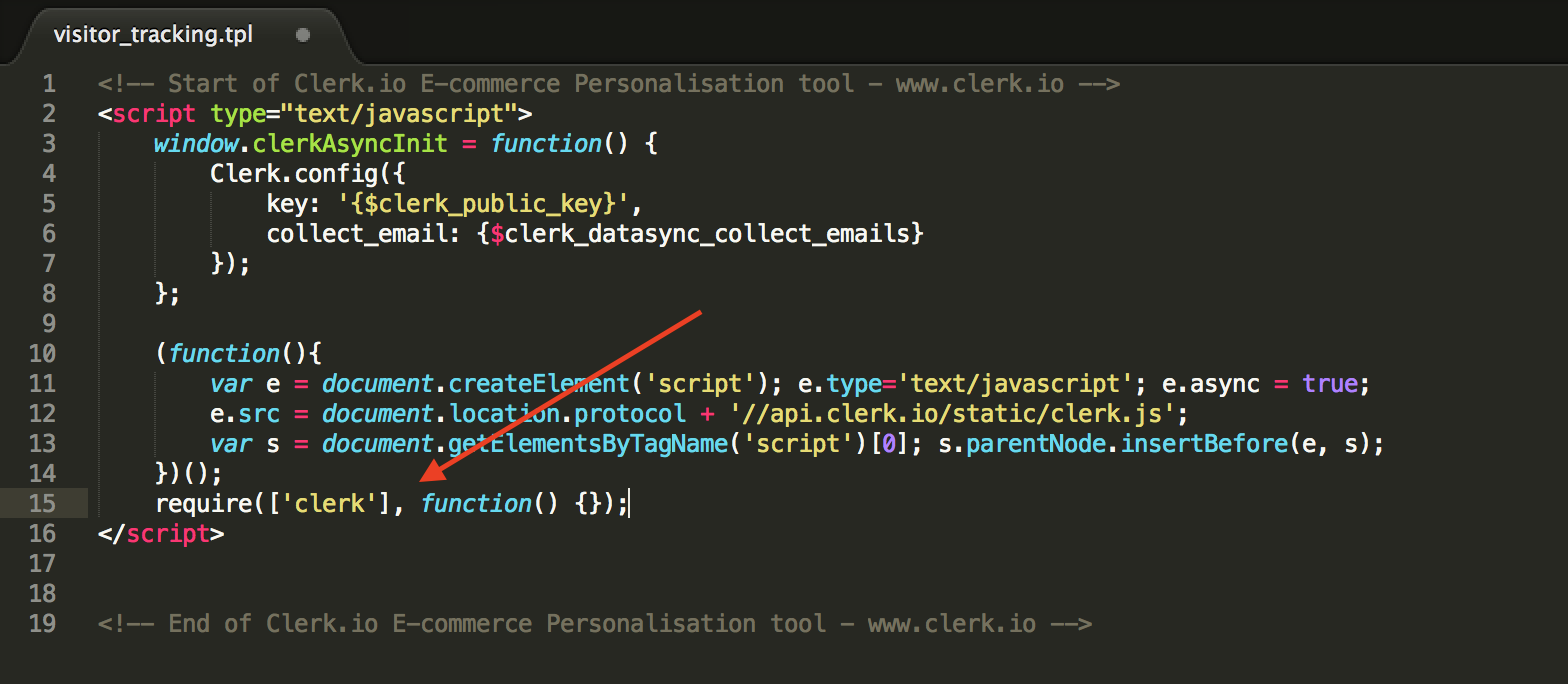
The best approach is trying to get Require.js to recognize Clerk.
You can do this by inserting require(['clerk'], function() {}); in the bottom of the tracking script:
Ignore Require.js #
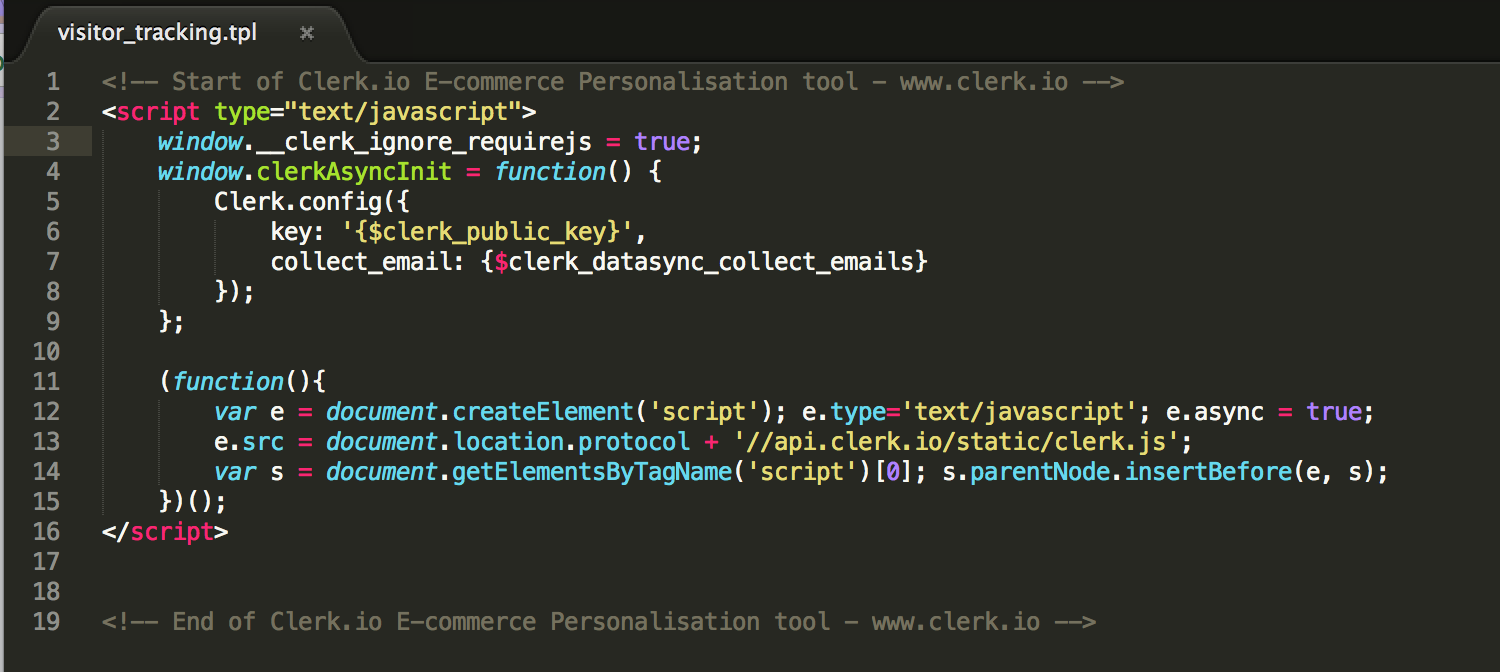
If the above solution doesn’t work, it’s possible to ignore Require.js.
You can do this by inserting window.__clerk_ignore_requirejs = true; in the top of the tracking script:
After using one of these approaches, Require.js will now be compatible with Clerk.