Sync Data
Sync your PrestaShop products, attributes, and order data to Clerk. This guide covers customizing product data, choosing which products to import, and managing order sync.
Before syncing data, make sure you have installed and configured the Clerk module in your PrestaShop backend. See the Get Started guide for installation instructions.
Set up Sync #
To sync your PrestaShop store data with Clerk, you need to configure the data sync settings in Clerk.
Go to my.clerk.io > Data > Configuration.
Enter your webshop URL in Store URL.
If you plan to use Email & Audience, set Collect Emails to Yes in the Prestashop module and Save.
Select the language of your domain if applicable.
Click Start Sync and wait for the sync to complete.
Customizing product data #
In Prestashop, you can add most simple attributes directly from the Admin, but you can also create customised attributes directly in the code.
Sending simple attributes #
Note: This feature only works from v.5.3.2. Check this guide to see how to upgrade.
In the Prestashop Admin, start by going to the following section:
Prestashop 1.7: Catalog -> Attributes & Features Prestashop 1.6 : Catalog -> Product Attributes
Here you can see all the attributes you have available:
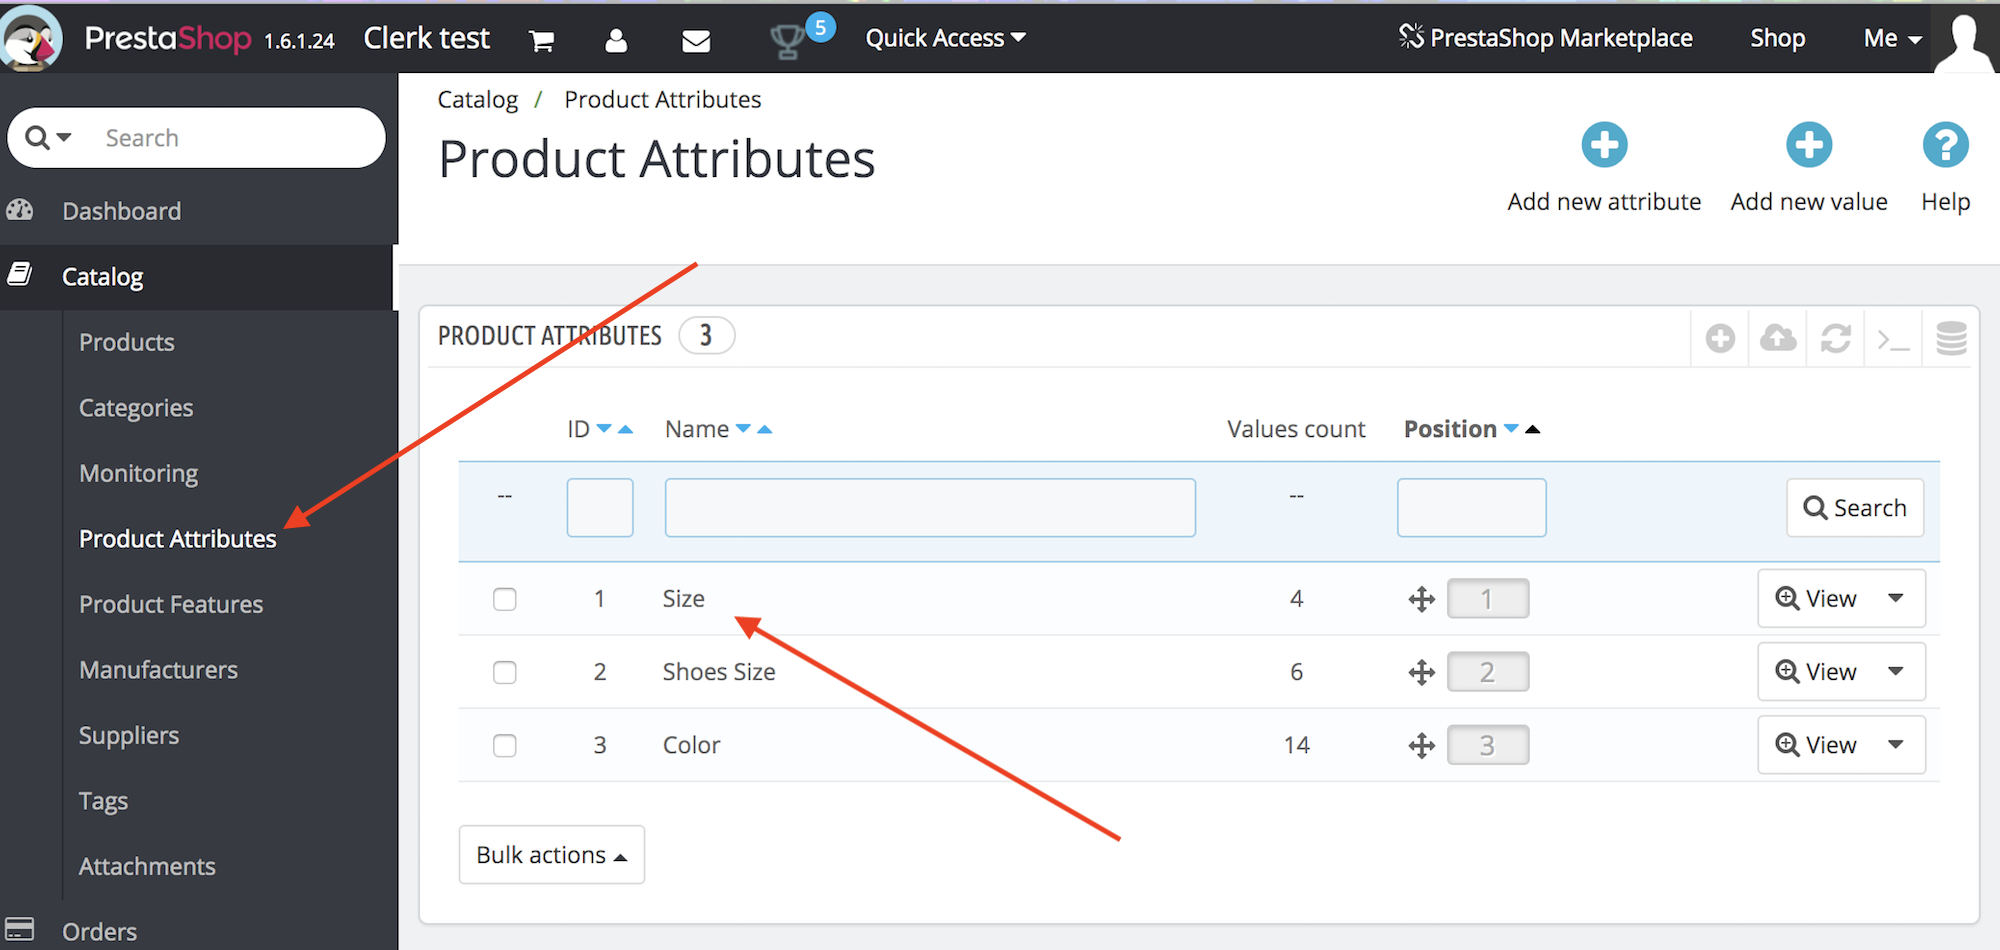
Find the names of the attributes you want to add.
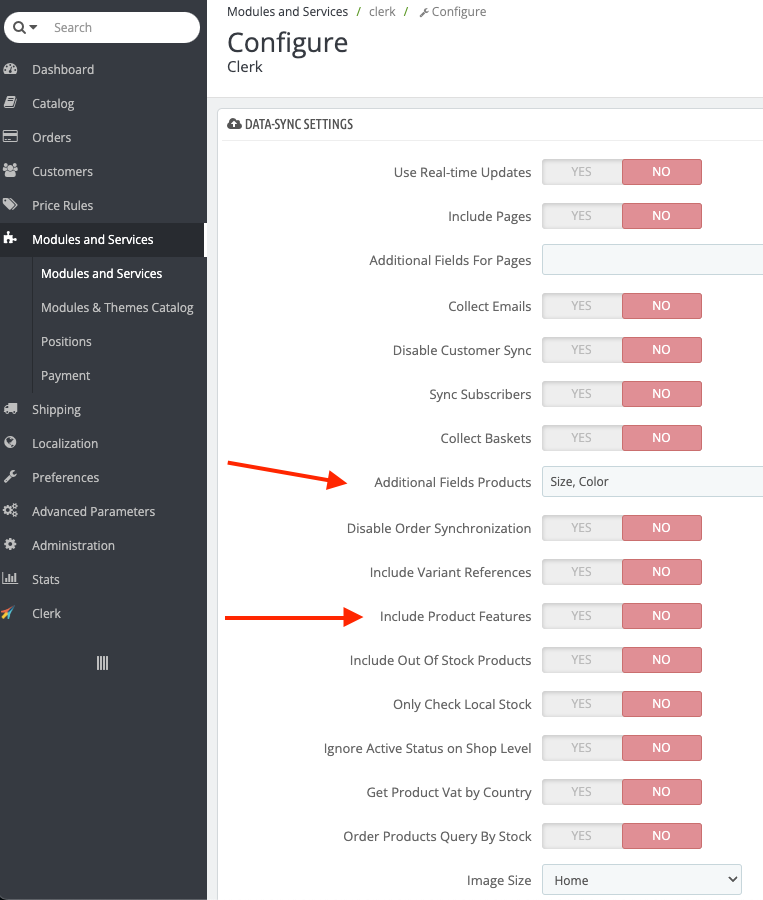
Then go to Modules And Services -> Clerk -> Configure.
Under Data Sync Settings, type in the attribute Names separated by comma in Additional Fields for Products.
You can also turn on the fields such as Include Product Features in order to import all the products features to clerk.
Both of these are available on both version 1.6 and 1.7 of Prestashop:
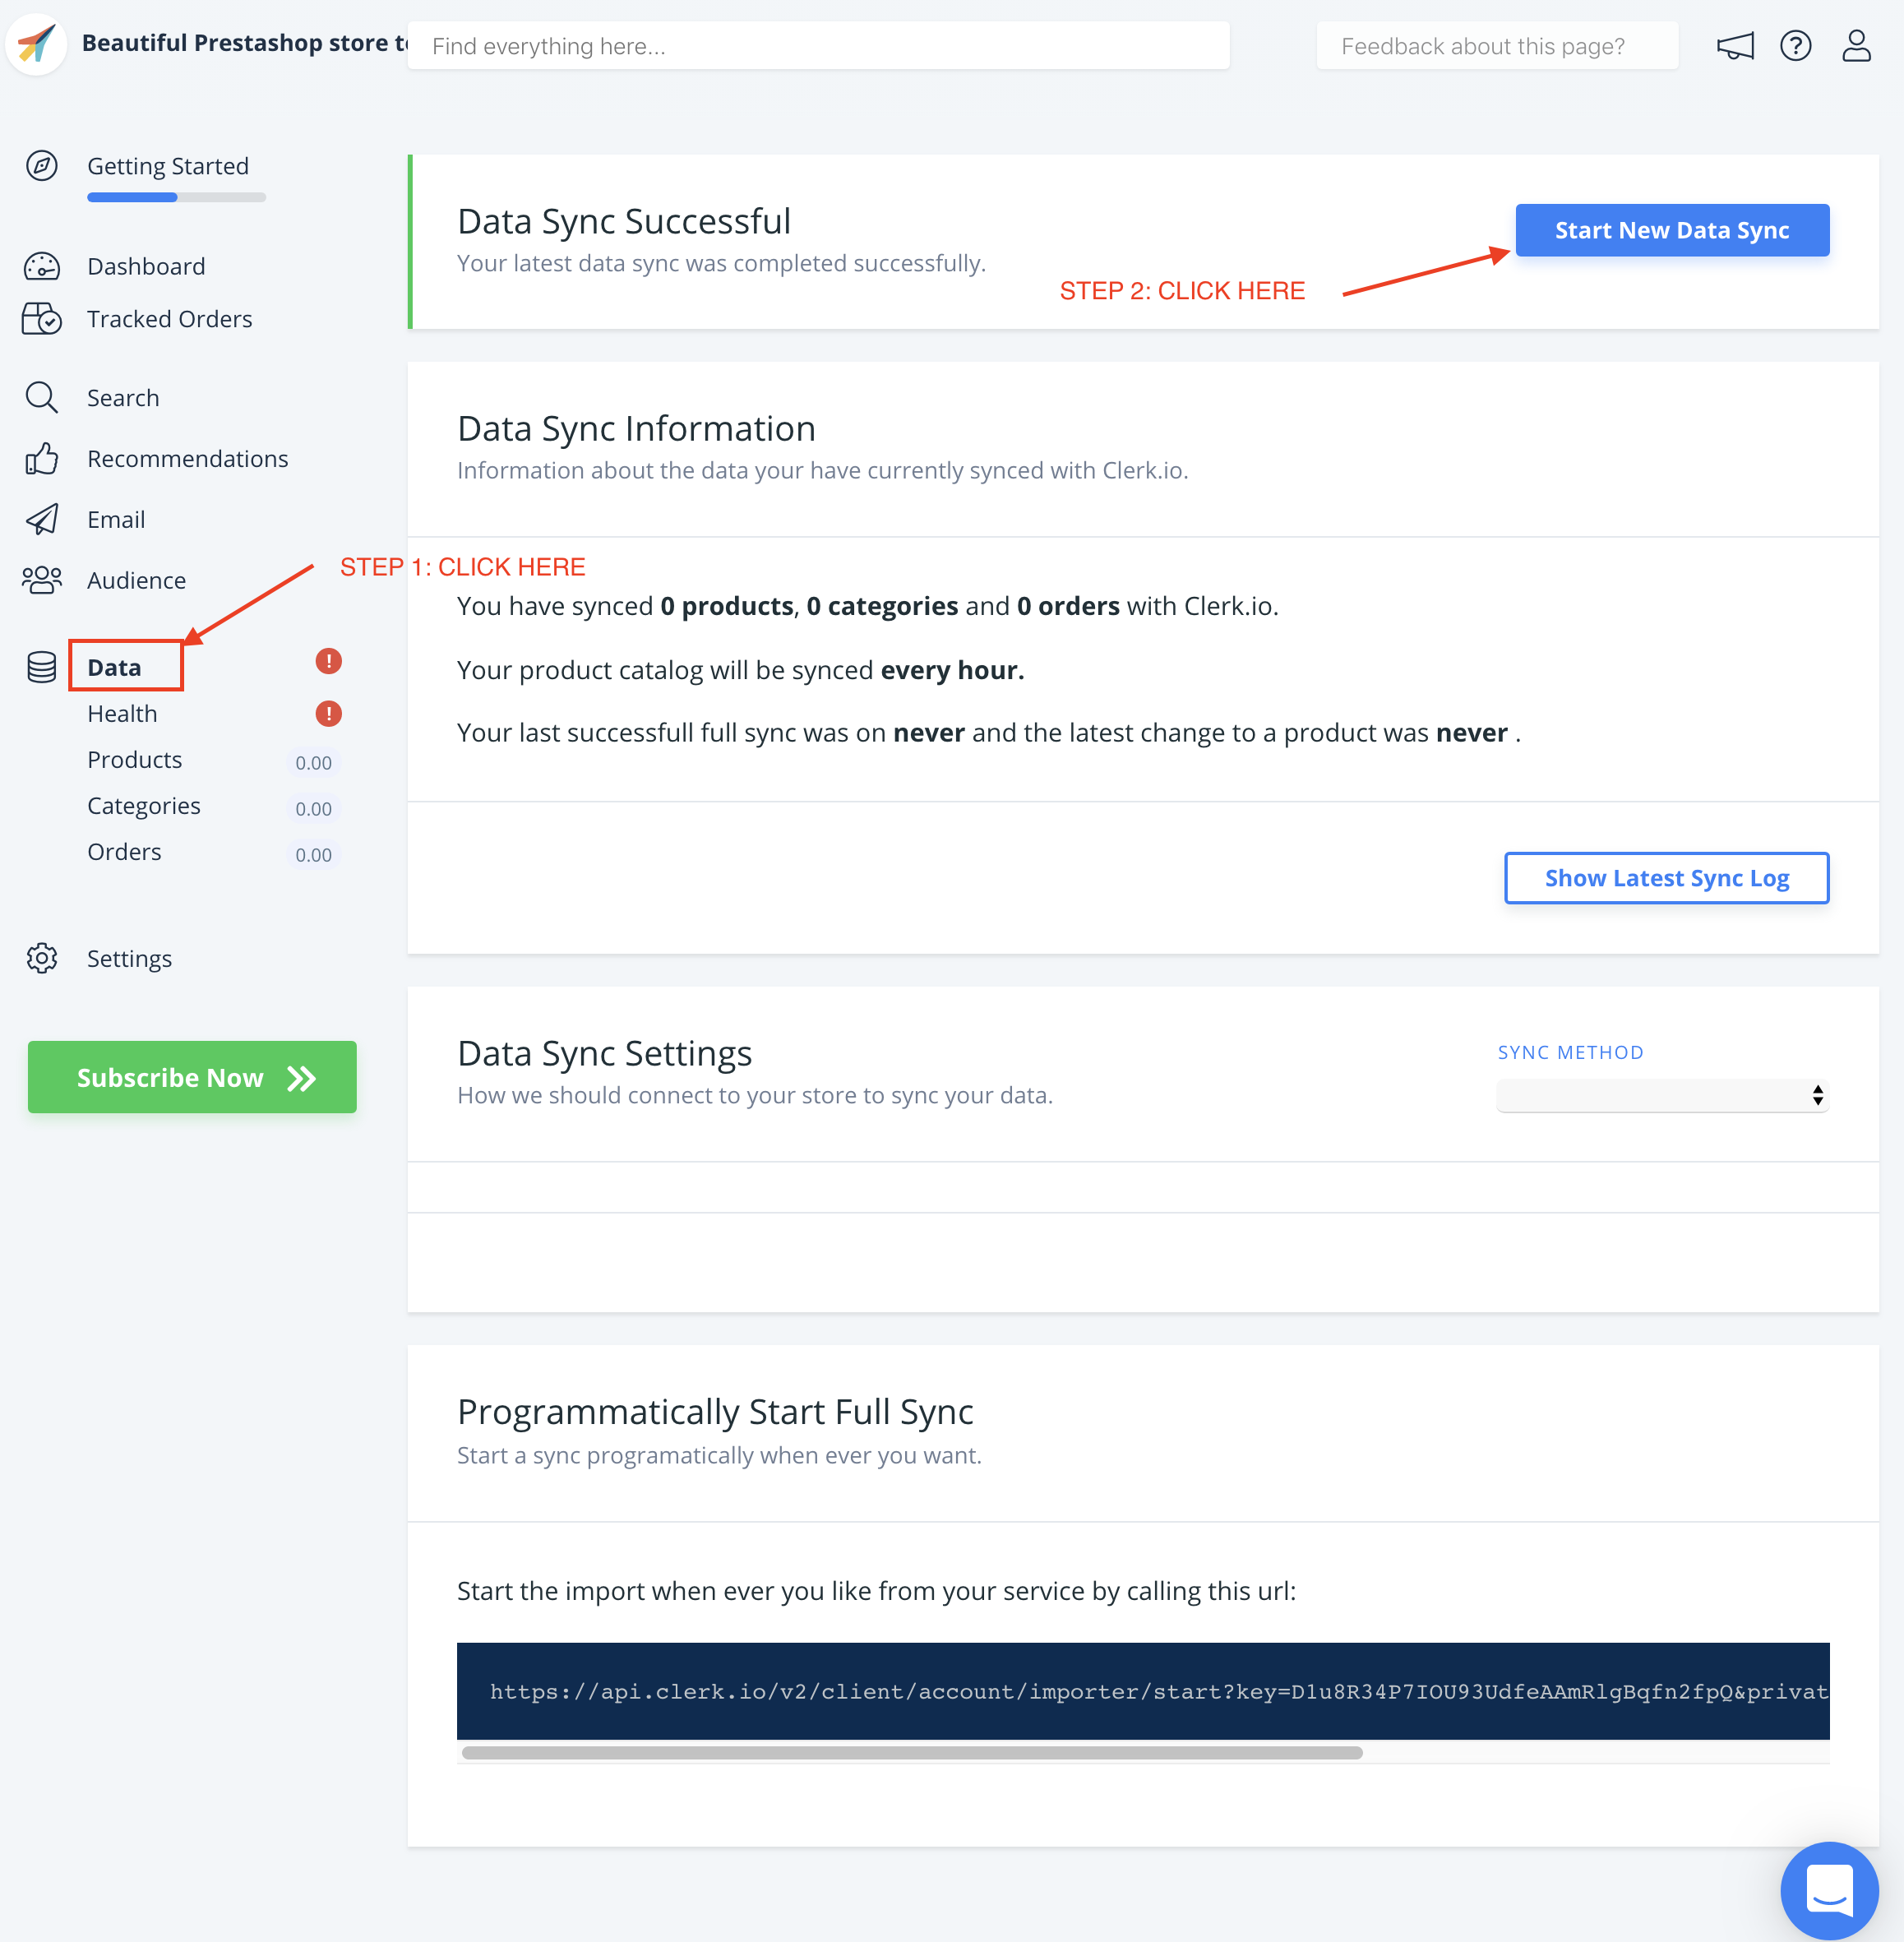
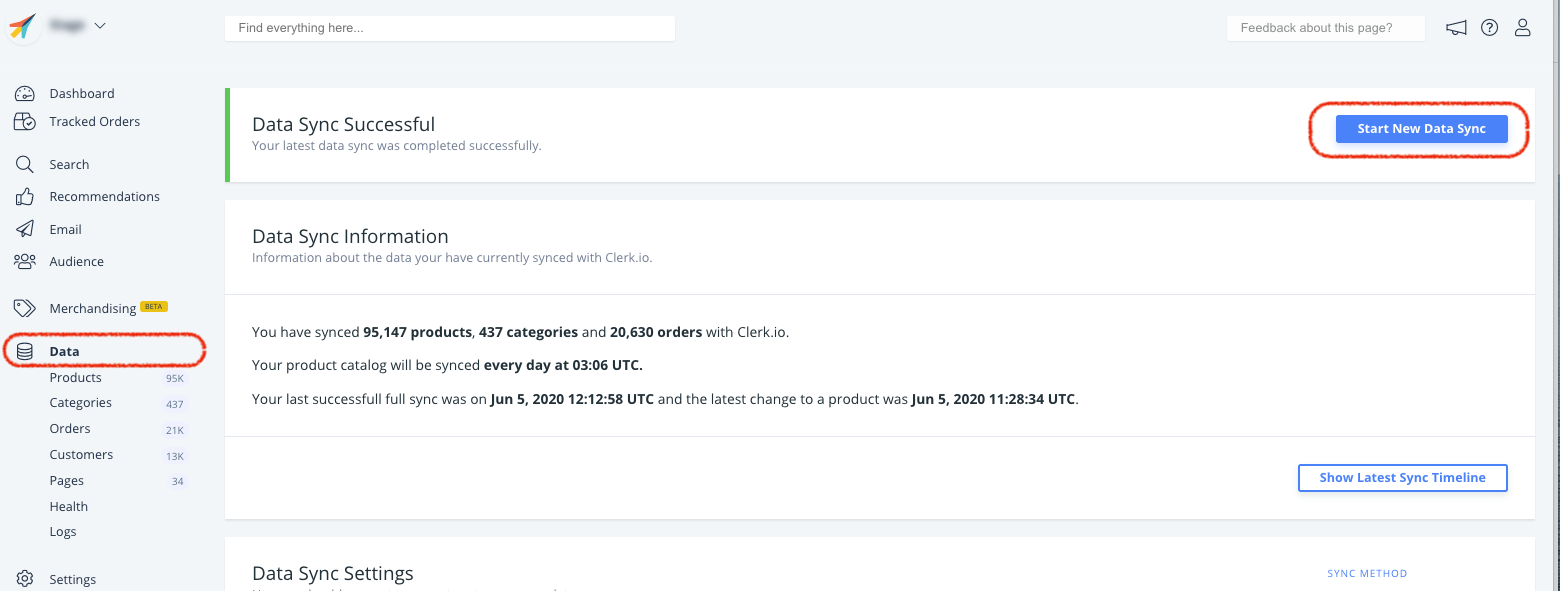
After implementing your attributes, go to my.clerk.io->Data and click Start New Data Sync in the upper right corner.
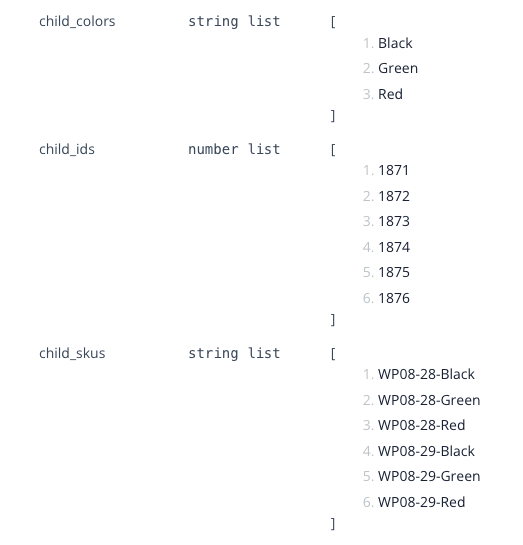
If the attributes you want to send are already available as part of your configurable/grouped products data in your PrestaShop admin, they can easily be synced on the latest version of your plug-in.
They will appear as child_attribute, for example, child_color, child_skus etc.
Sending custom attributes #
Custom attributes, that are more advanced, can be added through the module files in FTP.
This file handles the product-attributes:
modules->clerk->controllers->front->product.php
Each attribute has its own fieldHandler , which is used to pull it, in the function __construct
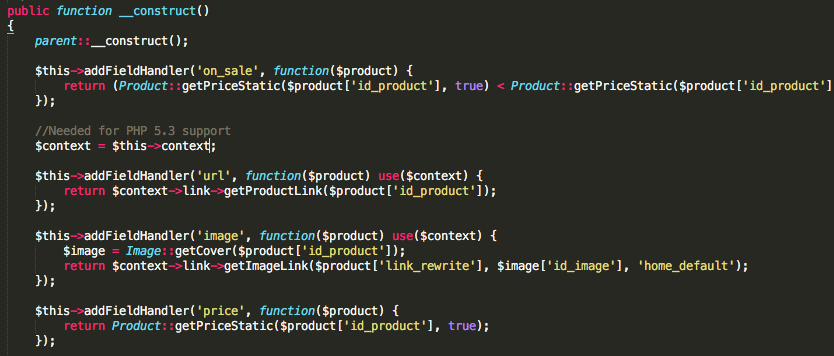
Simply add your attribute here, with the following syntax:

$this->addFieldHandler('CLERK_ATTRIBUTE_NAME',function($product){
return PRESTASHOP_LOGIC;
});
Where CLERK_ATTRIBUTE_NAME defines the name you want it to have in Clerk and PRESTASHOP_LOGIC is the code for pulling the attribute from Prestashop.
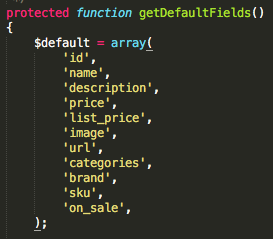
Lastly, include your new attributes in the function getDefaultFields() in the bottom of the file.
Choosing products to import #
You can configure the PrestaShop module to send all products to Clerk, instead of only the saleable ones as it does per default.
To do this, start by finding this file in FTP:
modules->clerk->controllers->front->product.php
In the function getJsonResponse() locate this line:
$products = $product->getProducts($this->getLanguageId(), $this->offset, $this->limit, $this->order_by, $this->order, false, false);
Simply change the very last argument from true to false.

If you do this, we recommend that you also add an extra attribute to this file, which indicates when a product is not saleable, so you can show it in your Design.
Assuming you create an attribute called is_saleable which is either true or false, you can use it like this in Designs:
{% raw %}
{% if product.is_saleable %}
   <div class="in-stock">In Stock</div>
{% else %}
  <div class="not-in-stock">Not In Stock</div>
{% endif %}
{% endraw %}
Finally, go to my.clerk.io -> Data and click Start New Sync to import your new data.
Deactivate order sync #
After the first data sync has run successfully, order sync from Prestashop can be deactivated as the sales-tracking from the module takes over.
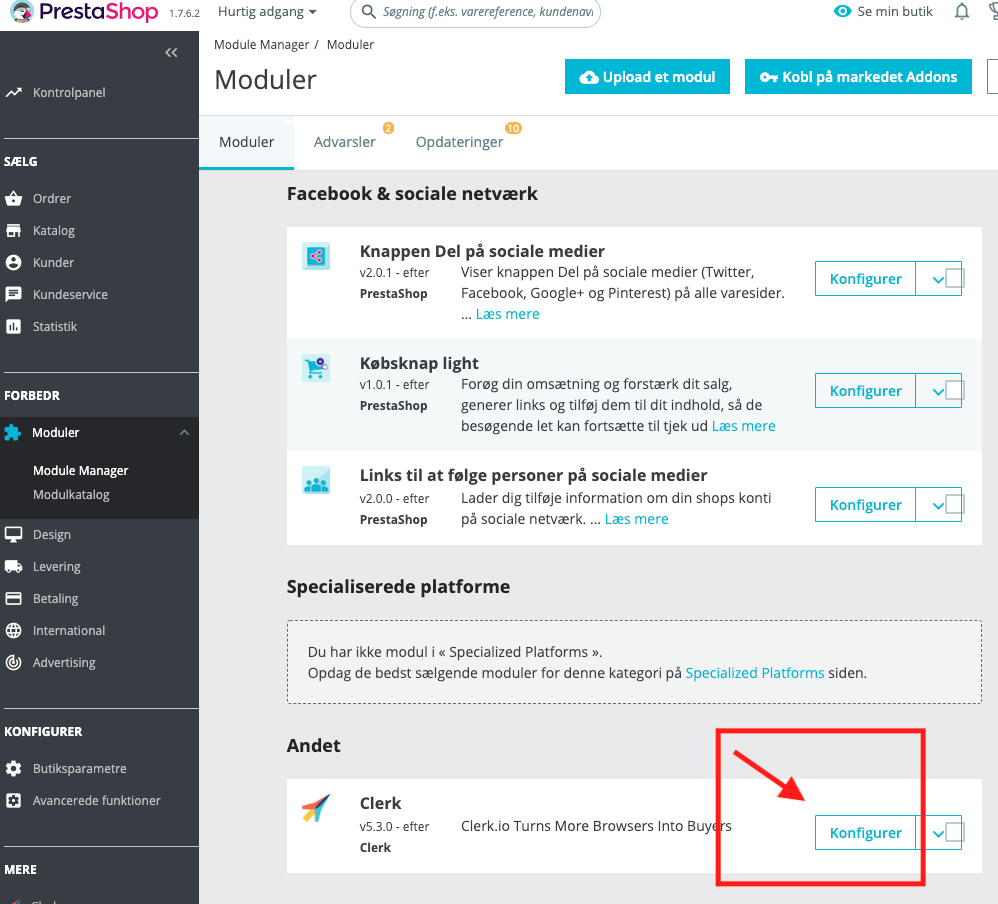
To deactivate order sync, go to Improve => Modules => Module Manager
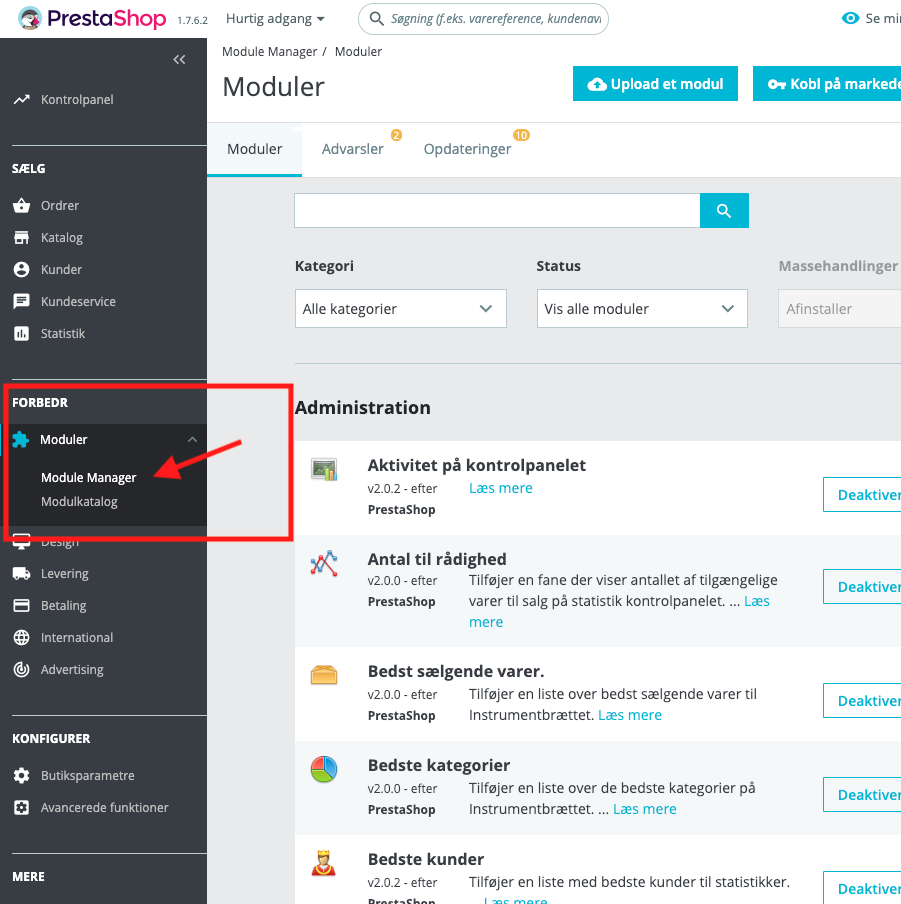
Scroll to the bottom and find the Clerk module under other. Click on Configure:
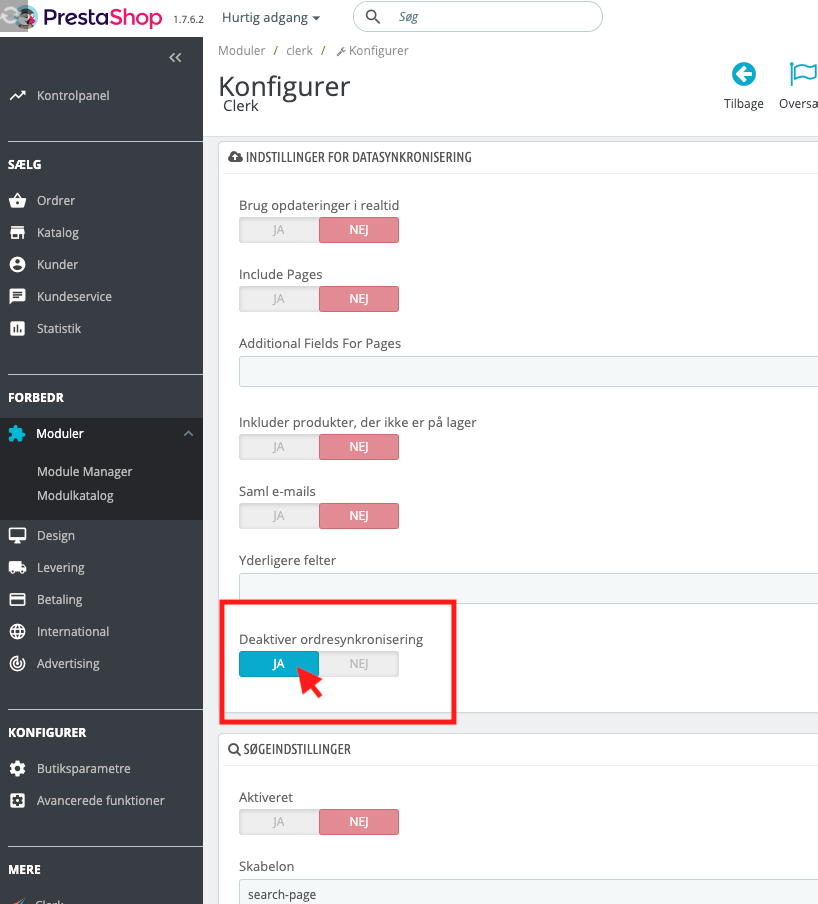
Scroll to the field named Settings For Data Synchronization and click on YES next to the text Deactivate Synchronization of Orders:
Scroll to the bottom of the page and press Save:
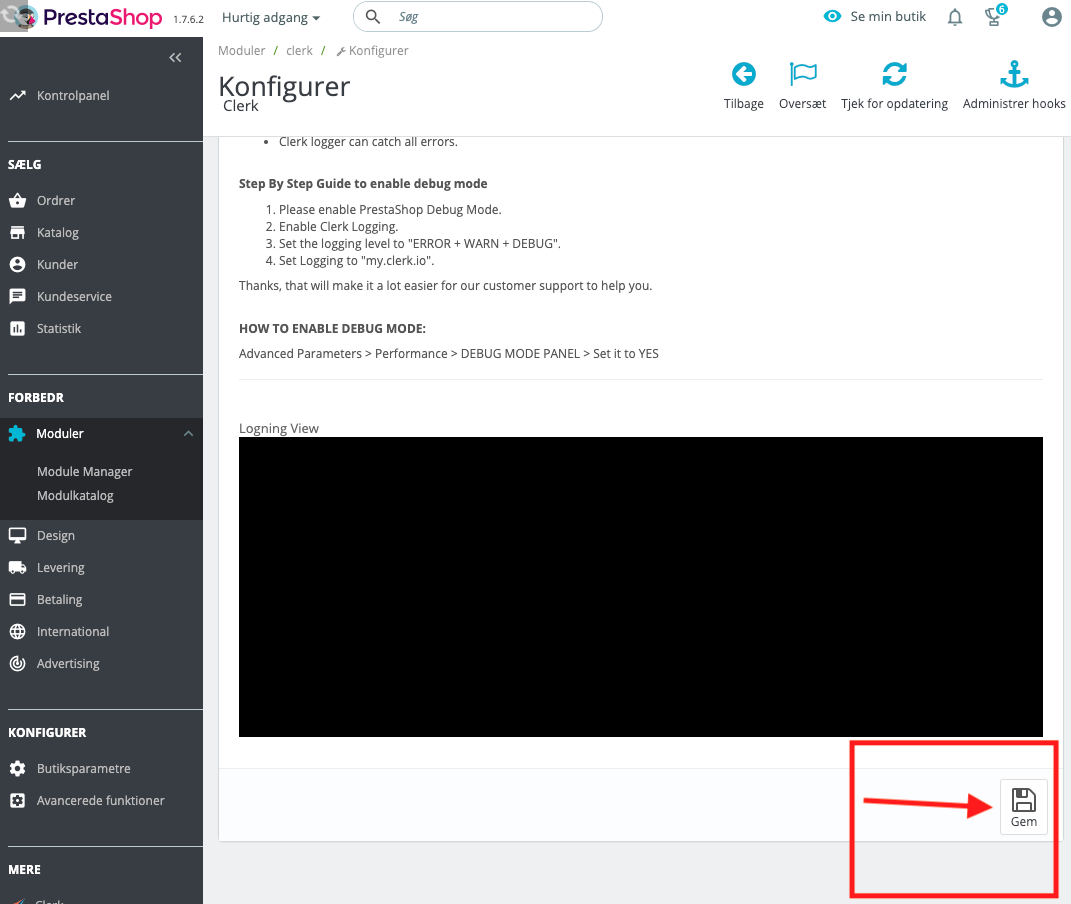
Your changes will then take effect.