Get Started
Get Clerk up and running on your Shoporama webshop. This guide walks you through connecting your store, installing tracking scripts, and syncing your data.
For these steps you need to have both your my.clerk.io and your Shoporama accounts open.
Add store #
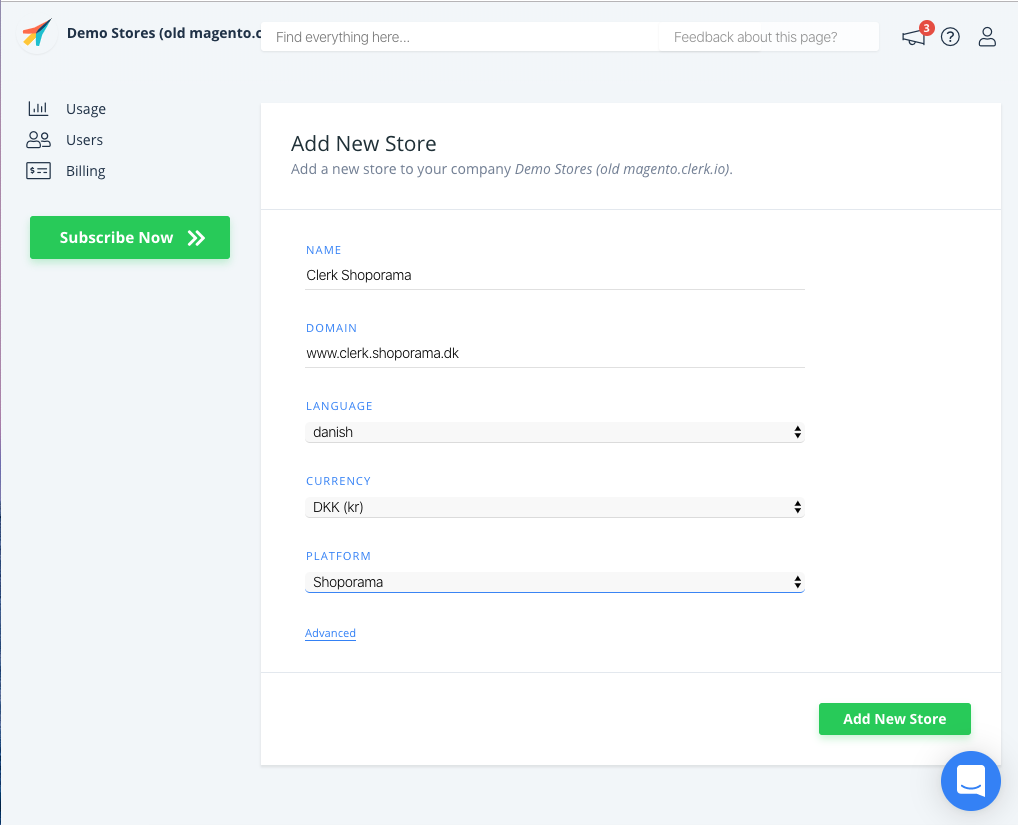
After logging in to my.clerk.io, the first thing you need to do is add your Store:
Write the Name and Domain of your online store.
Choose the Language and Currency, and Choose Shoporama as the Platform.
Click Add Store.
Install visitor tracking #
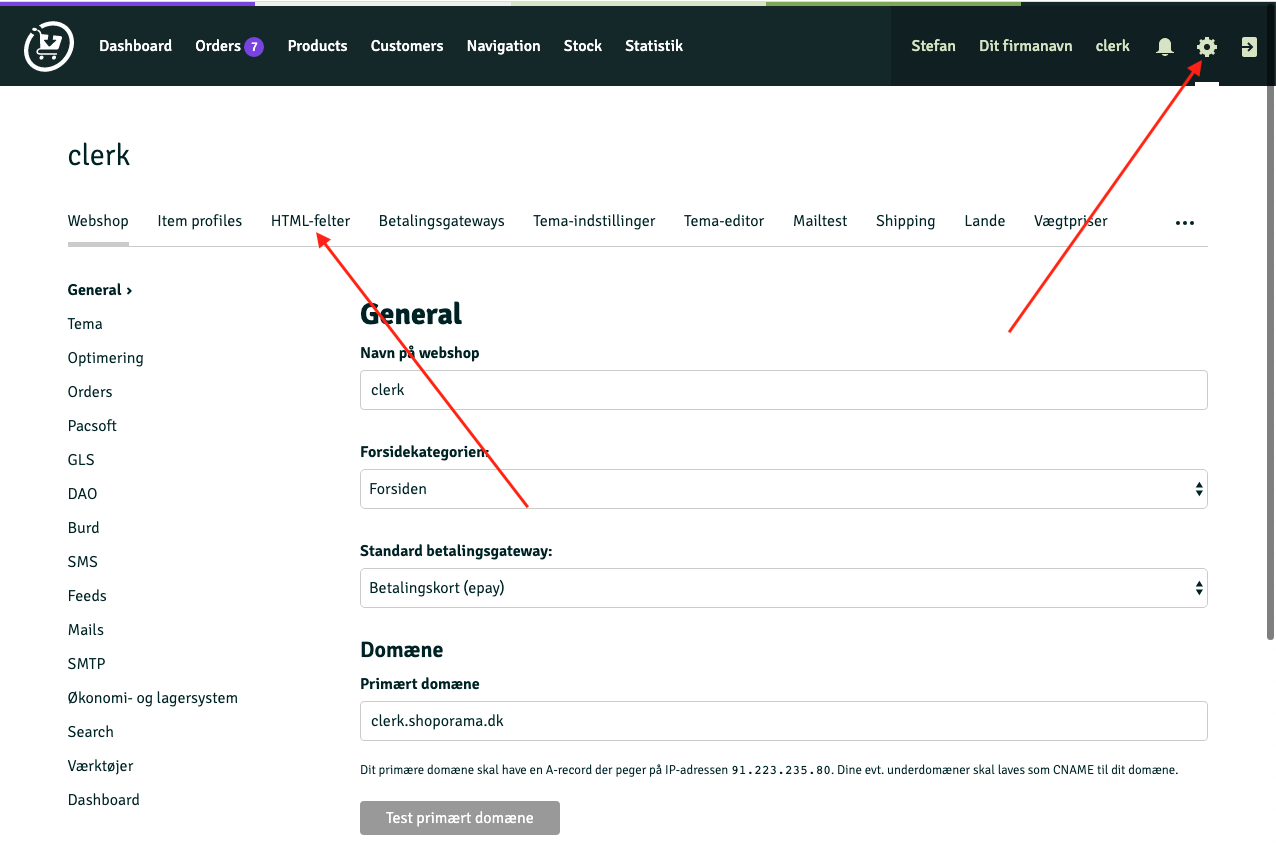
- In your Shoporama backend, go to Settings > HTML felter.
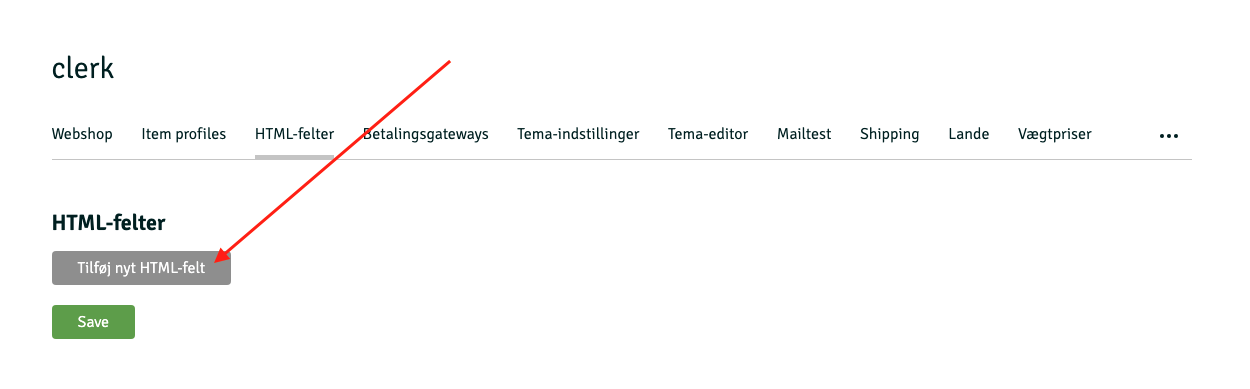
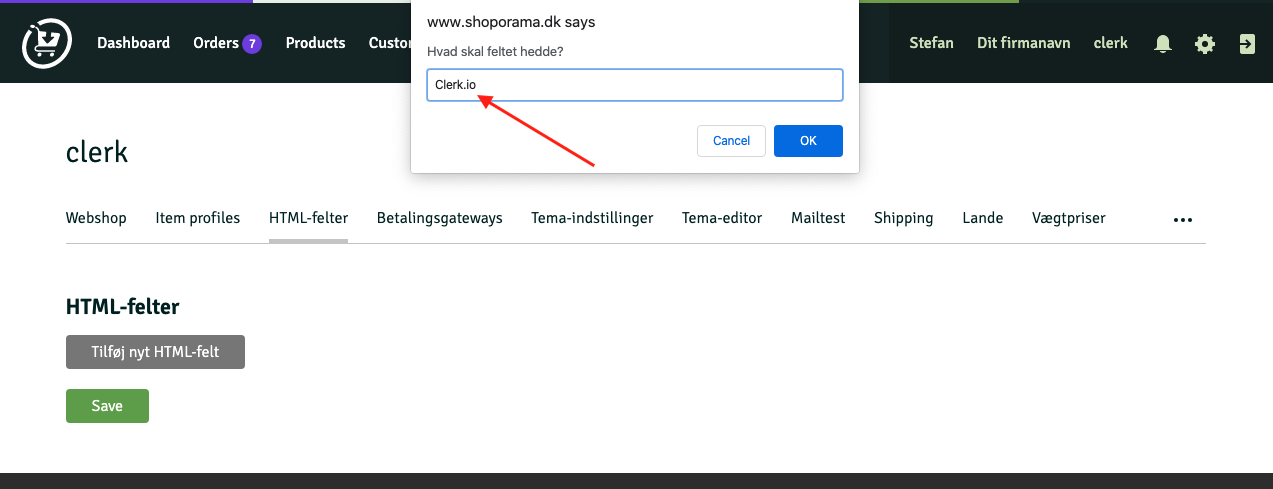
- Click Tilføj nyt HTML-felt and name it “Clerk.io”.
- Paste the visitor tracking script below into the text field and choose Tilføj automatisk til <head> in the dropdown.
<!-- Start of Clerk.io E-commerce Personalisation tool - www.clerk.io -->
<script type="text/javascript">
(function(w,d){
  var e=d.createElement('script');e.type='text/javascript';e.async=true;
  e.src='https://cdn.clerk.io/clerk.js';
  var s=d.getElementsByTagName('script')[0];s.parentNode.insertBefore(e,s);
  w.__clerk_q=w.__clerk_q||[];w.Clerk=w.Clerk||function(){w.__clerk_q.push(arguments)};
})(window,document);

Clerk('config', {
  key: 'INSERT_PUBLIC_API_KEY',
});

</script>
<!-- End of Clerk.io E-commerce Personalisation tool - www.clerk.io -->
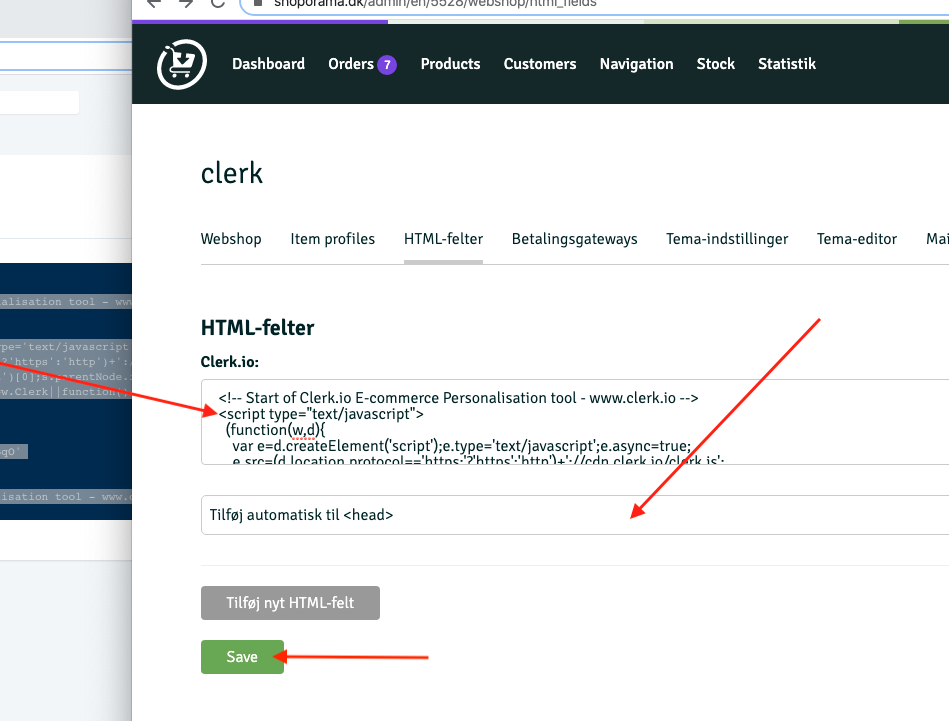
- Click Save.
Your Public Key and Private Key are in my.clerk.io > Developers > API Keys.
If you see INSERT_PUBLIC_API_KEY in any code example, replace it with your Public Key from my.clerk.io > Developers > API Keys.
Install order tracking #
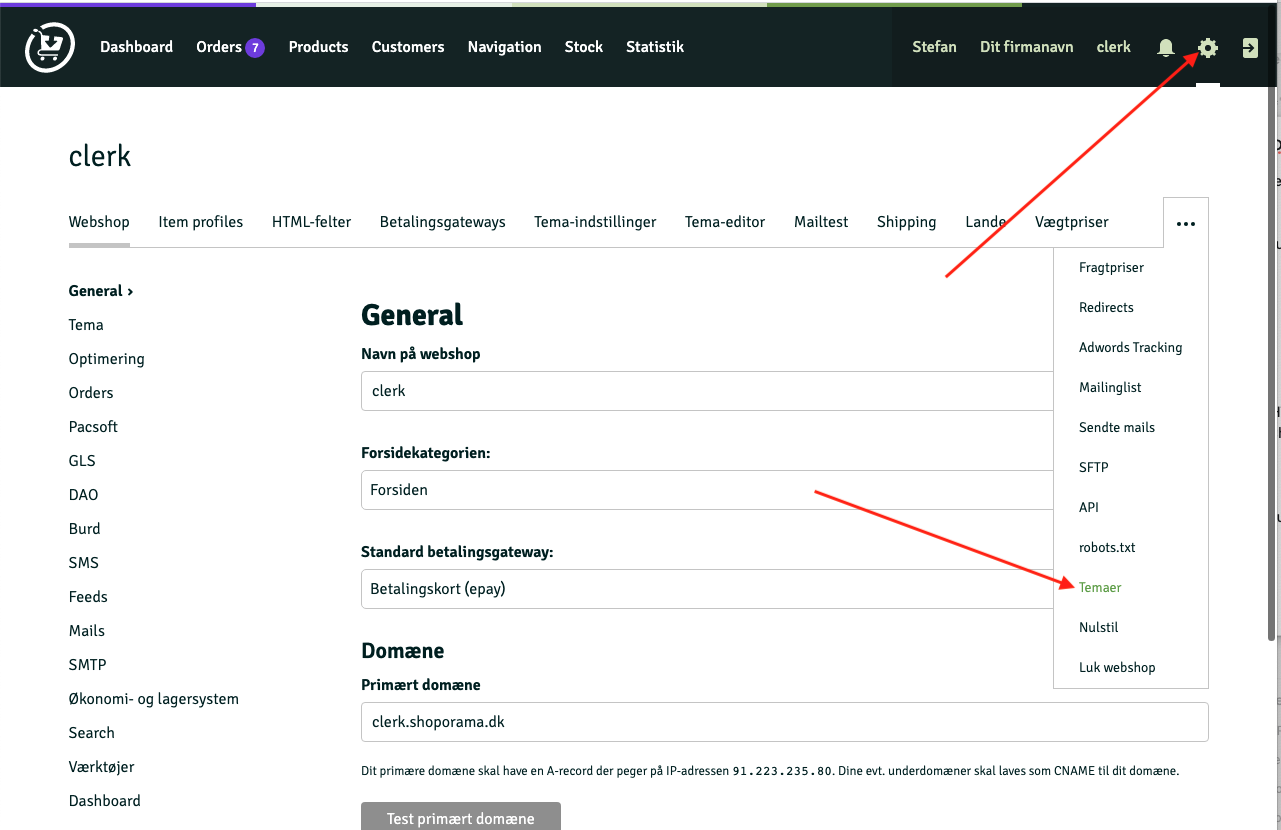
- Go to Settings > ... > Temaer.
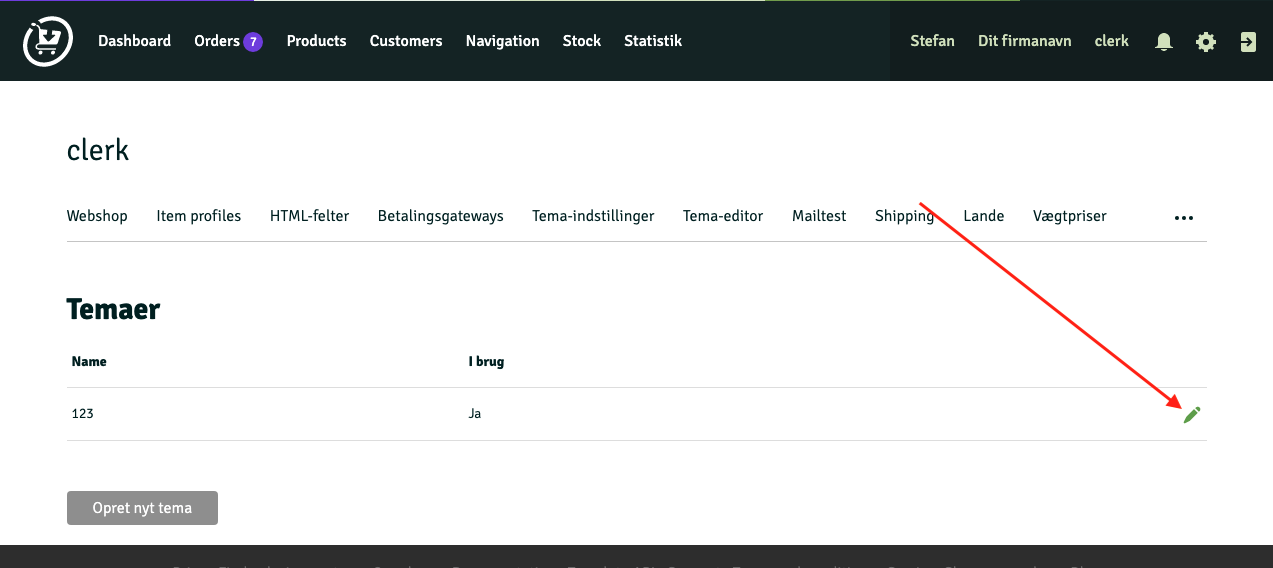
- Click the pencil icon for your active theme.
- Open
thanks.htmlby clicking the pencil icon next to it.
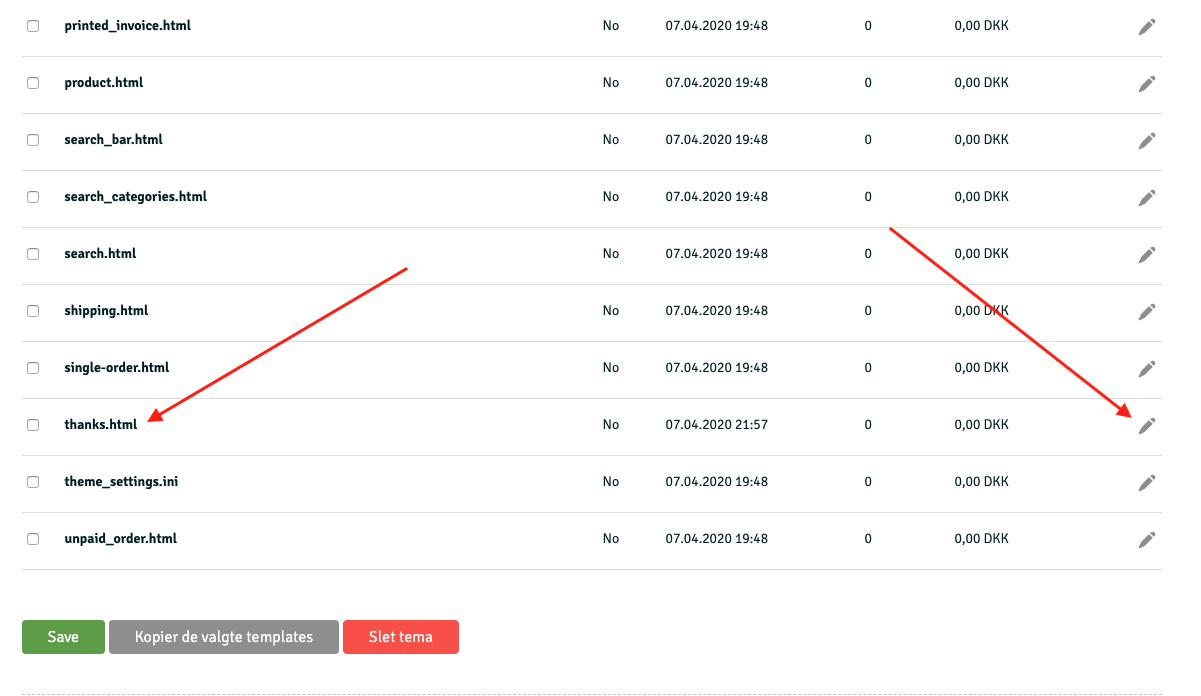
- Find
<{if $order}>and insert the script below directly after it, then save.
<script type="text/javascript">
  var clerk_order = {};
  clerk_order['sale'] = <{$order->getOrderId() |escape}>;
  clerk_order['email'] = '<{$order->getEmail() |escape}>';
  var clerk_products = [];
  <{foreach from=$order->getOrderProducts() key="i" item="OrderProduct"}>
  clerk_products.push({id: <{$OrderProduct->getProductId() |escape}>, 'price': <{$OrderProduct->getPrice() |escape}>, 'quantity': <{$OrderProduct->getAmount() |escape}>});
  <{/foreach}>
  clerk_order['products'] = clerk_products;
  Clerk('call','log/sale', { email: clerk_order['email'], sale: clerk_order['sale'], products: clerk_order['products'] });
</script>
Sync data #
Syncing data connects your Shoporama webshop to Clerk, allowing Clerk to access your products, orders, customers, and other store information. This enables Clerk to provide personalized recommendations and search results based on your actual store data. Follow the steps in the Sync Data guide to set up the data sync.