Connecting your BigCommerce Store
1. Add Store
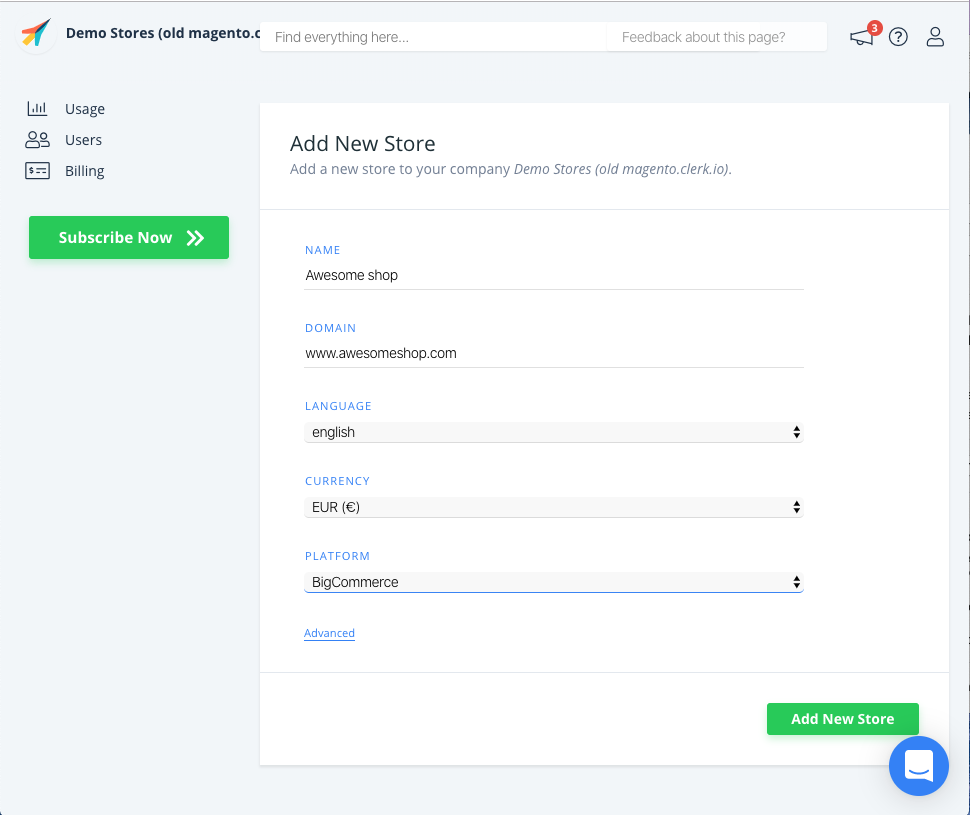
After logging in to my.clerk.io, the first thing you need to do is add your store:
Write the Name and Domain of your online store.
Choose the Language and Currency, and Choose BigCommerce as the Platform.
Click Add Store.
2. Configure your BigCommerce store
To successfully configure your BigCommerce store you will need to go to the backend of your online store and in the Advanced Settings->API Accounts. From here you will create a new API Account:
Name the new API Account Clerk.
In the API Path you will find the Store Hash which is your store identifier, the API Path will look like this https://api.bigcommerce.com/stores/123456/ the 6 digits are your Store hash(123456);
In the area underneath the API Path you will find the OAuth Scopes select where possible Read-Only(if not applicable select None) and Save the changes;
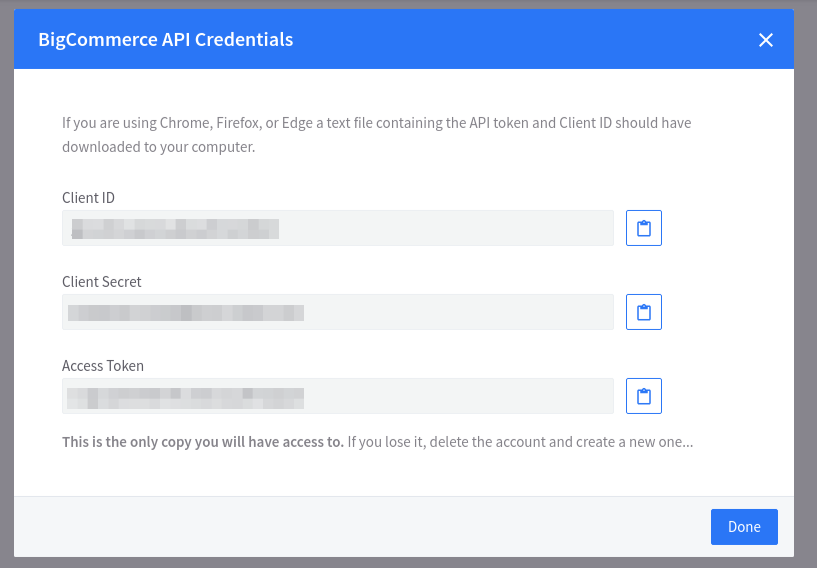
In the pop-up that will appear you will find the API credentials you need Client ID, Client Secret and Access Token.
3. Sync your store
From the main menu of my.clerk.io go to Data. Scroll down until you see on the right Sync Method, select BigCommerce from the dropdown list.
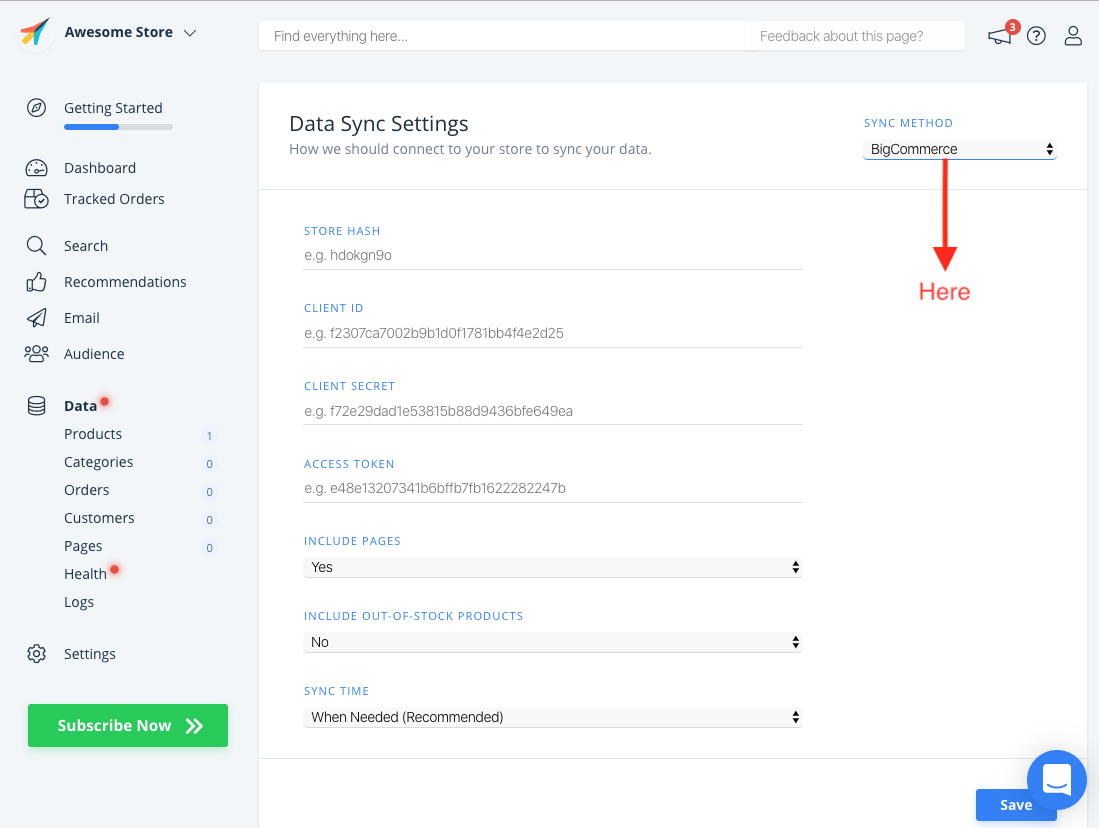
Paste the information you collected in the back end of your store and press Save.
After configuring the API account, you simply need to synchronise your store.
In the Data page, where you have pasted your Online store information, scroll up until you see Start New Data Sync, click on it.
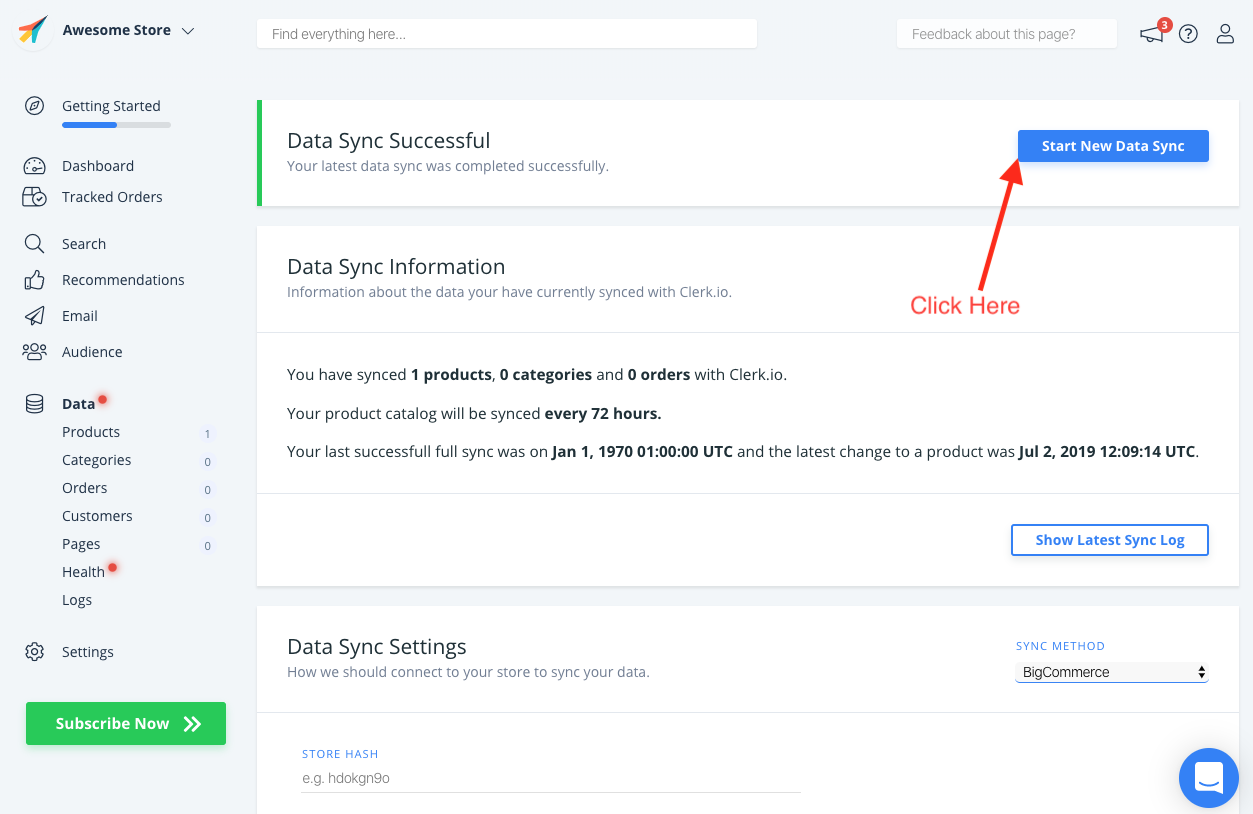
Now your store is connected to Clerk :)