Connecting your Store on Other / Custom Platforms
Platforms:
The first step of installing Clerk.io, is connecting your store with your Clerk.io account.
After following these simple steps you will be able to see your Live Demo, which gives you a personal overview of how Clerk.io will work on your webshop, before setting up the rest of the system.
1. Add Store
After logging in to my.clerk.io, the first thing you need to do is add your store:
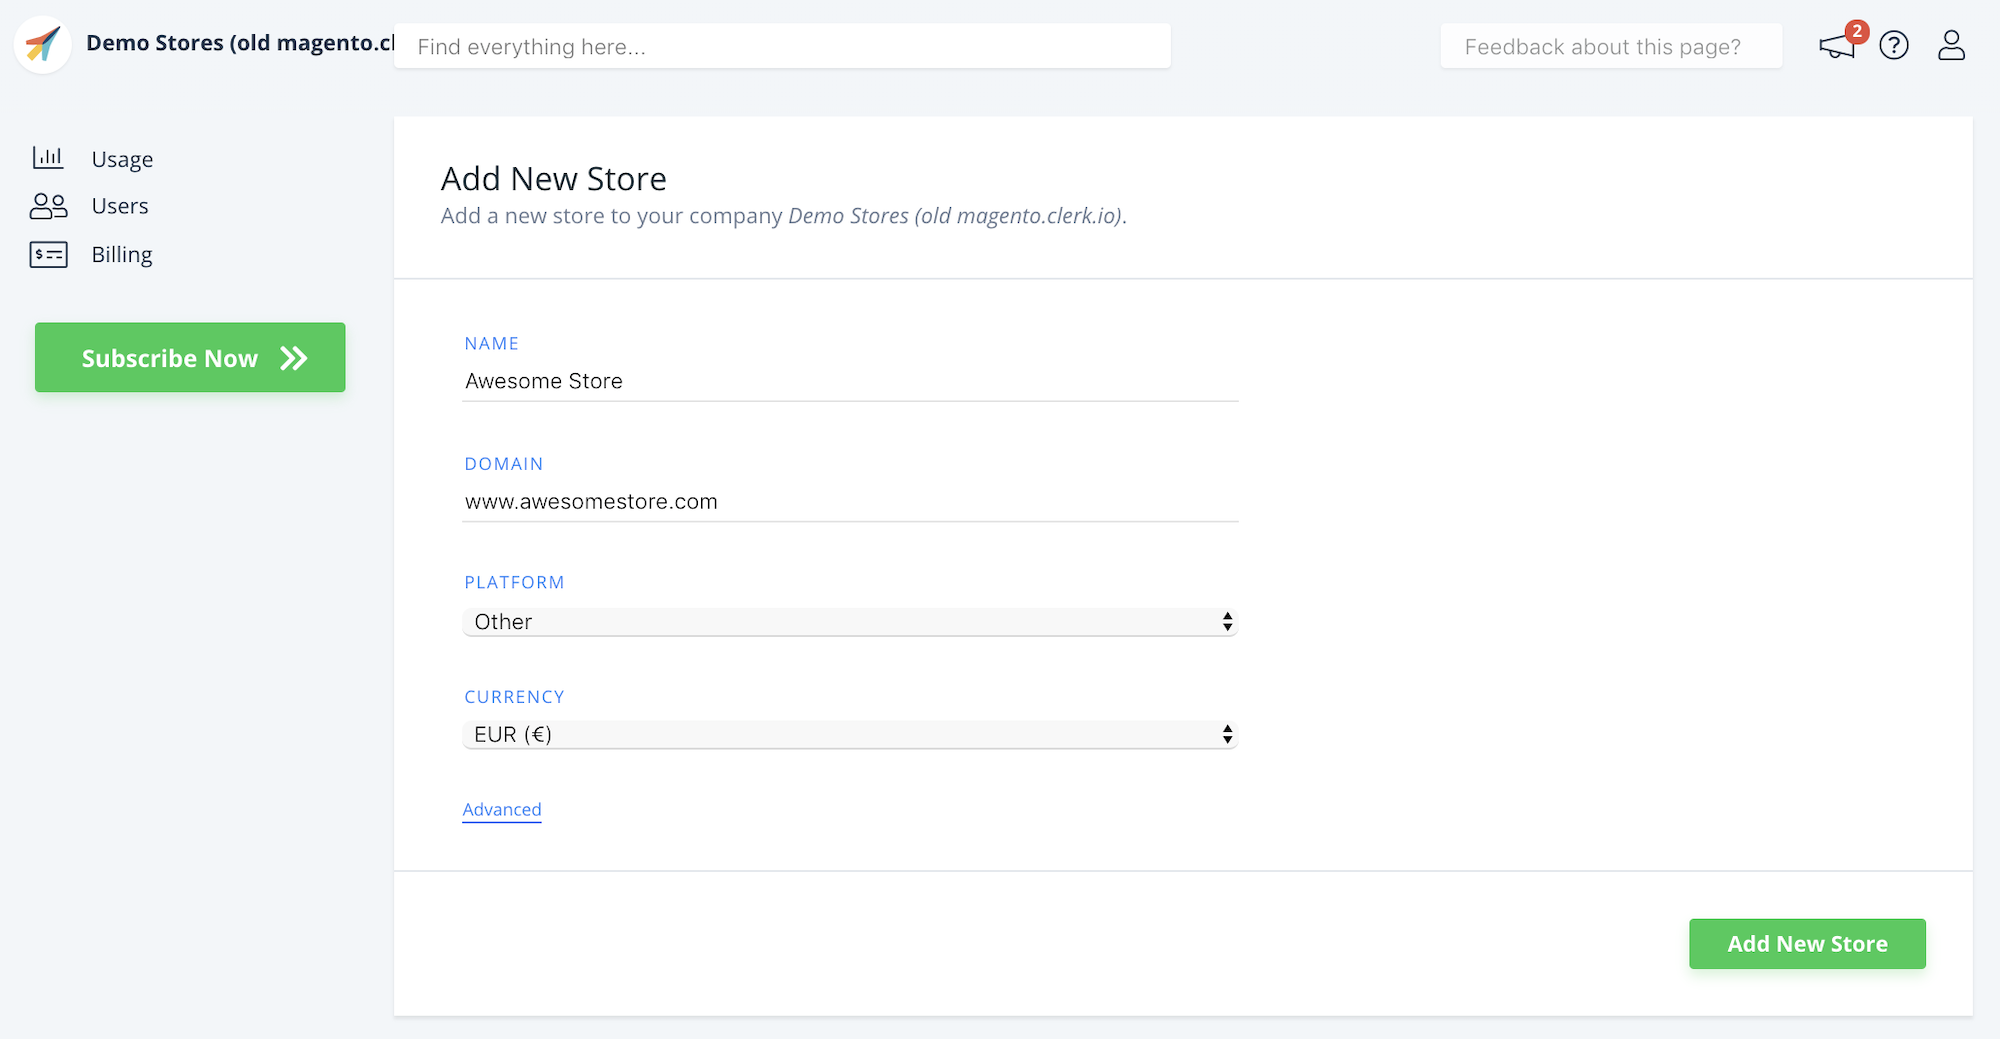
Write the Name and Domain of your webshop
Choose Other as the Platform and choose your Currency.
Click Add Store.
2. Install and configure extension
From the main menu of the Setup Guide, click Setup Now:
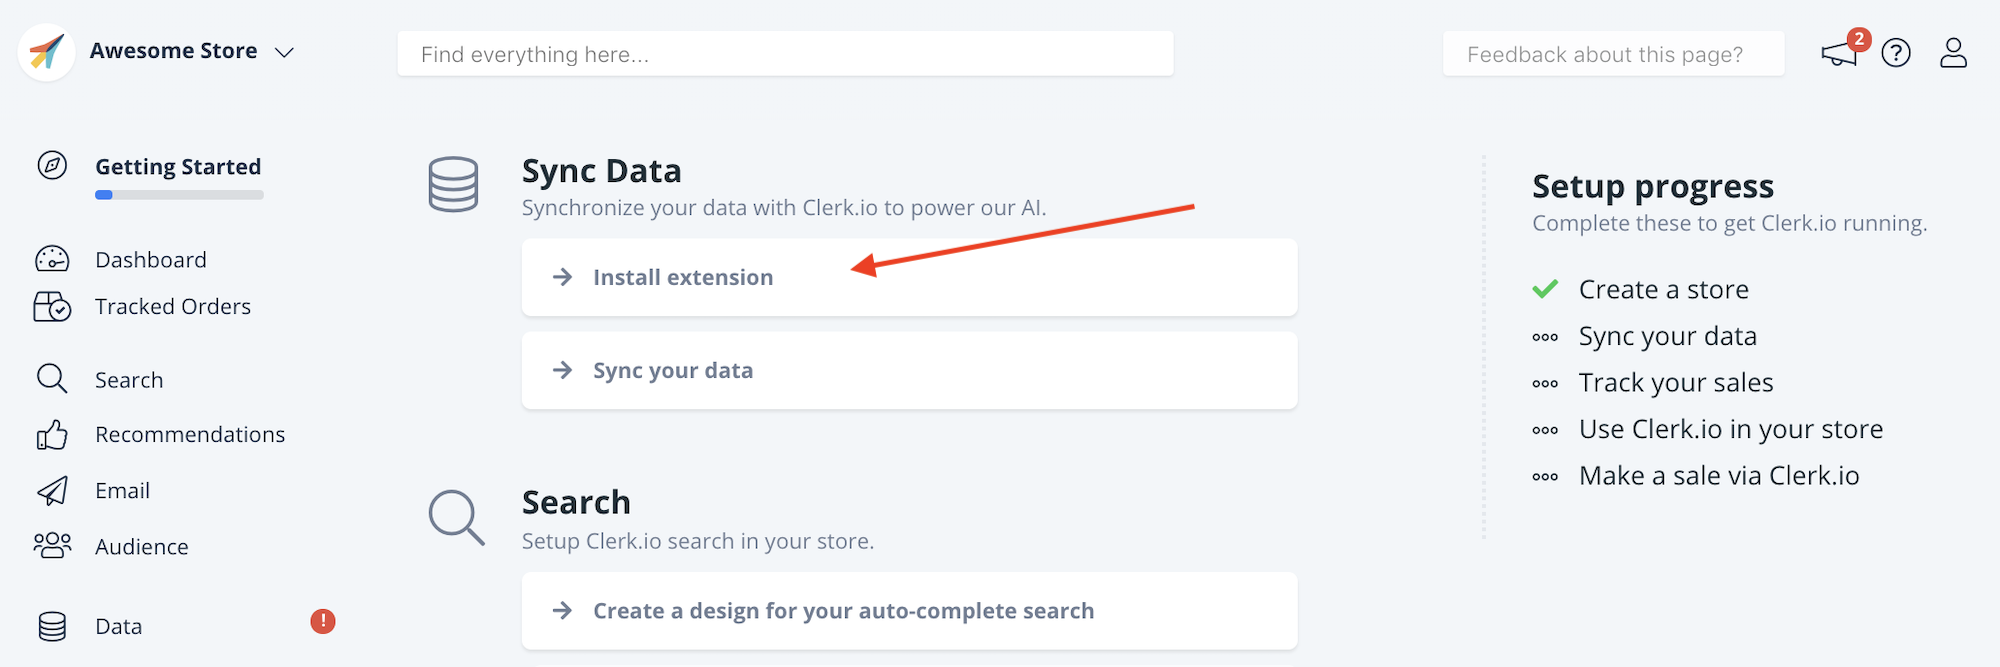
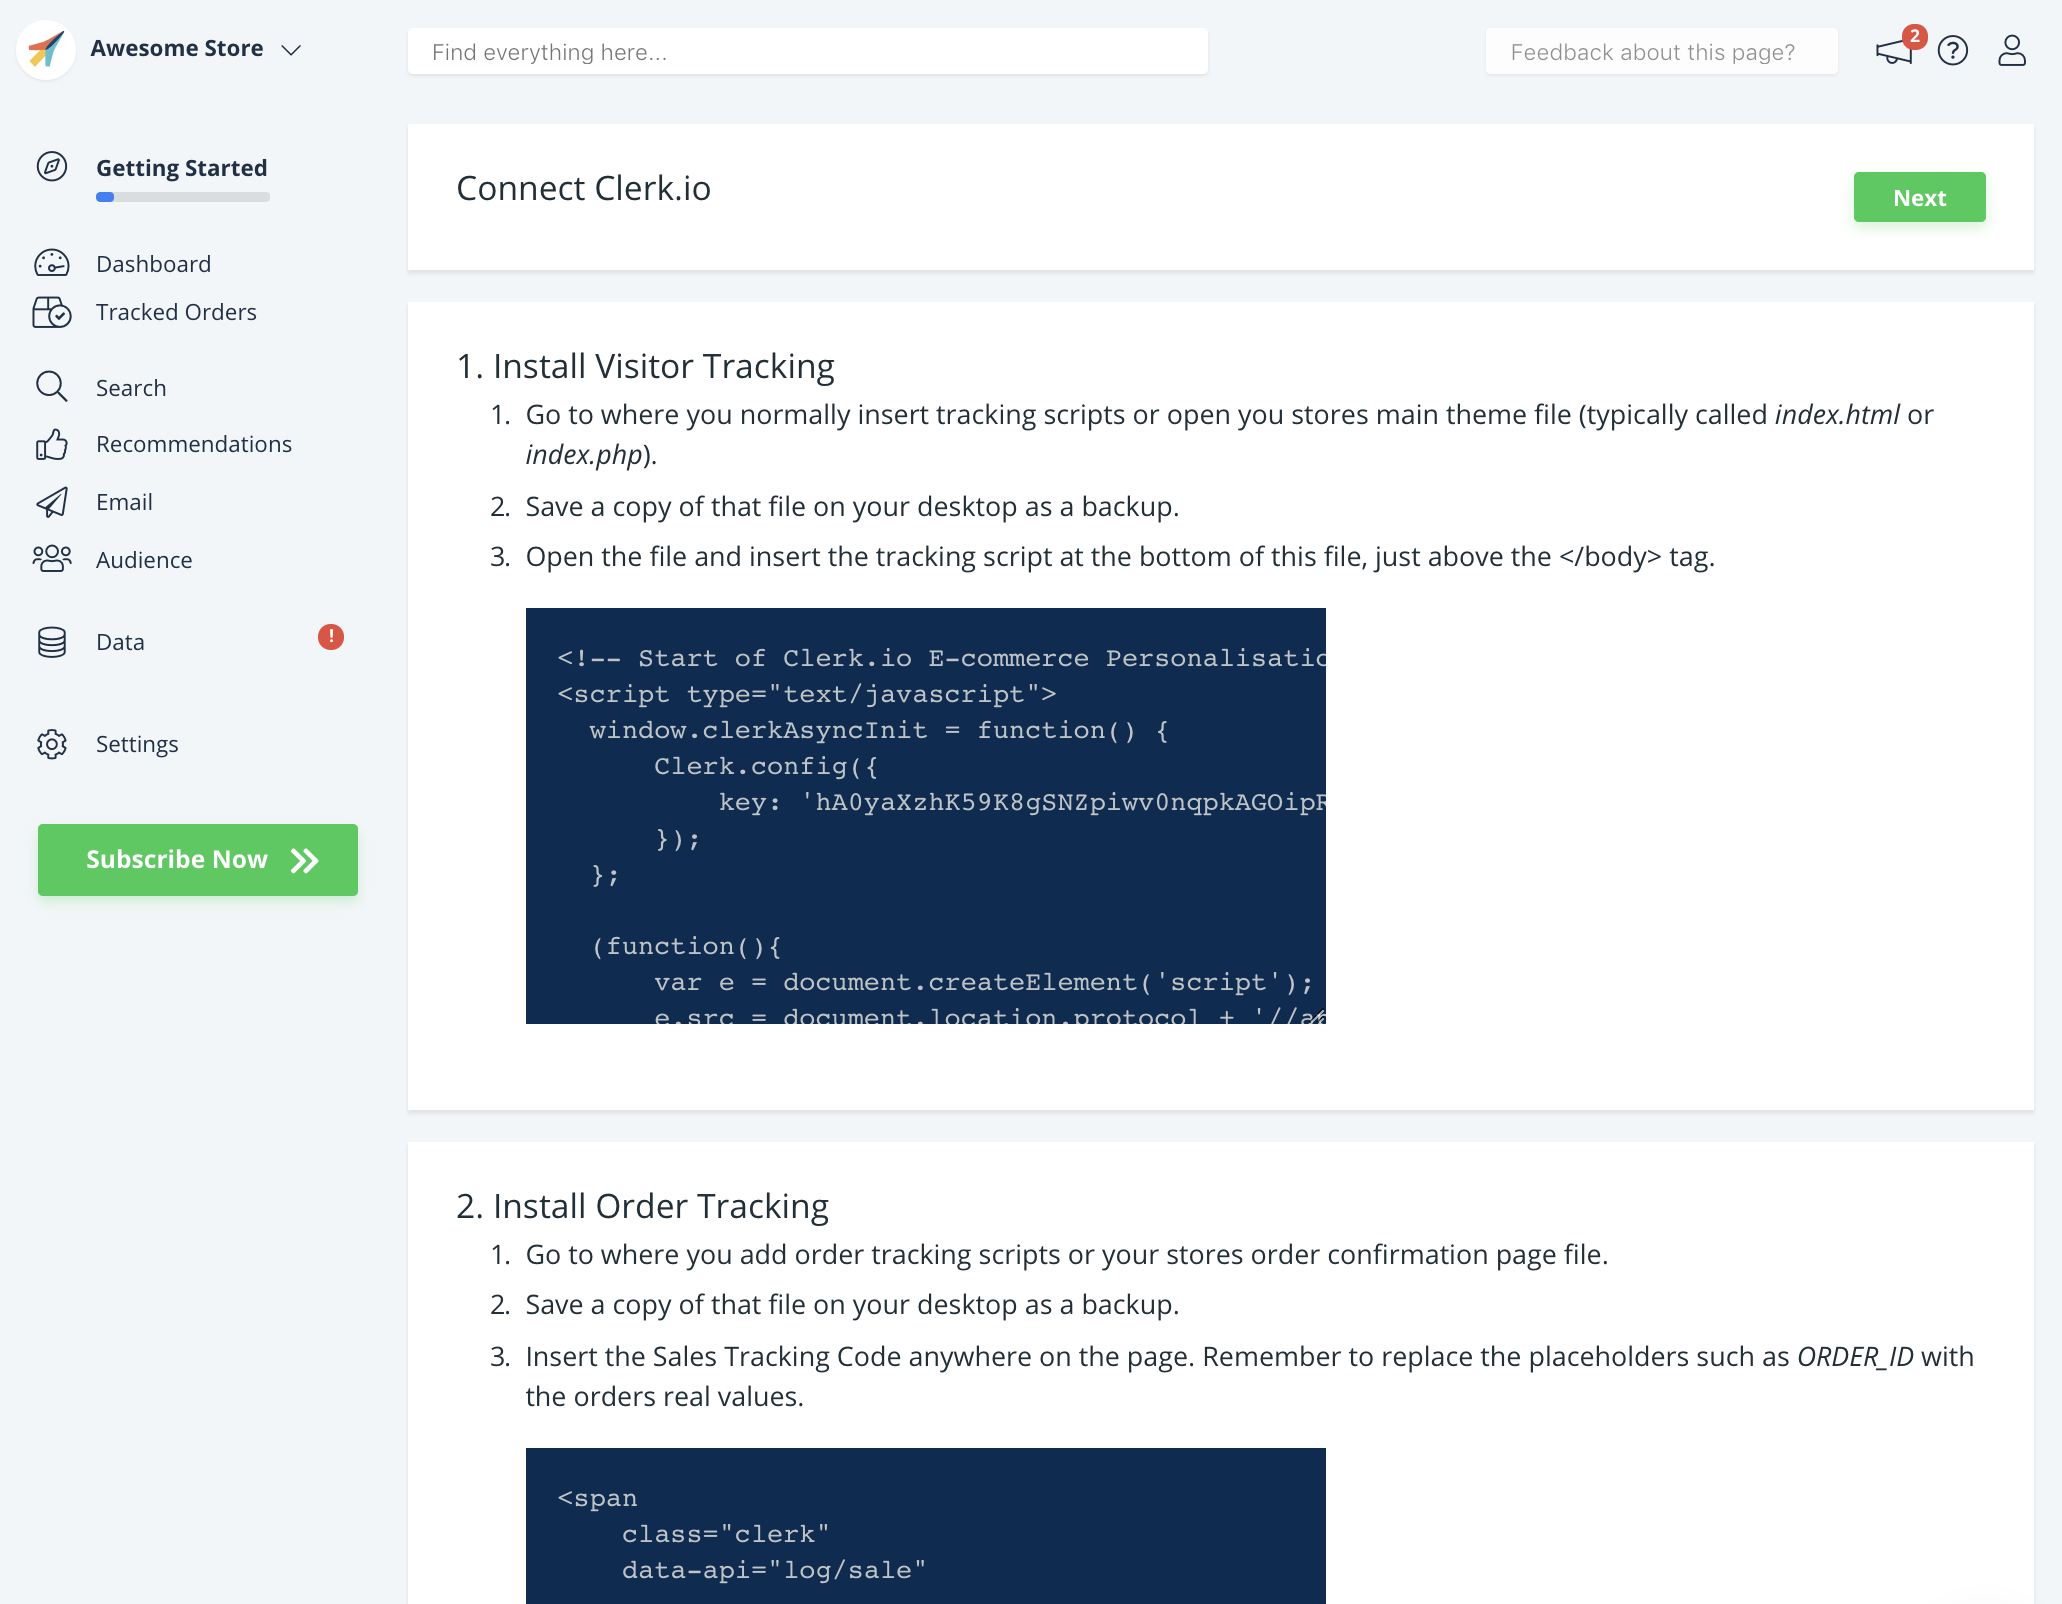
The next page shows what you need to do, to setup tracking and syncing the Data Feed.
Follow the steps to add Visitor Tracking and the Order Tracking.
3. Sync your store
After configuring the extension, you need to synchronise your store.
This is done by building a containing your products, categories and previous sales.
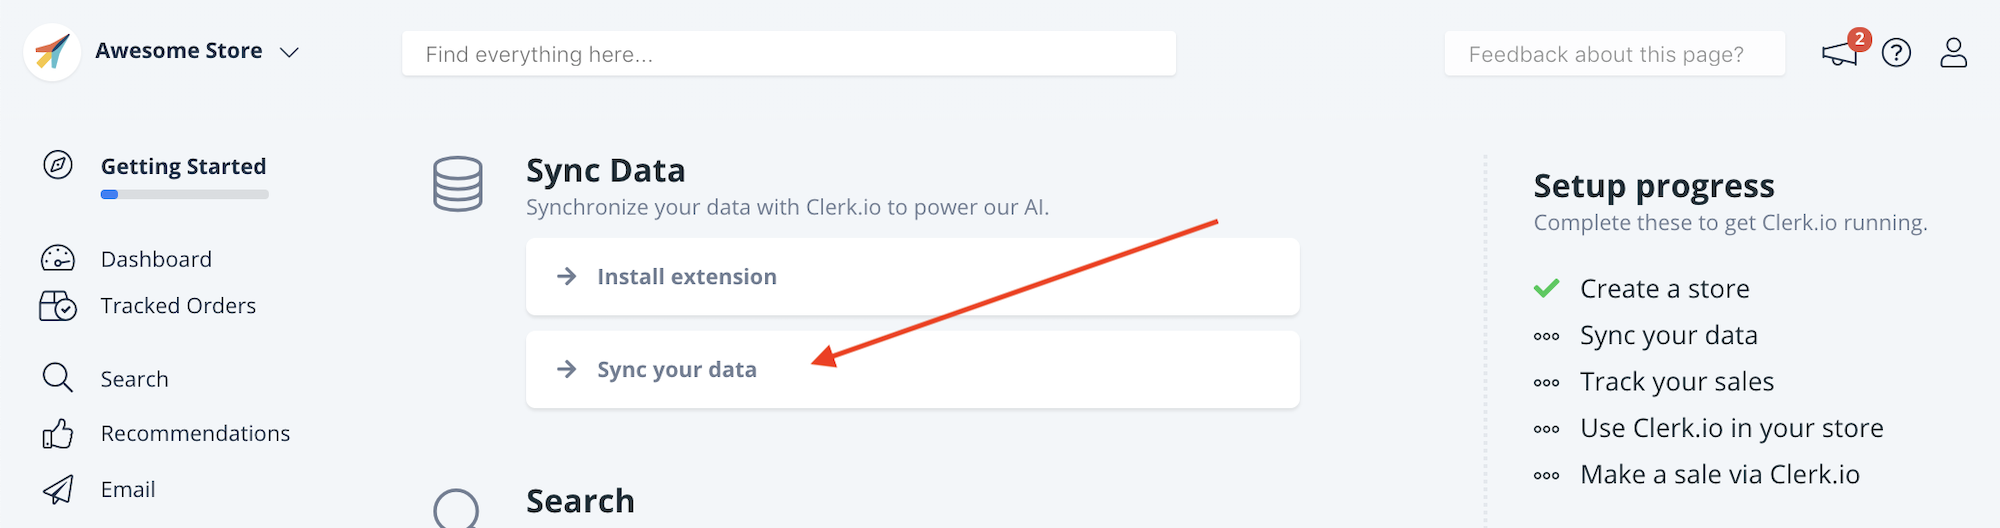
After doing this, go back to the Setup Guide and click Sync Your Data:
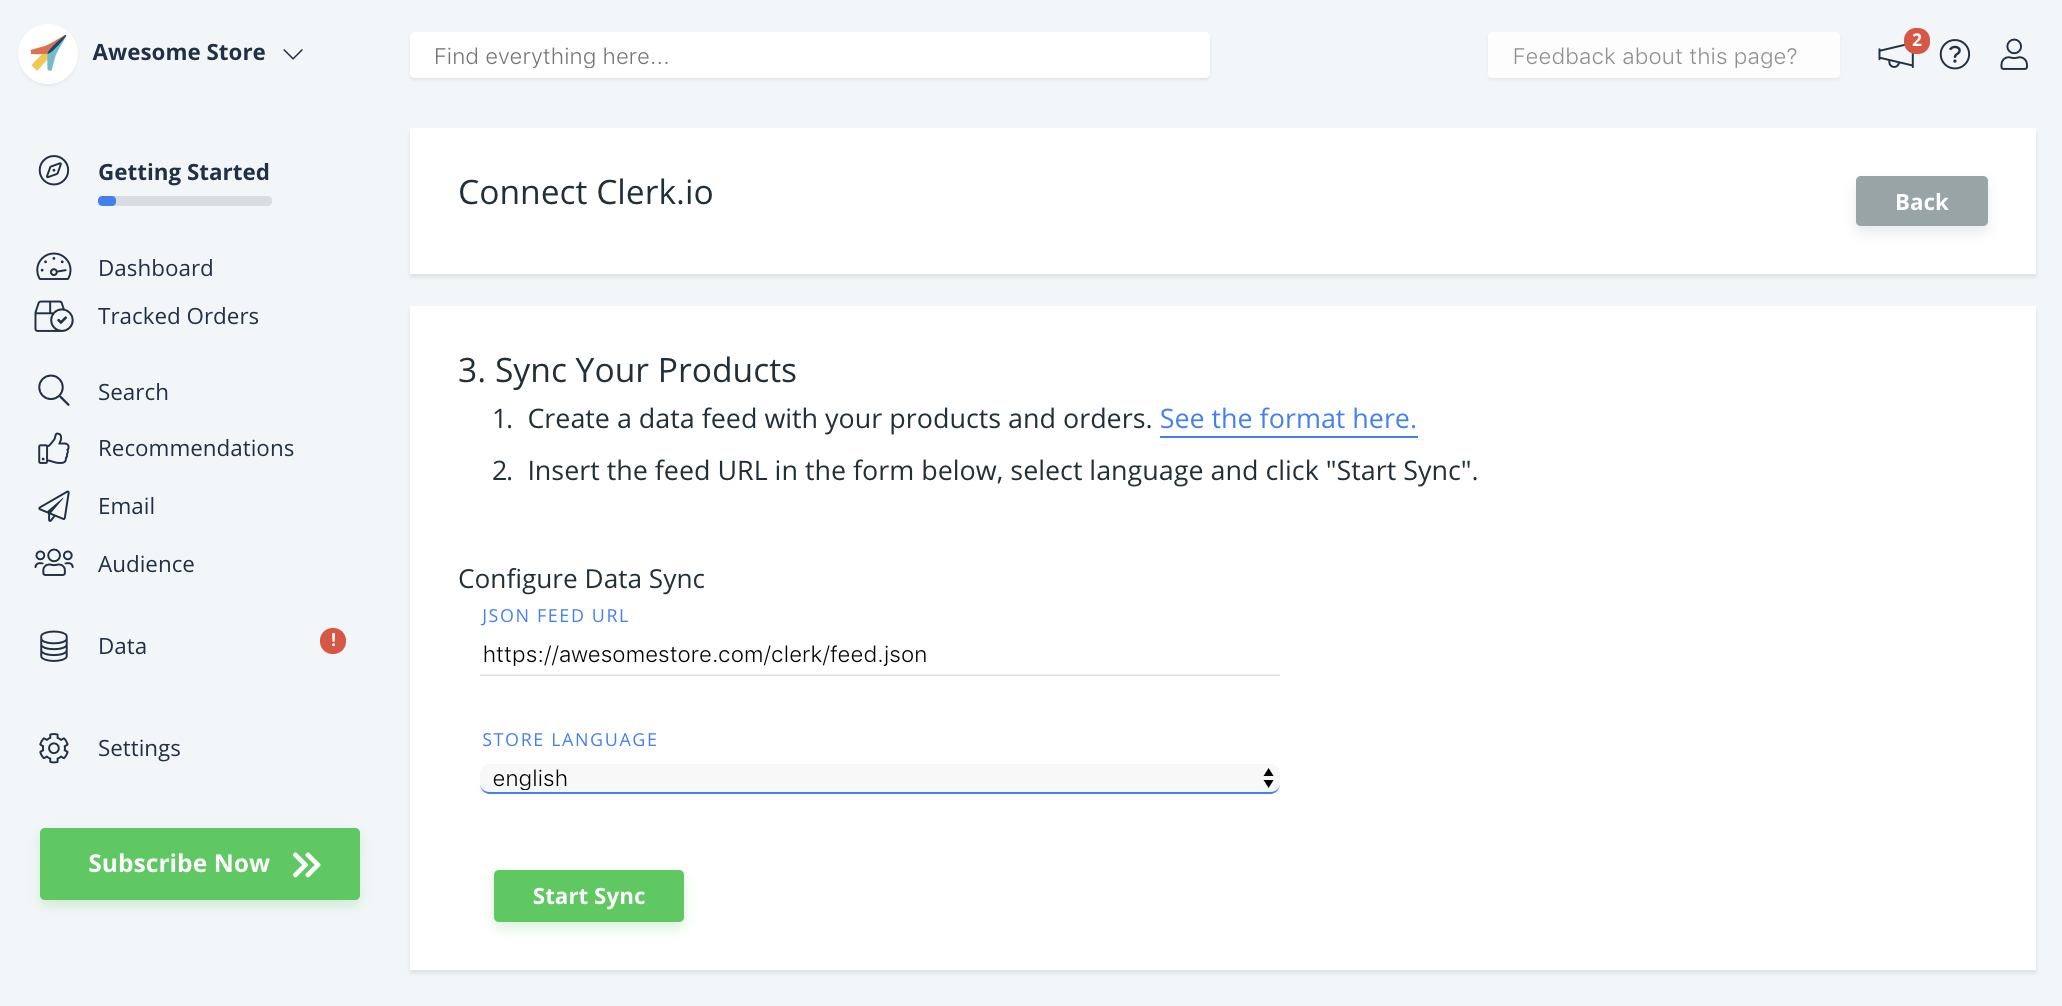
Insert the URL of your Data Feed, choose the language, and click Start Sync:
Now you can view your Live Demo or continue setting up Clerk.io.
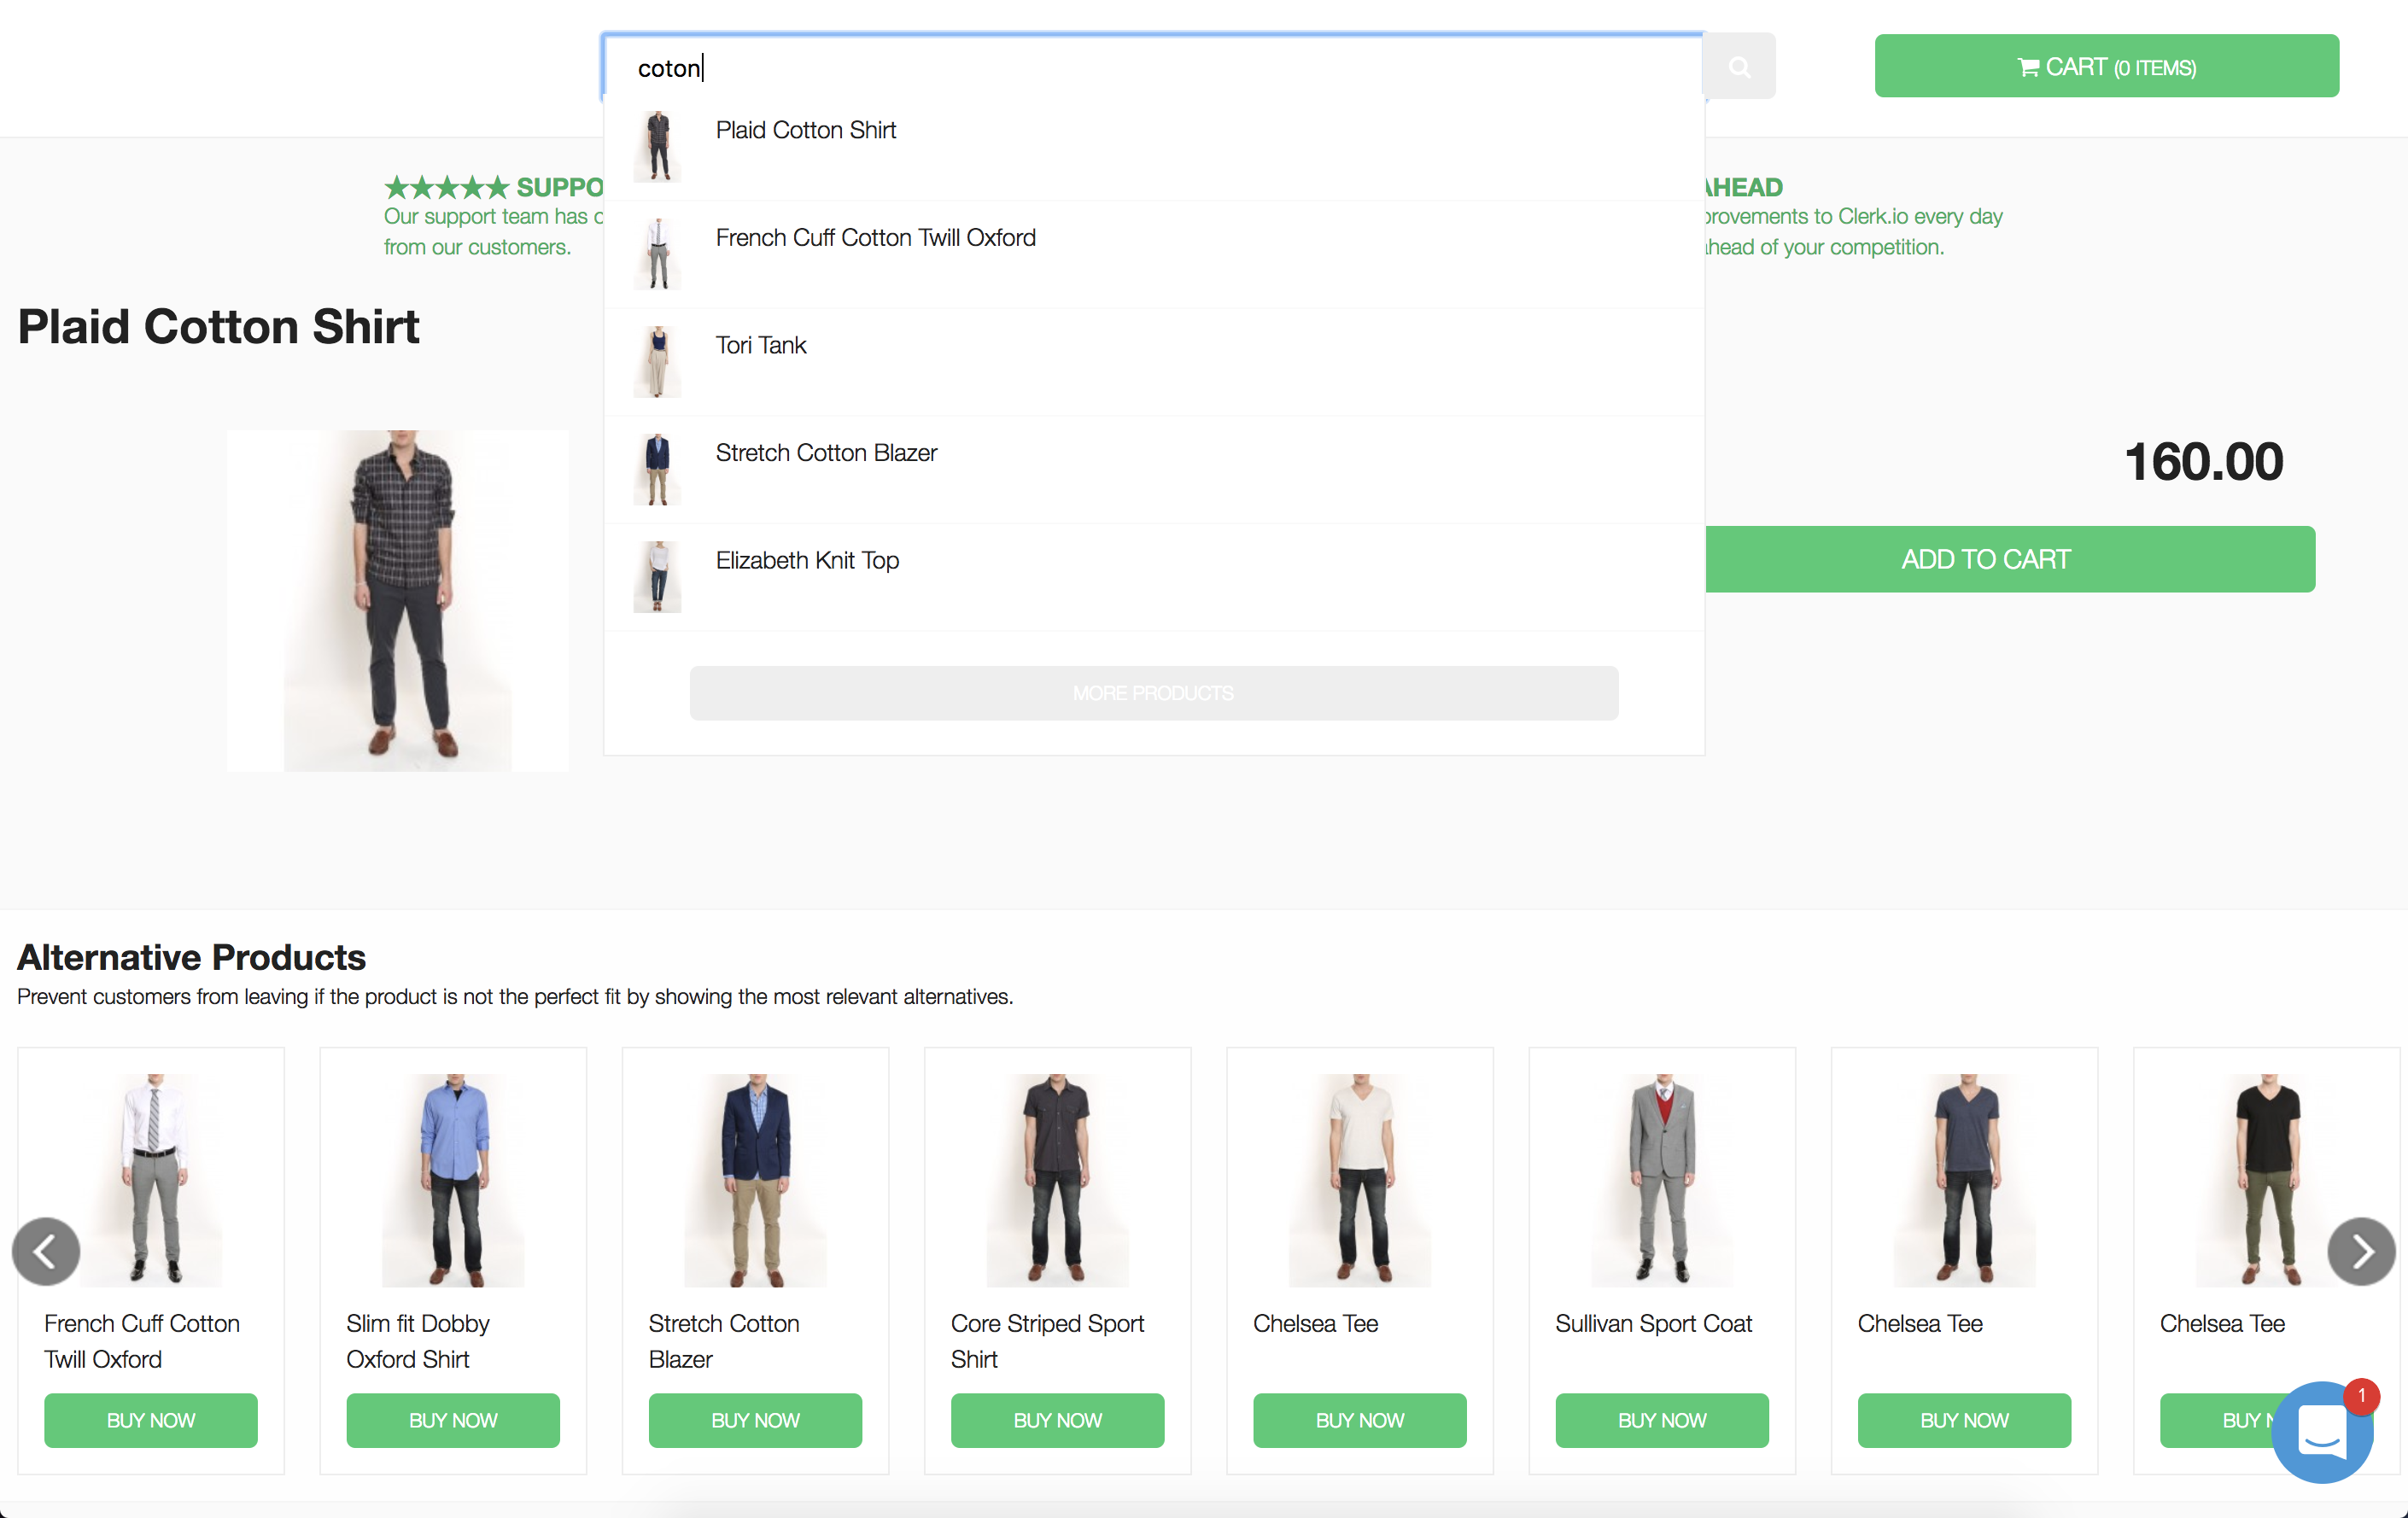
4. Viewing your Live Demo
After connecting your store, you have access to your Live Demo, which displays Clerk.io working on your data.
To see it, click Settings in the side-menu, and then Explore Demo Store:

The Live Demo lets you check how Clerk.io will behave when installed on your webshop: