Using the Clerk.io Integration with Lightspeed
Platforms:
Overview
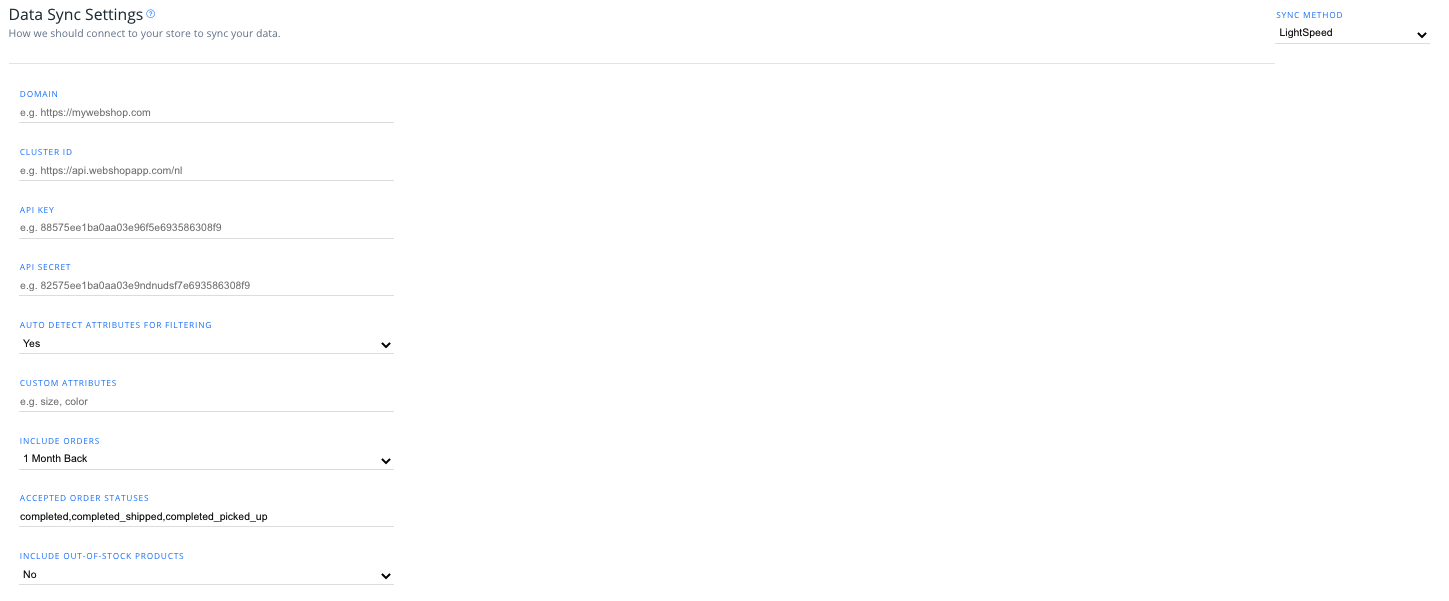
After setting up your Lightspeed data feed to sync with Clerk.io, you can choose your integration options within my.clerk.io. Click “Data” in the left-side menu, then scroll down to “Data Sync Settings” to view your options.
Attributes Settings
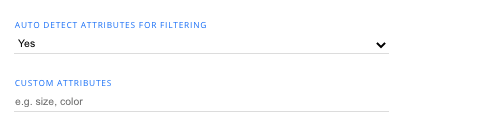
From the dropdown, you can select whether or not you want the integration to automatically detect attributes(such as stock variants, color, etc.) in your store to sync with Clerk.io.
If you have custom attributes created in Lightspeed that you’d like to sync with Clerk.io, enter these as comma-separated values in the “Custom Attributes” text box.
Order and Out-of-Stock Product Settings
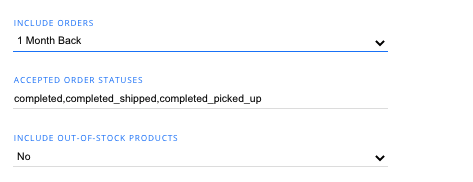
Include Orders: Choose the timeframe that you would like to retroactively include orders. Remember, the further back in time you select, the more robust Clerk.io Recommendations can be.
Accepted Order Statuses: If you use multiple order statuses in your store, such as “completed” and “completed and shipped”, enter the values for the order statuses you’d like to include as comma-separated values here.
Include Out-of-stock Products: choose “Yes” from the dropdown here to include products that are out-of-stock in your store when syncing data to Clerk.io.
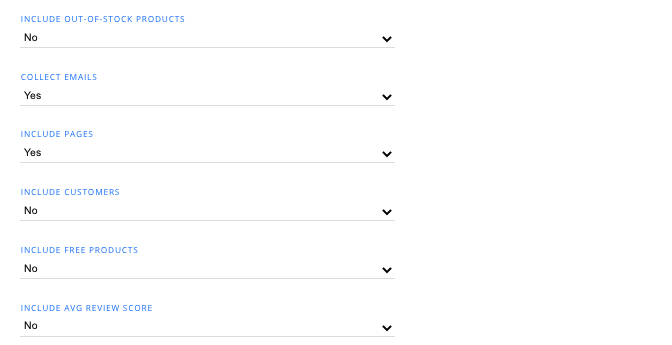
Including Product, Emails, and Other Custom Data
In this section, you have the option to select “yes” or “no” from the dropdowns to include product, order, and customer data around things like out-of-stock products, customer emails, average product review score, and more.
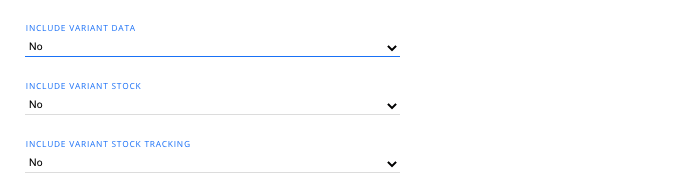
Including Variants
Similarly, you can select “yes” or “no” from the dropdowns to include product variant data, as well as the stock of product variants and variant stock tracking.
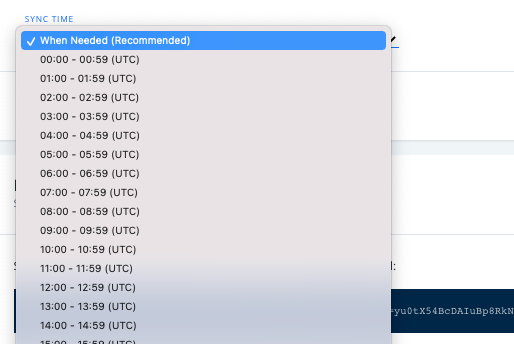
Sync Time
In the last section, you have the option to choose a specific time of day for your data syncs to occur. The default is “when needed”.