Full Installation of Clerk.io on Magento 2
Platforms:
In this video you can get a complete overview of what it takes to setup Clerk.io on a Magento 2 webshop.
It will guide you through the following steps:
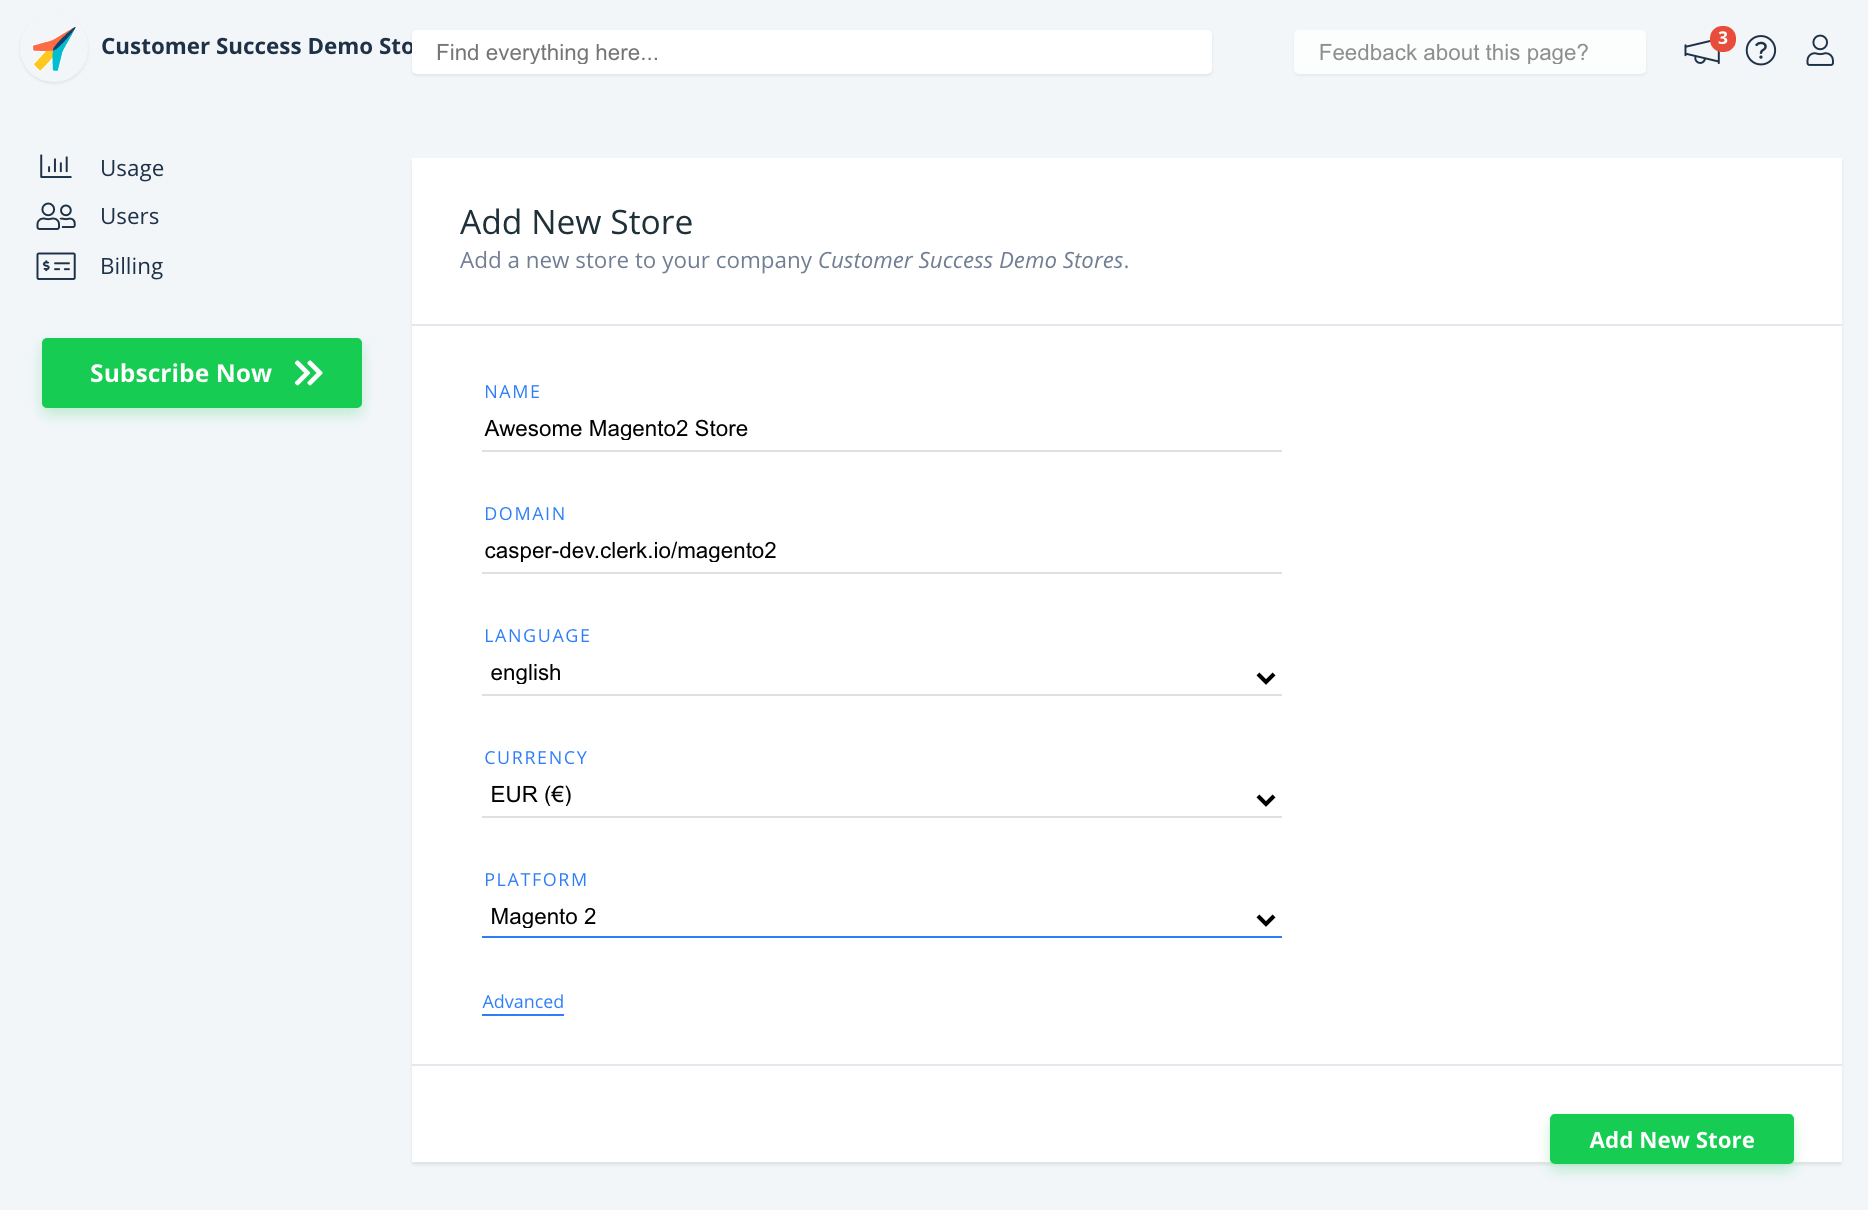
Adding a Store in my.clerk.io
Each Store in Clerk.io is an isolated environment with its own data, API keys and Dashboard. The first thing you will need to do when setting up your Clerk.io account, is to create your first Store:
After this, the Setup Guide will walk you through the rest of the setup.
Installing the extension
The extension will add all the necessary scripts and elements to Magento 2, as well as letting you sync your entire catalog to Clerk.io.
It can easily be installed through command-line with our intuitive Toolbox Script.
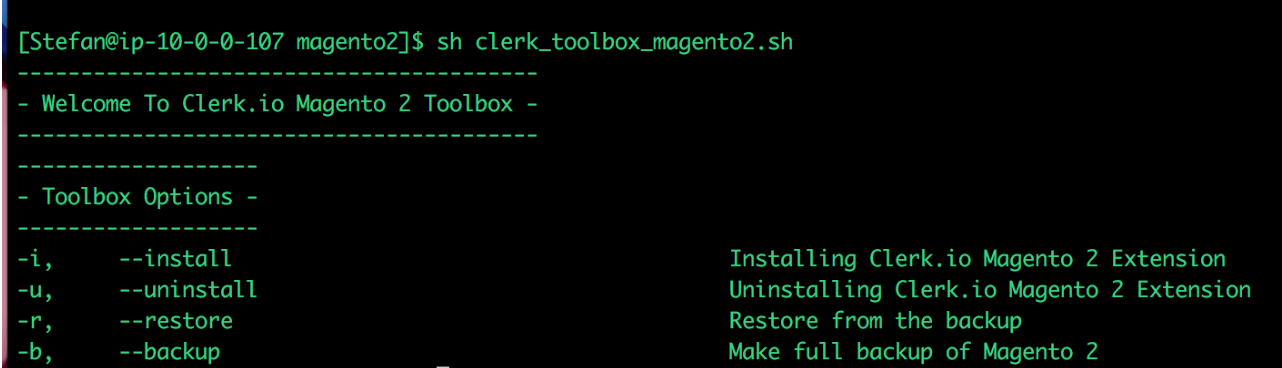
When it has been installed, the rest of the integration can be done in my.clerk.io and the Magento 2 backend.
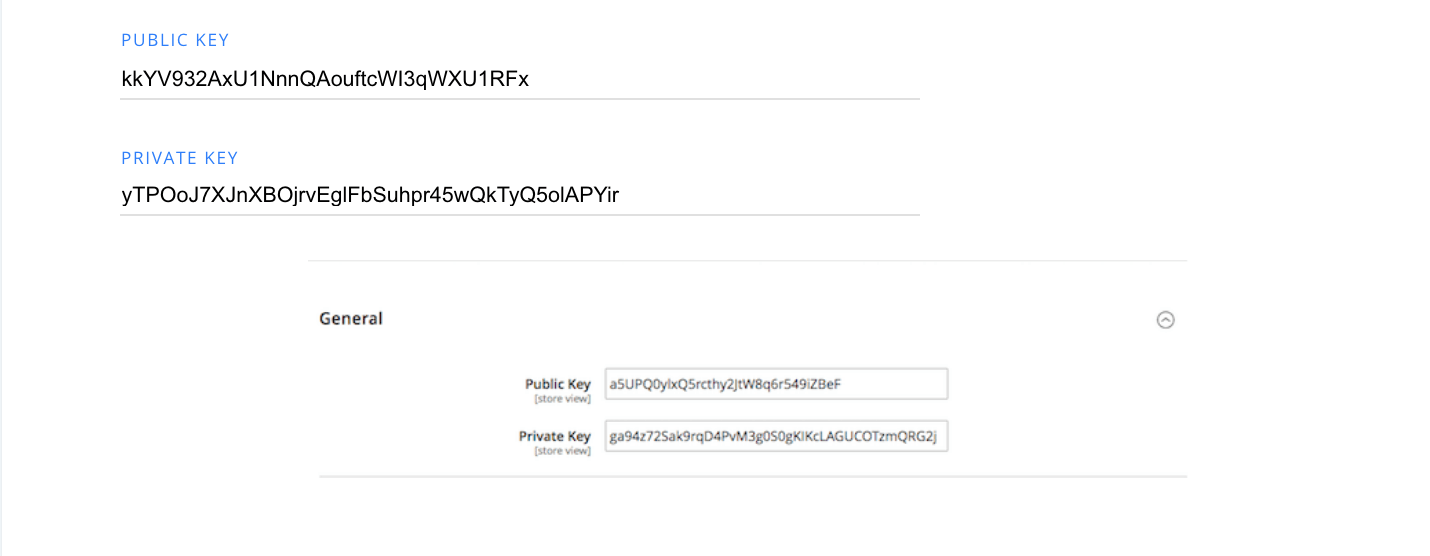
Syncing your Magento 2 Store with Clerk.io
To show results, Clerk.io must sync with the products, categories, sales, pages and customers from Magento 2.
This is done by configuring the extension with the 2 API keys found in my.clerk.io, and then using your webshops domain to sync.
When your data has been synced, you can start adding Clerk.io elements.
Adding Search and Recommendations
Frontend elements in Clerk.io consist of two parts:
A Design that controls the visual presentation of products. This can be changed to match any styling you want. Most often you will use 3 Designs:
One for Instant Search, the Search page and Recommendations.
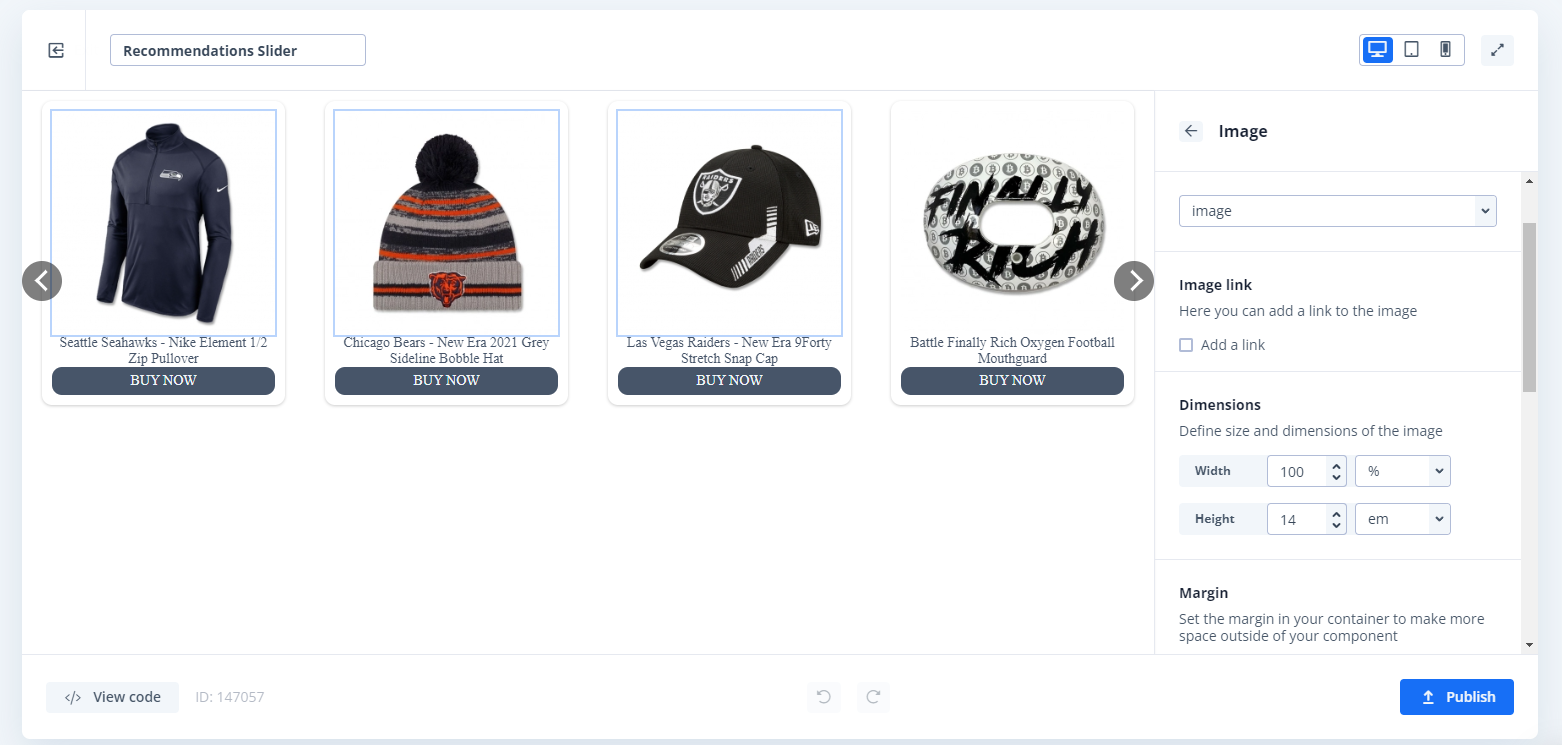
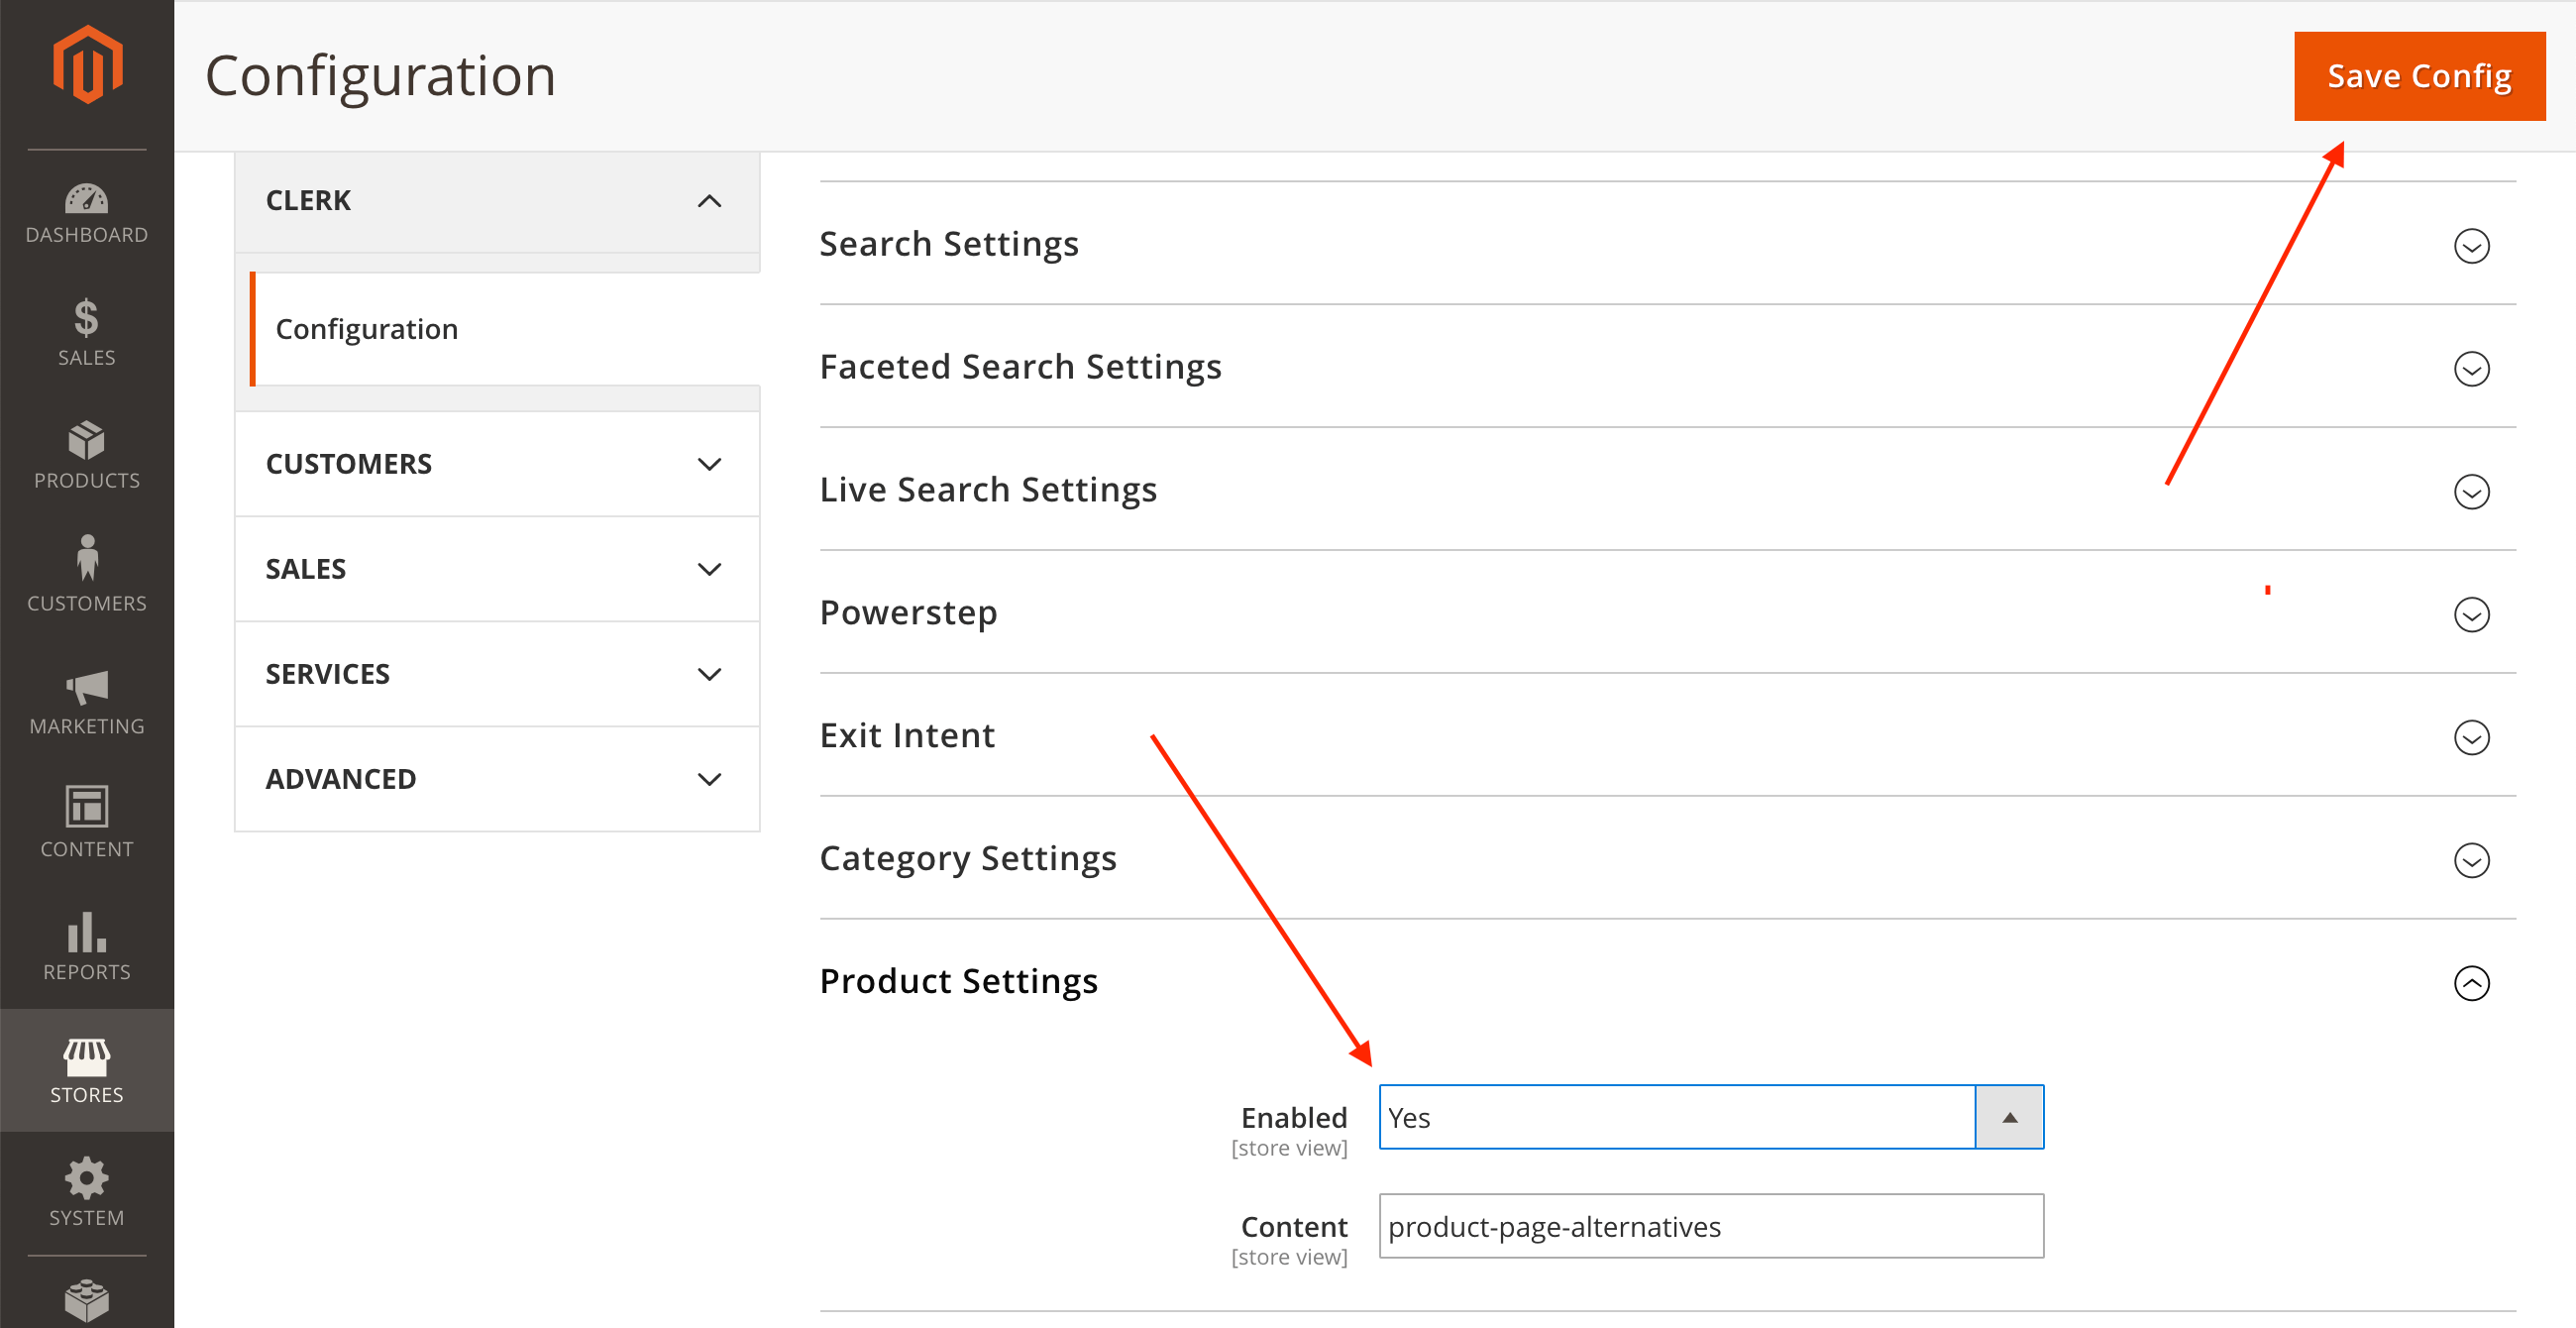
A Content that displays the products. The Content has attached embed codes that will be inserted on the right page automatically, when configuring the extension:
The Setup Guide will walk you through how to activate each element, and how to insert each embed code manually if needed.