Getting Started with Search on Magento 2
Platforms:
Clerk.io’s search function consists of two parts:
The Live-Search dropdown that is displayed when a customer starts typing.
The Search Page which displays all matching products on a full page.
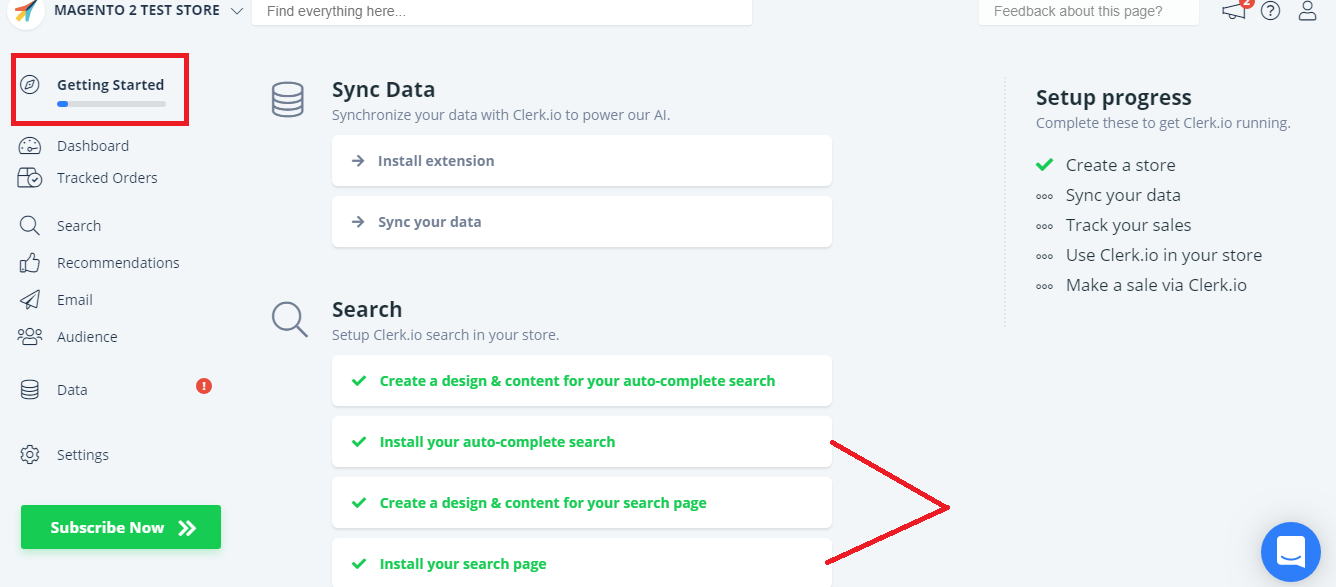
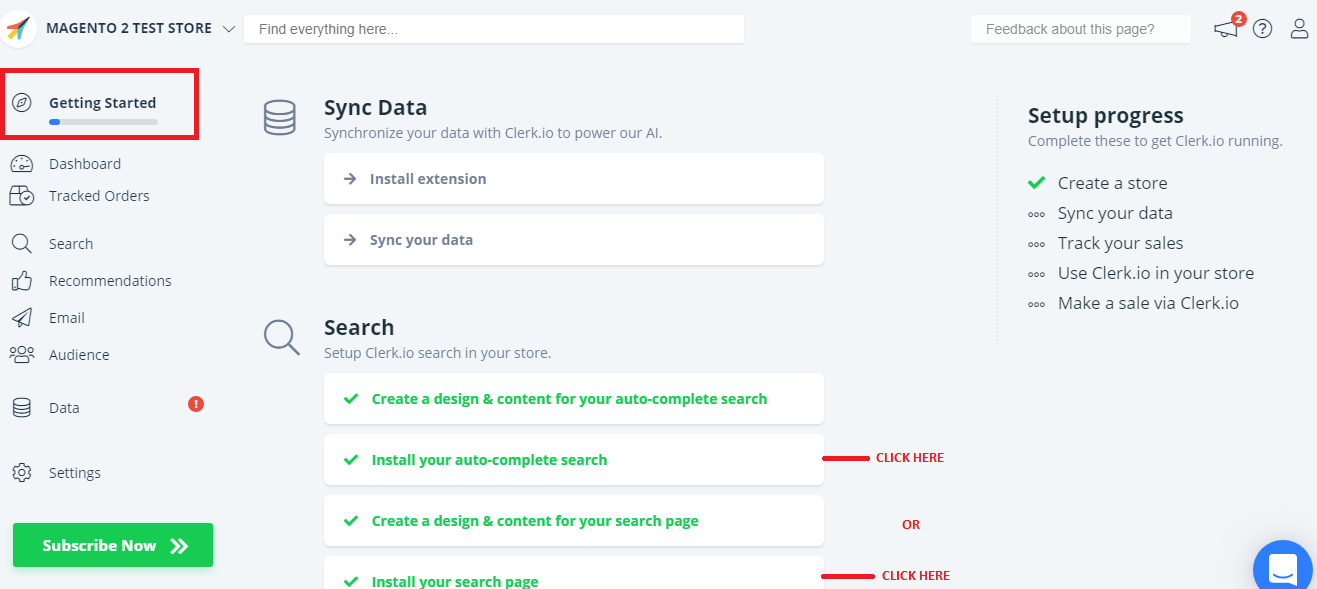
From the main menu start by clicking on Getting Started:
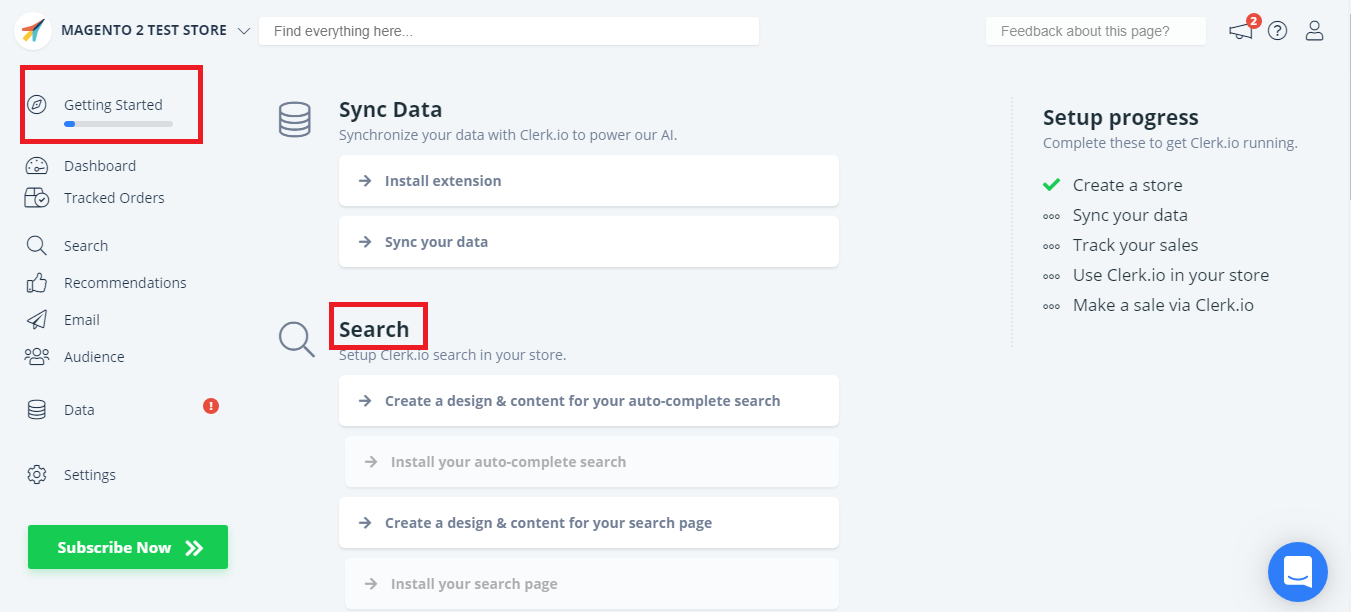
1. Create Standard Designs and Content
The first thing you need to do, is create Standard Designs and Content.
You can use the Setup guide entitled SEARCH under the Getting Started option, to quickly create Designs and Content that have the same color scheme and style as your webshop.
A/ Start by creating a Design and Content for the Live Search :
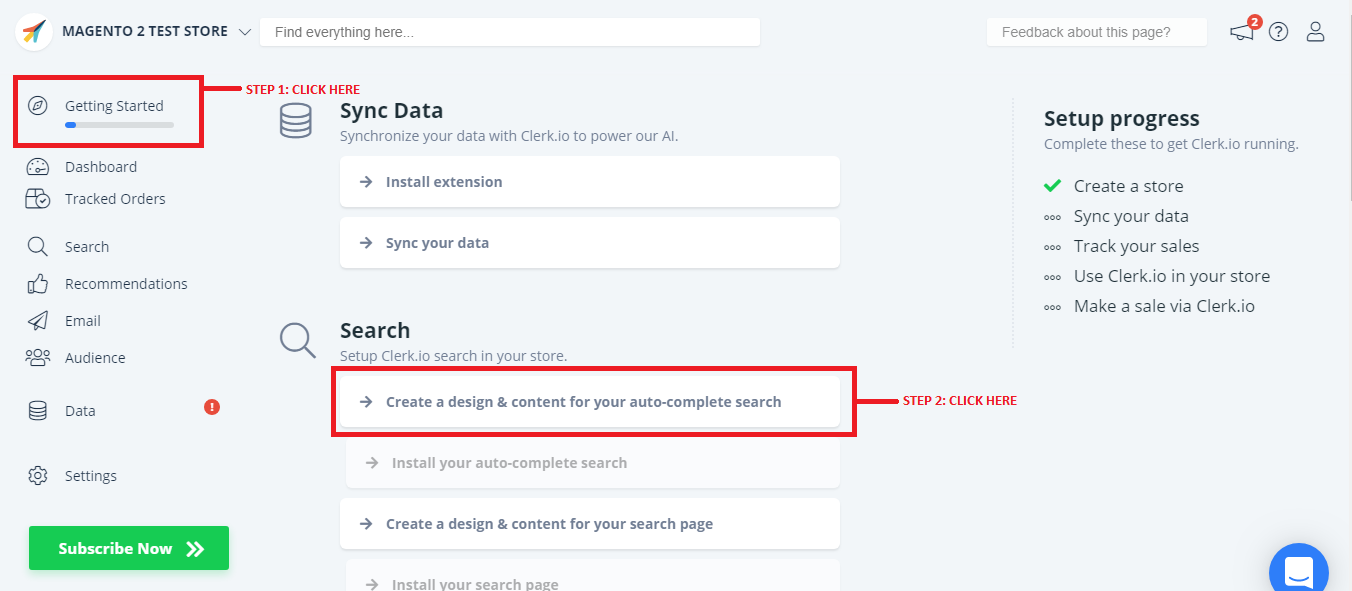
Once you have created your design, click Publish.
B/ And then create a Design and Content for the Search Page:
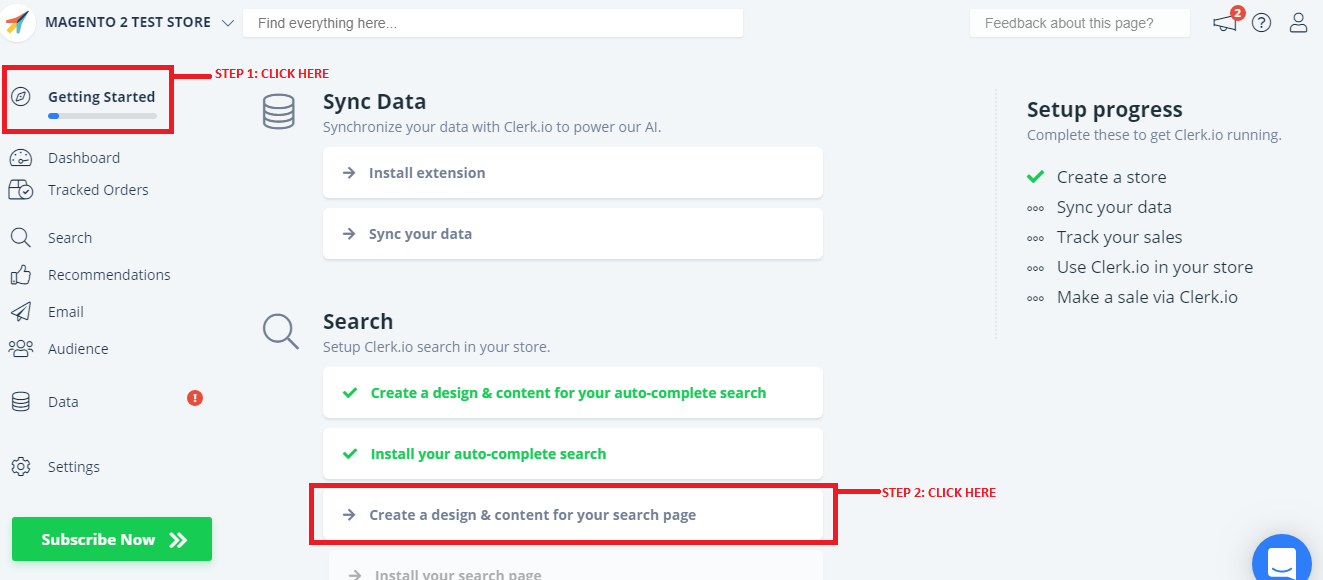
Once you have created your design, click Publish.
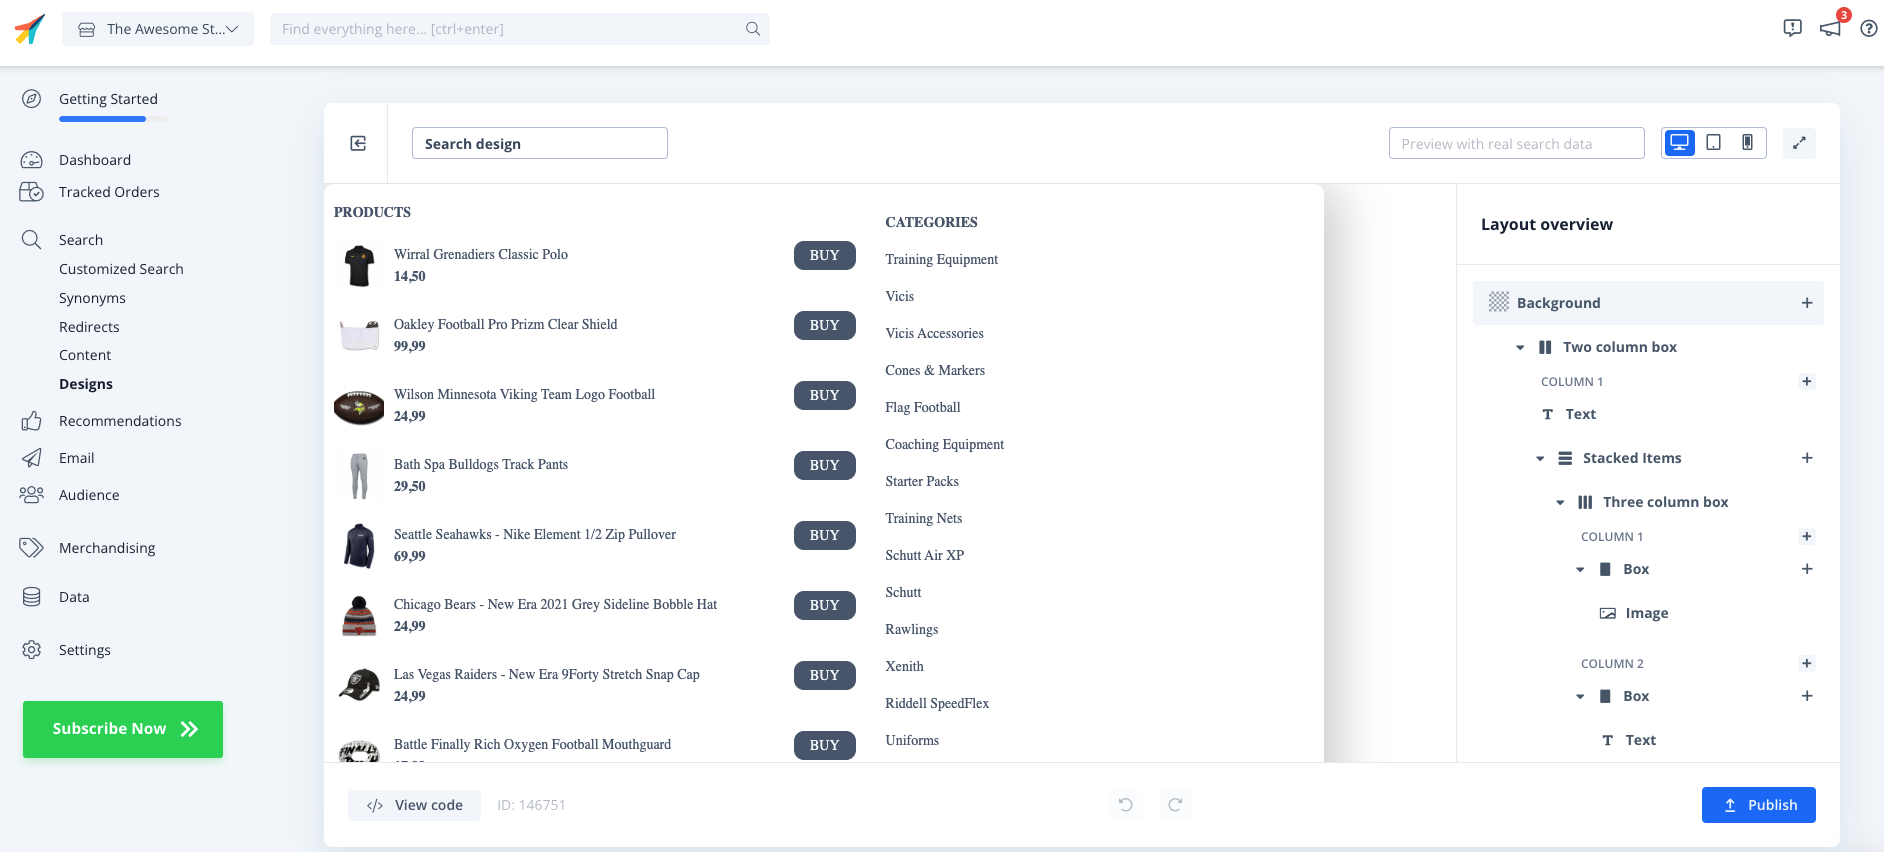
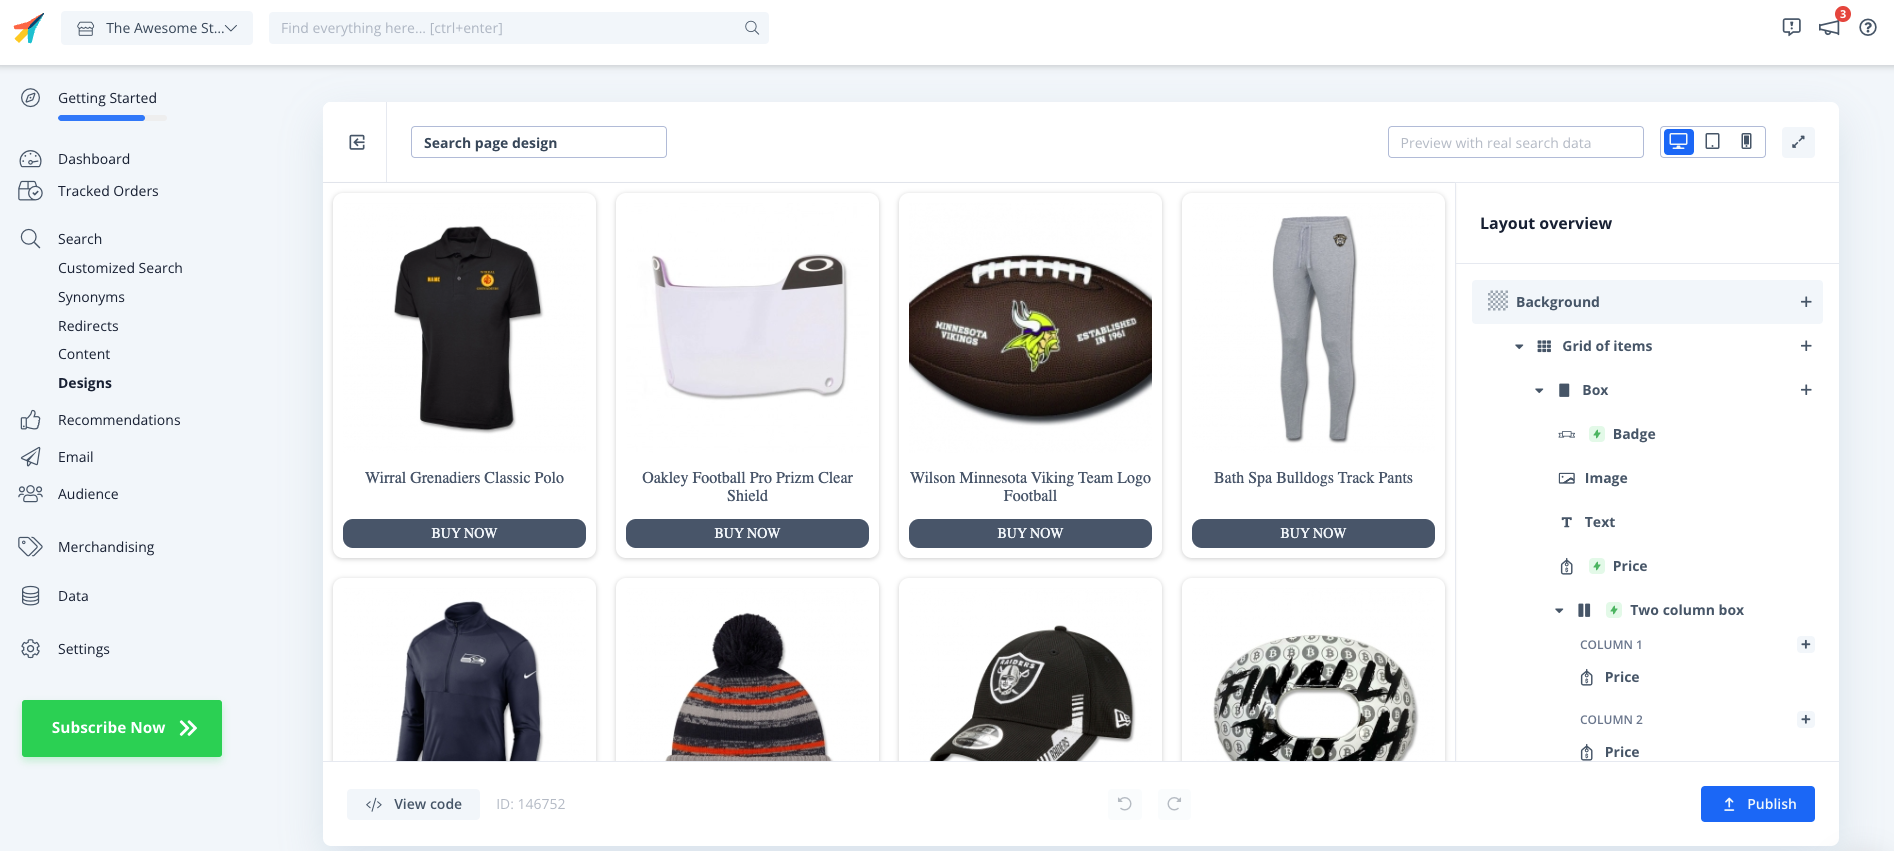
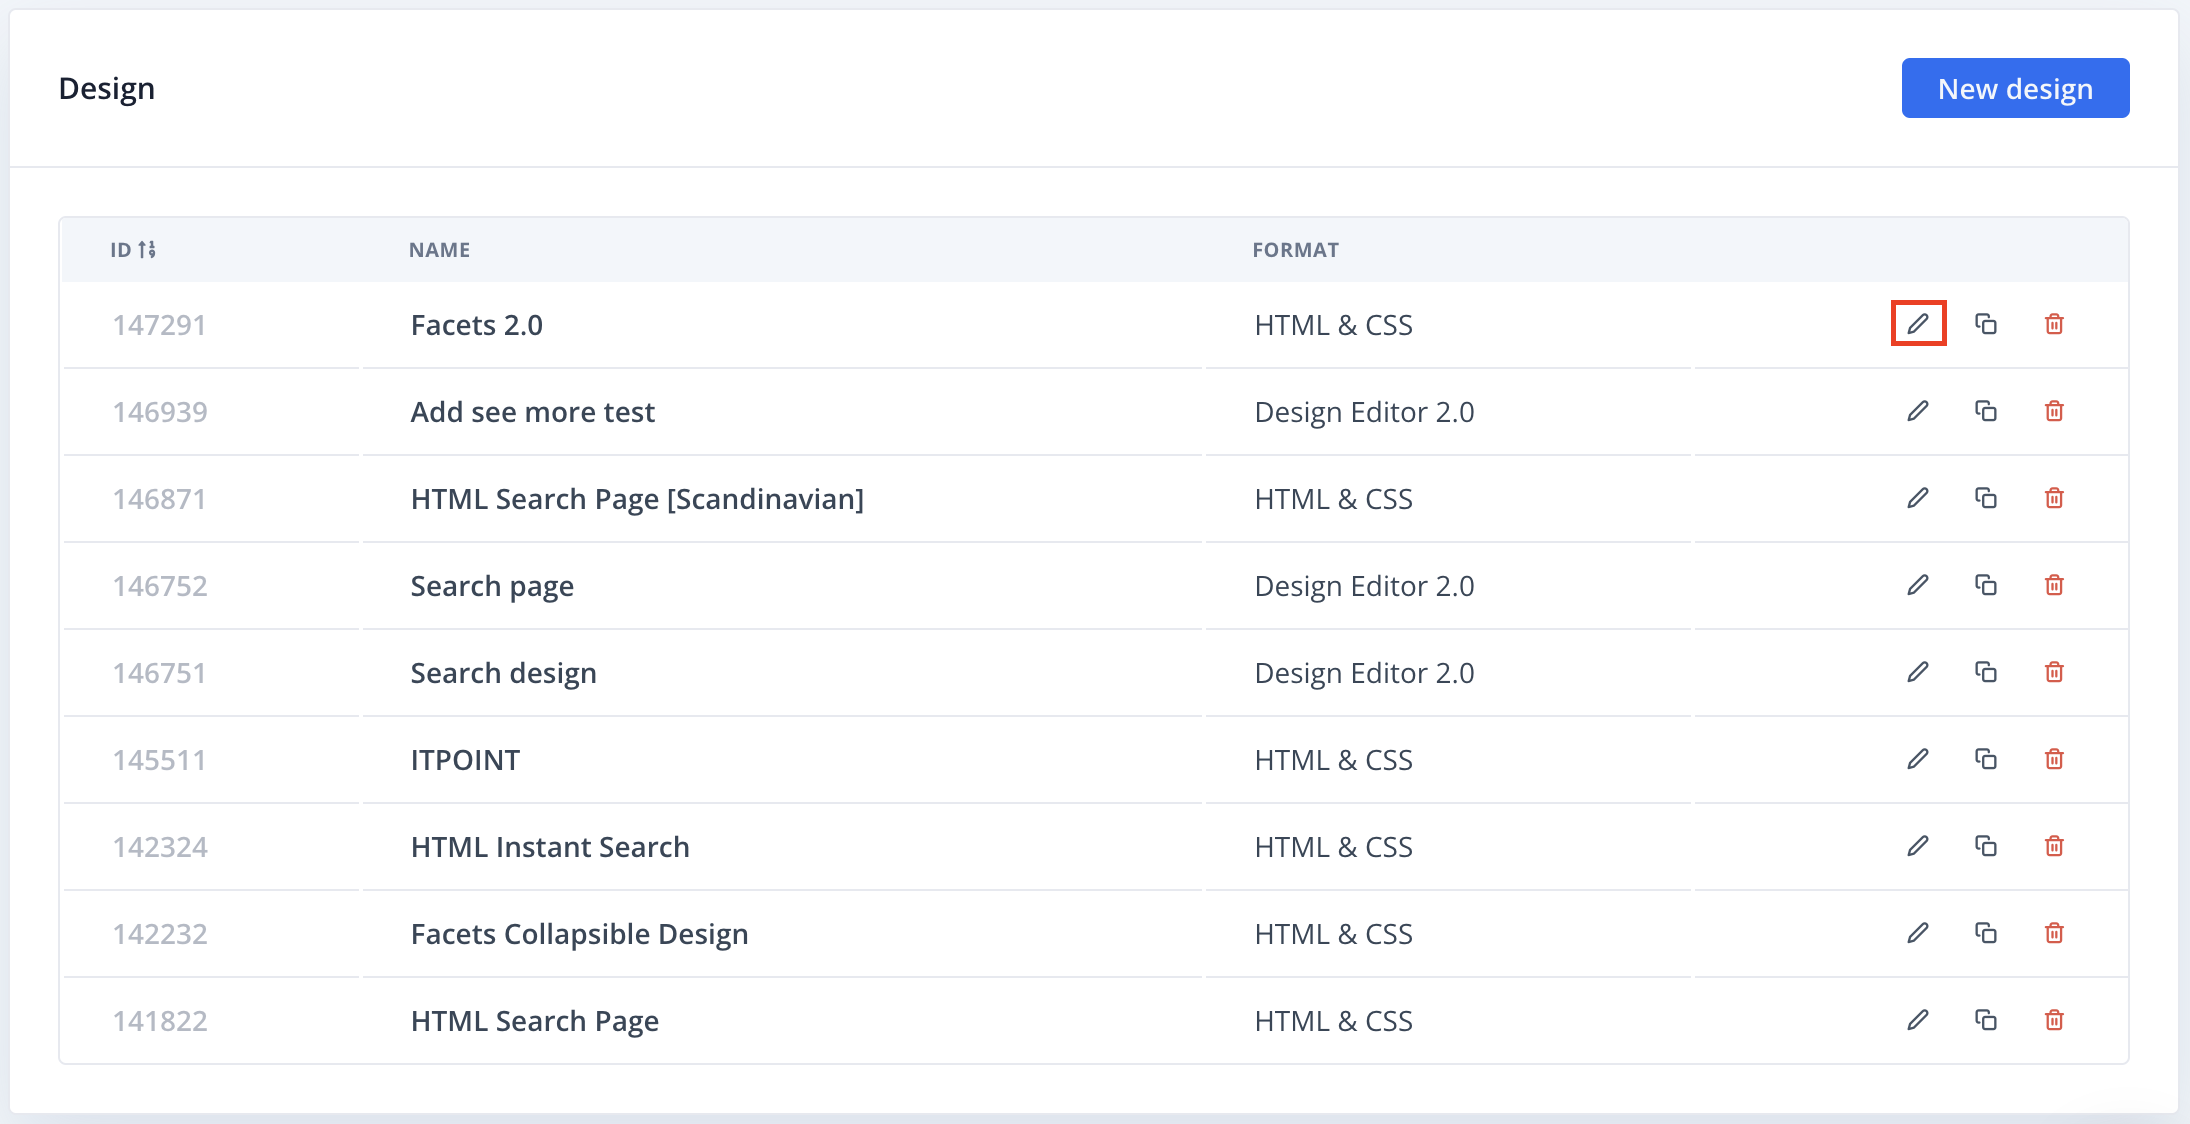
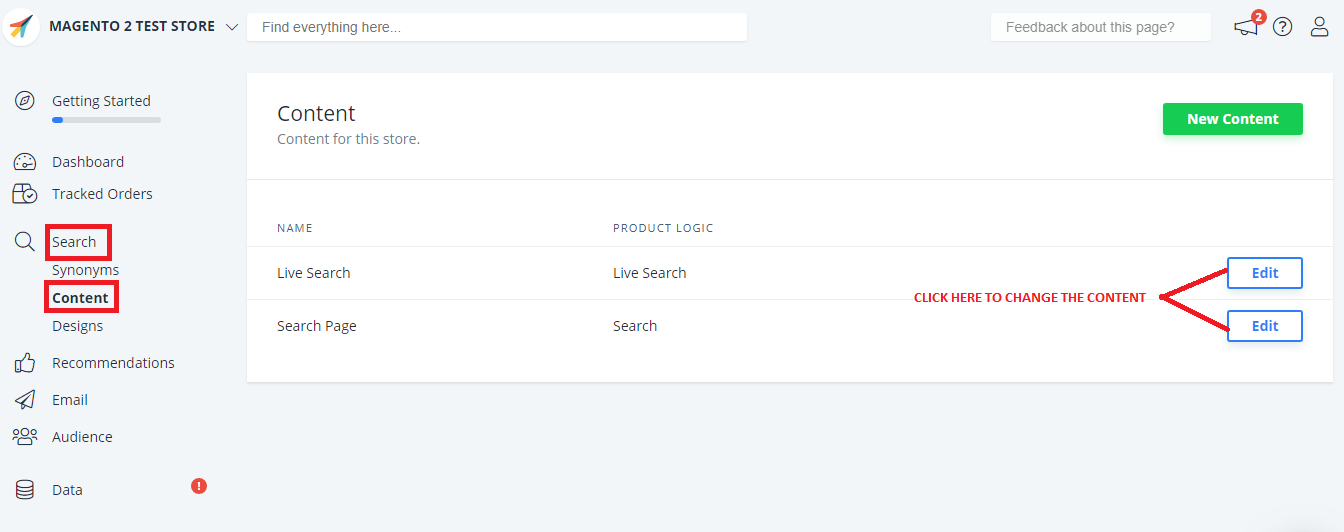
You can easily change your designs and content later, under Designs and Content in the left menu.
Change Design
Change Content
2. Activate the Live-Search and Search Page
The next steps will guide you through the steps needed to activate the Live Search and the Search-Page Functions:
Please bare in mind even if the next steps are already checked with a green icon as if they were installed - they are not - you still need to click and follow the steps:
A/ Install the Live-Search and Search Page
In the Magento 2 module both Live-Search and Search Page are enabled under the same steps, therefore you can click either on:
- Install your auto-complete search
- Install your search page
Follow all the Steps under the section: Enable search and live-search
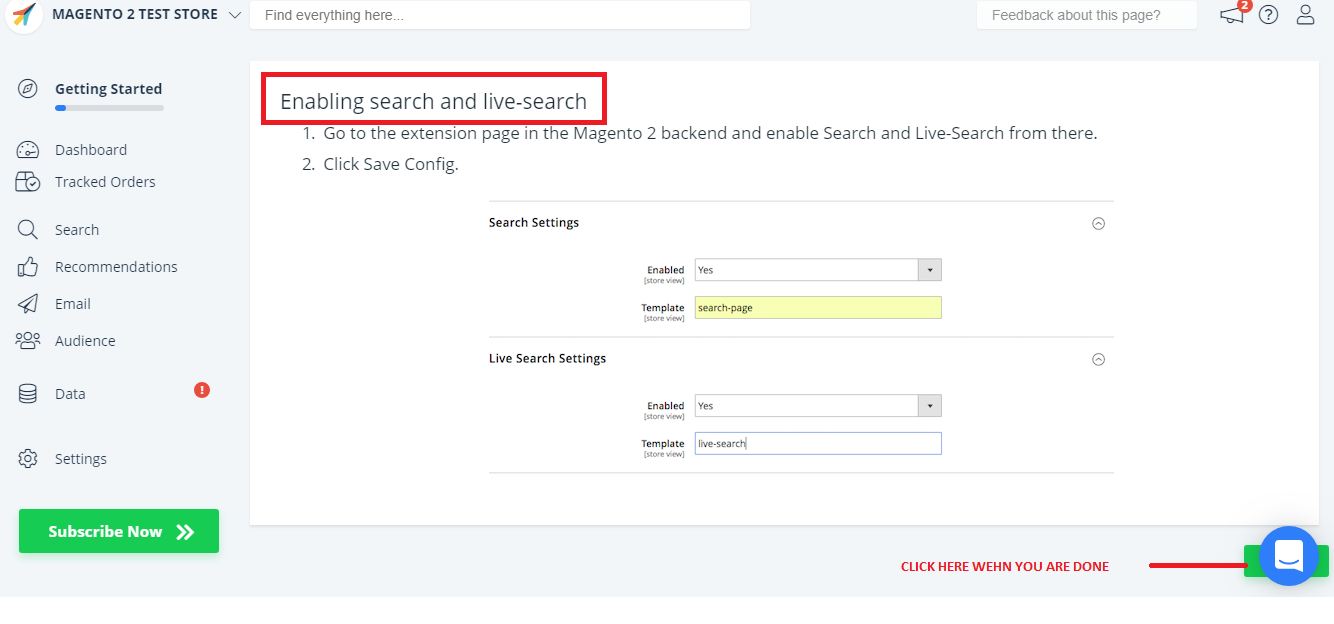
Finalise the setup by clicking Done
After enabling the features, you will be able to see Clerk.io’s SEARCH function on your webshop.