Using Currency Conversion on Shopify
Platforms:
Shopify’s built-in Currency Conversion makes it easy to read the currency symbol and exchange-rate from the webshop.
By standard, Clerk.js for Shopify comes bundled with a formatter that will work as long as your 3rd party app uses Shopify’s built-in currency object.
Including a formatter in your Design
You need to use a formatter in your Designs to convert prices. This is taking an example from our standard template language here. However, when using currency conversions and symbols, then Clerk.js detects these settings such as language, currency and country code. Following examples will give you more overview of how the different components work.
| Formatter | Description | Example Output |
|---|---|---|
| currency_symbol | Currency symbol for the given country or region. This can range based on what you have set up in your configuration of the shop | € , £ and kr. |
| currency_converter | A conversation formatter based on the currency setting and rate of the shops configuration | Let’s say you have 10 euros on a product. If a user switch to another currency like danish kroner (depending on the setting), then it will convert it to the corresponding conversion |
In Design Editor
1. Create a Text component where you want the price to show
2. Add the following Liquid code to show the price based on the currency converter inside the text component:
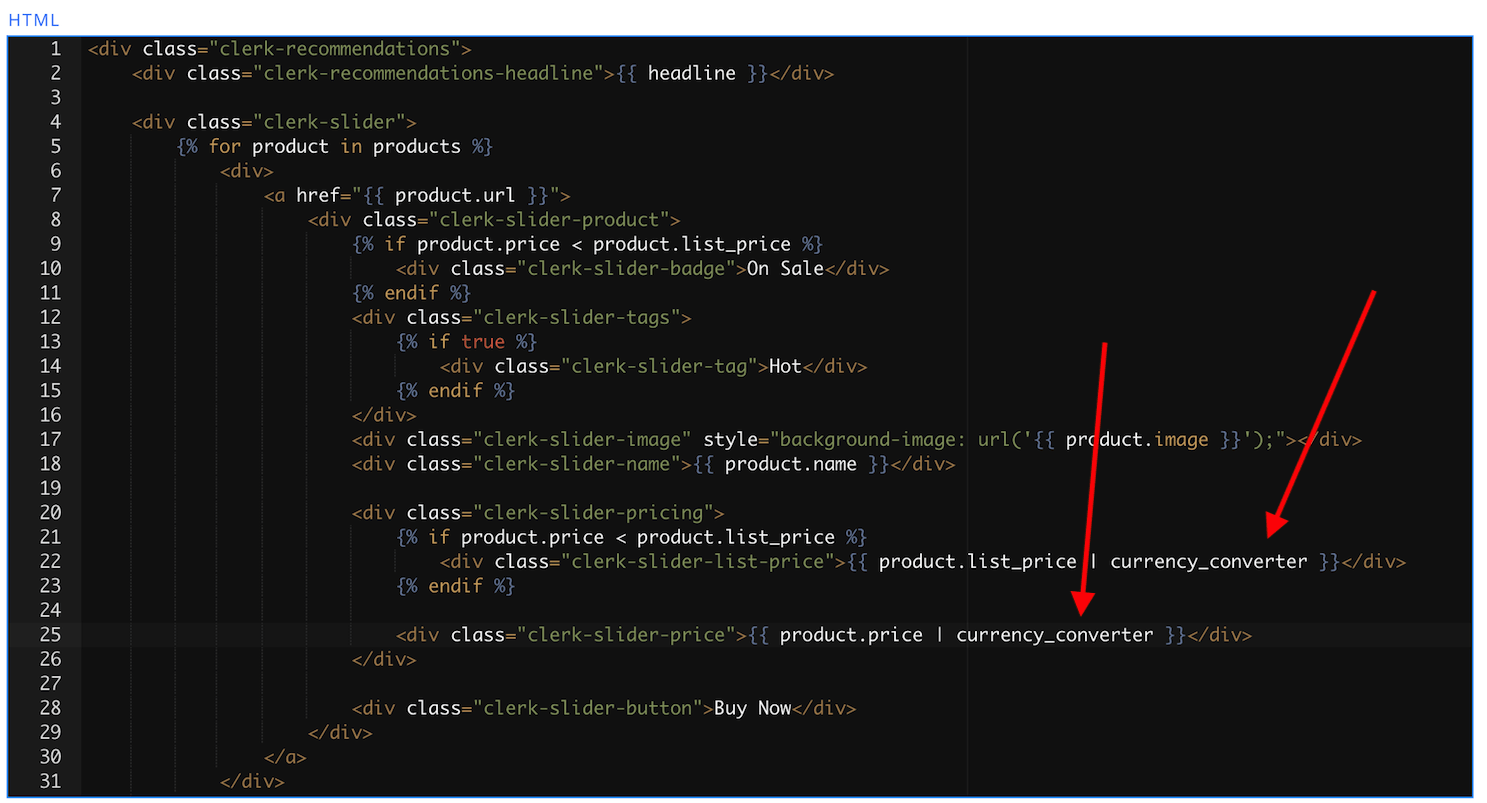
{{ currency_symbol }}{{ item.price | currency_converter }}
In HTML/CSS design (Code mode)
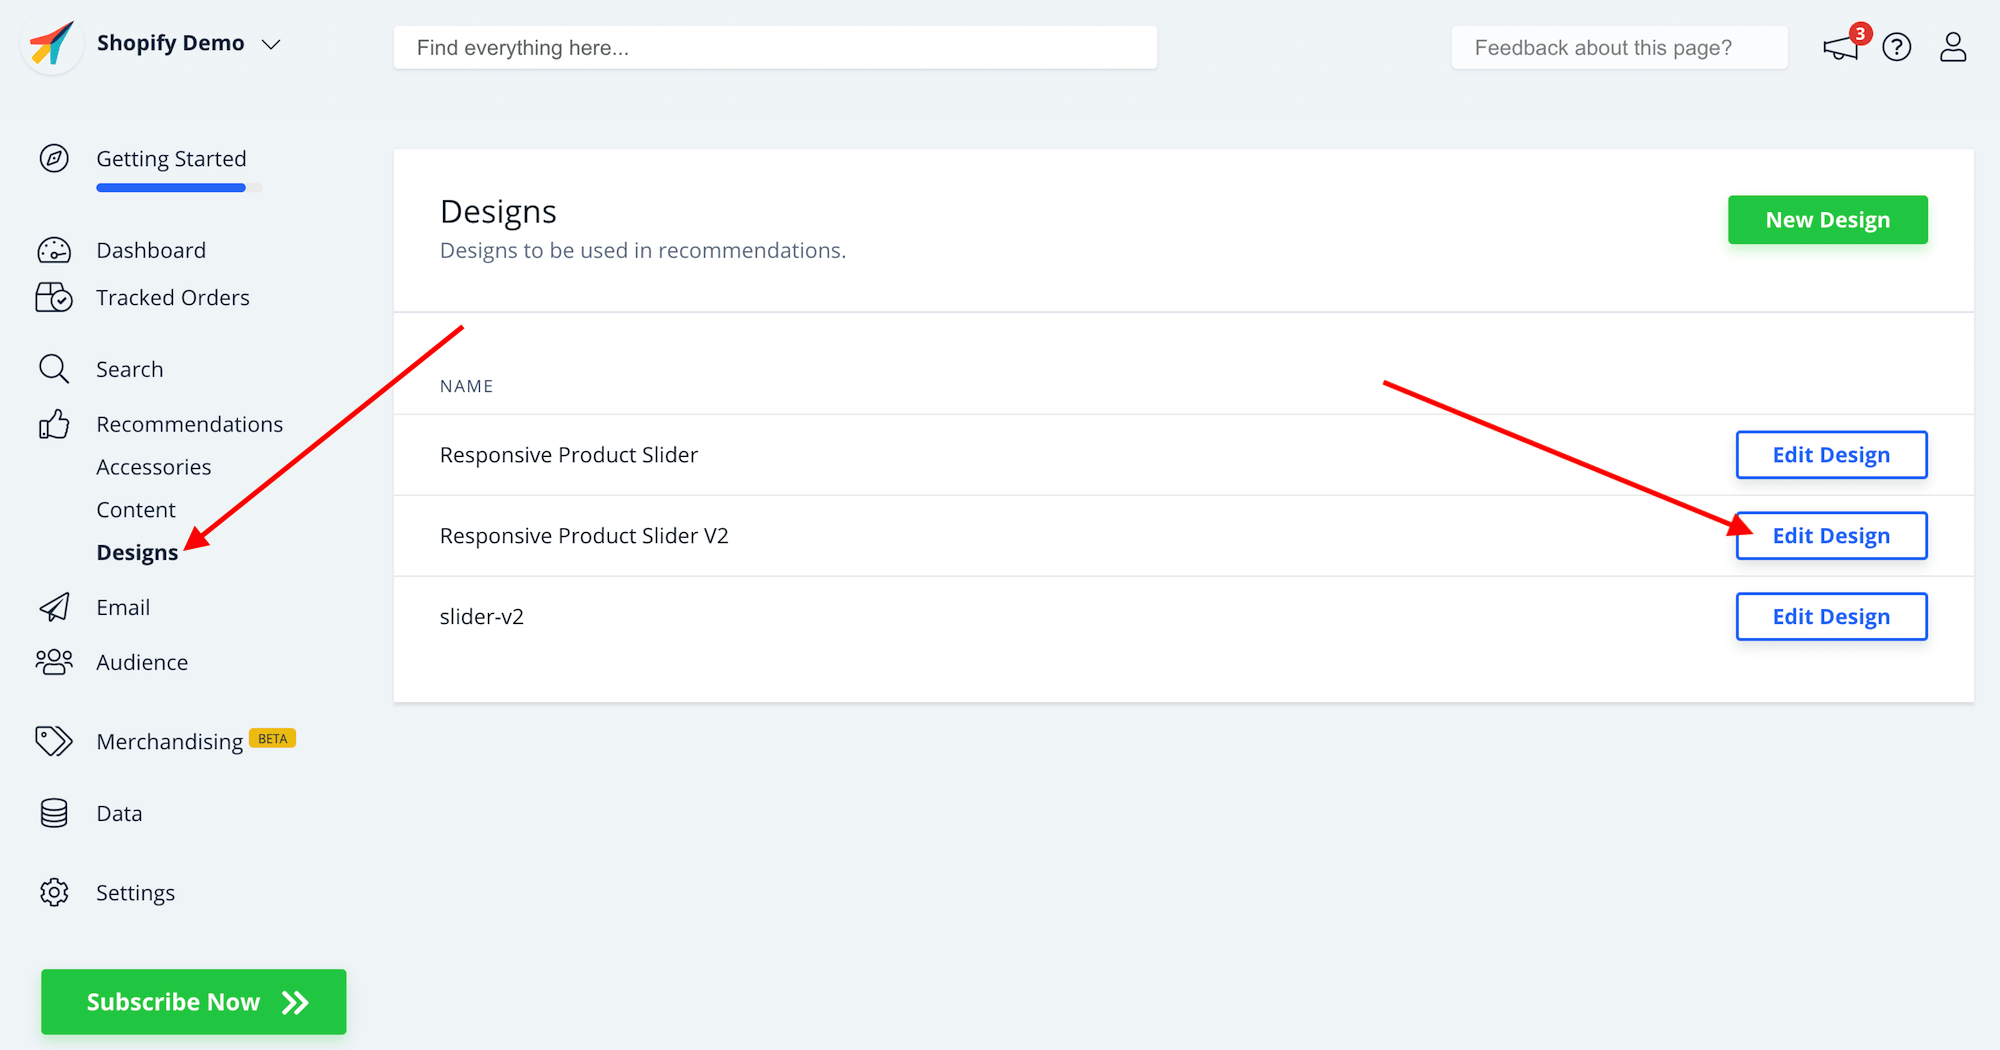
1. In my.clerk.io go to Search/Recommendations -> Designs and click Edit Design for your design.
2. Replace the existing money or money_eu formatter for prices, with currency_converter
3. Click Update Design.
4. You will now be able to see the converted prices and currency symbol in your design:

Shopify-frontend-api solutions
Disclaimer: This is very custom solution to get price conversions if there are no data from the shopify API. Only use this if you are using a specific and custom setup for price conversions based on geo-ip changes.
This is the frontend solution documentation in Github.
Getting Contextual DATA JIT
This section covering how to get a contextual data in real time for showing within content returned from the Clerk.io API.
The design patterns is composed of the following parts:
- A collection containing all products.
- An alternate layout for rendering collection information as JSON.
- A Javascript Class which collects the data made available in the collection.
- A Javascript Snippet which consumes the data for the relevant product ids in a given result and places them within a div in the template.
1. The Collection
In order to ensure you have a collection with all possible products, I recommend to create a collection with a condition met by all product. The collection should be named Clerk api, as this will result in it receiving the route /collection/clerk-api frontend.
The condition for the collection should be something like price > -1000000.
2. The Alternate Layout for Collections
Second we need to create an alternate layout for showing our data using the collection.
In order to do this, we first edit the theme code for the theme we wish to use. Under the templates section in the left hand side, press Add new Template.
In the popup select collection for the resource type.
Select liquid for the file type.
Write json in the bottom most field, so that the name of the created template is collection.json.liquid.
The contents of this file should be the collection.json.liquid file found in the liquid folder for this project.
You are welcome to add field to the product in this template as required.
3. The JS Class handling data from our newly created endpoint.
In order to grab the data from our collection and prepare it so it can be used, we need to place the entire contents of index.js in our class folder in this project, inside the script tag containing Clerk.js which you have placed in theme.liquid.
It should look something like this:
This class will invalidate data based on timestamps and currencies, without you needing to change the code.
The time before invalidation is 12 hours since last building data.
Any change in currency context also invalidates the data.
4. The JS function which loads the relevant data into the template.
Lastly you should include the template.js in the design template used. The function grabs the data when available and places it in specific child elements within each product tile.
The example include the list_price and price fields.
Things to Note: If you need to use fields which are different from the price and list_price, you would add them in collection.json.liquid and then edit the template.html and template.js to also consume those fields. You should never need to edit the Class described in step 3.