Using the Clerk.io Integration with Shopify
See how to manage the different Clerk.io features on your Shopify store
Platforms:
Overview
After entering your store information in your Shopify admin page, you can choose your integration options within my.clerk.io. Click “Data” in the left-side menu, then scroll down to “Data Sync Settings” to view your options.
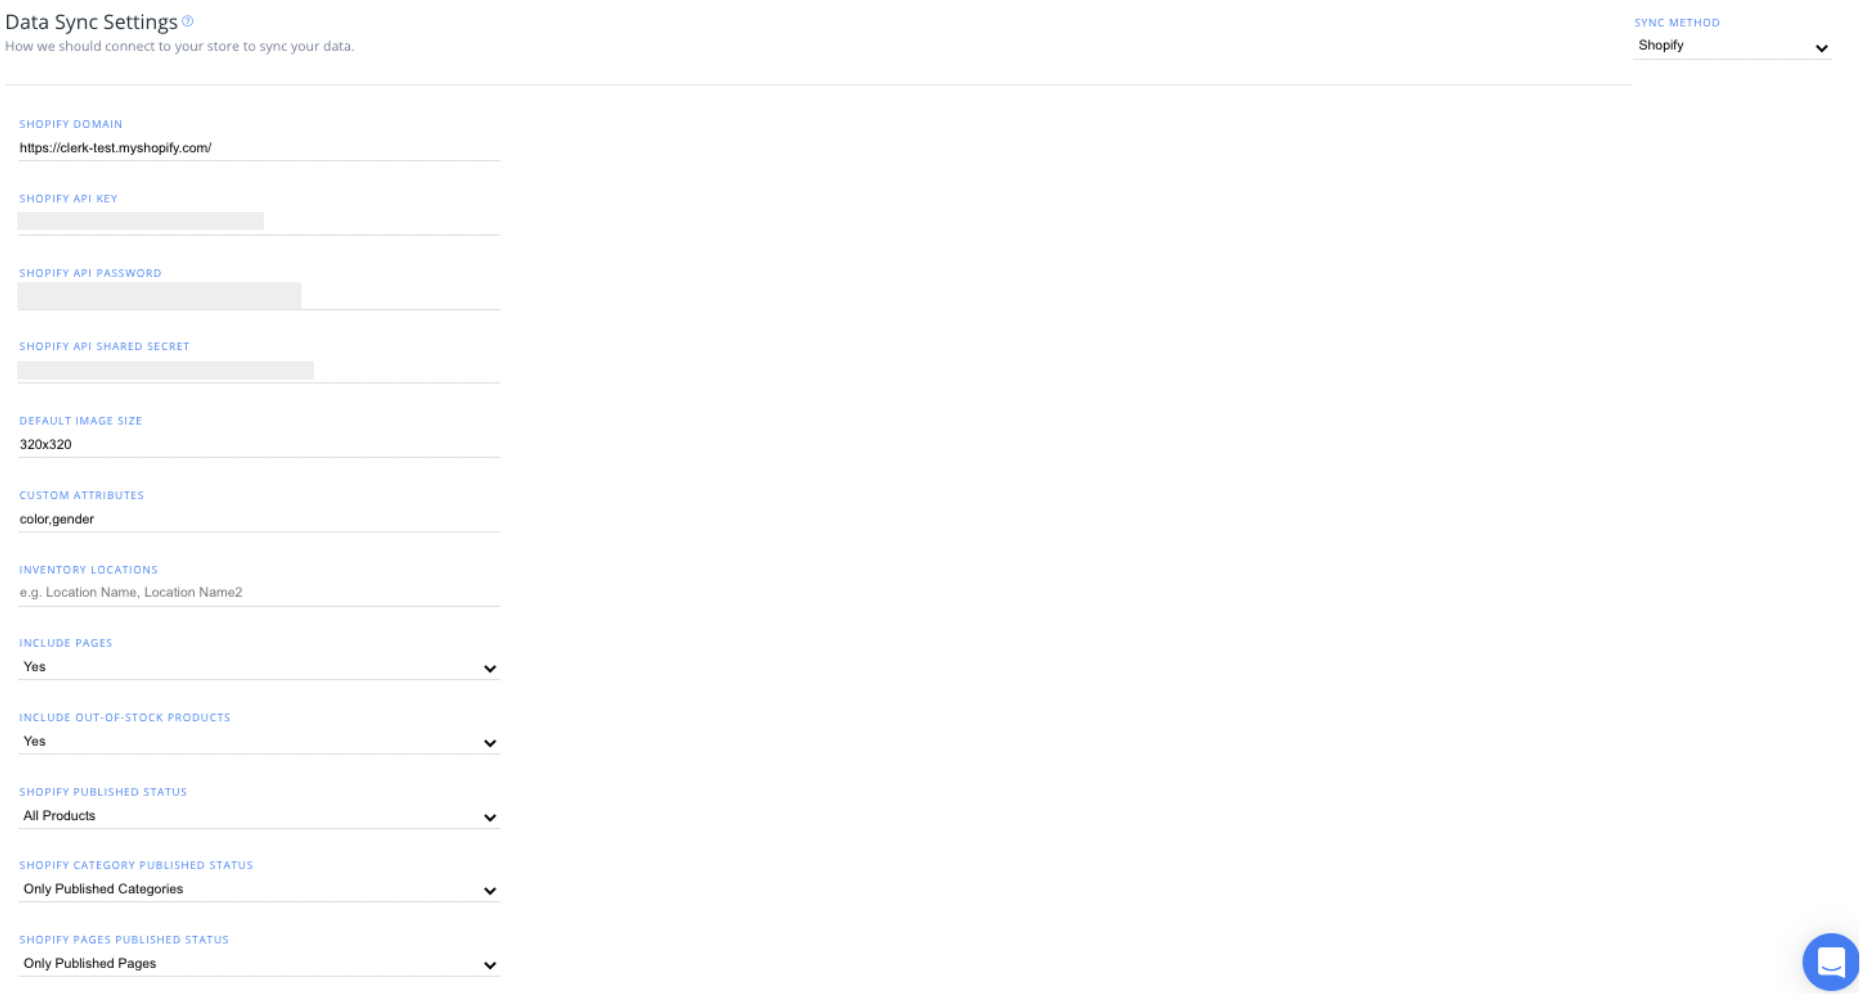
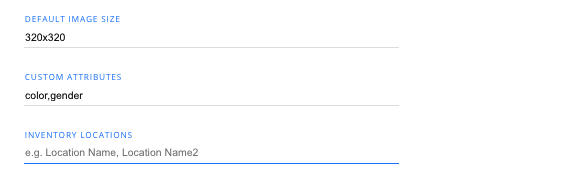
Image Size, Custom Attributes, & Inventory Locations
Default Image Size is where you can set the size for the images to be used in your Clerk.io Content
Set your Custom Attributes to be synced with Clerk.io in the next section, by writing in the custom value names, comma separated.
If you have multiple Inventory Locations to be synced from your store, you can write them in the next section.
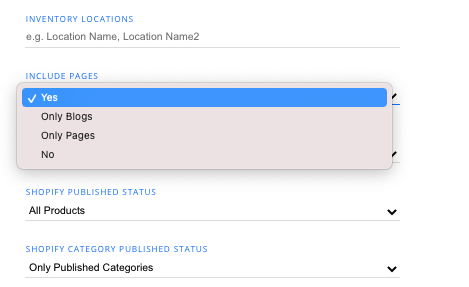
Include Pages
- To include Blogs and/or other Pages in your data sync, select the appropriate option under " Include Pages".
Out-of-stock Products
- Select whether or not you’d like to sync out-of-stock products using the next dropdown
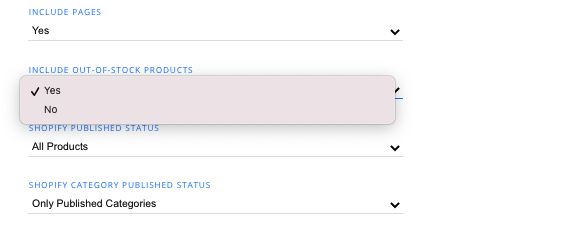
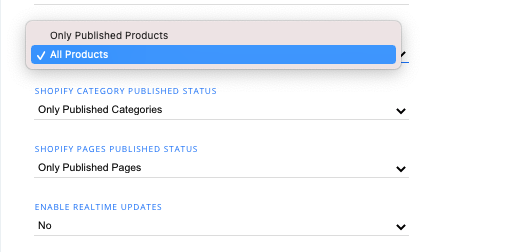
Published Status (Products, Categories, & Pages)
- If you want to include only published Products, Categories, or Pages, select the appropriate option from each of the three dropdowns:
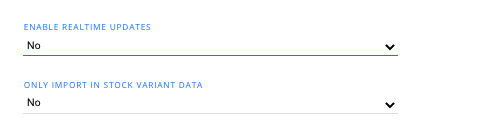
Enable Realtime Updates & Import Stock Variant Data
- From the next two dropdowns, you have the option to enable real-time updates from your product data synced to Clerk.io, and then the option to import only stock variant data.
Import Tags
- To import your Shopify Tags into Clerk.io, select the appropriate option from the dropdown here. If you choose to include or exclude specific tags, you can list those as comma-separated values in the " Specific Tags" text box that appears.

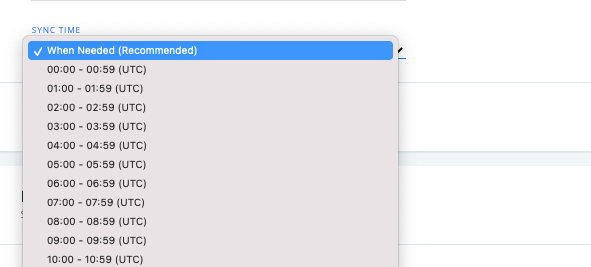
Sync Time
- With Sync Time, you can set the time of day when your store data syncs to Clerk.io. The default option is “When needed”.