Setting up an Add-To-Basket step on WooCommerce
Platforms:
If you haven’t already, create the Content that you want to use in your Add-To-Basket Step (Power Step).
In the WooCommerce backend, go to Pages.
In the top of the page, click Add New.
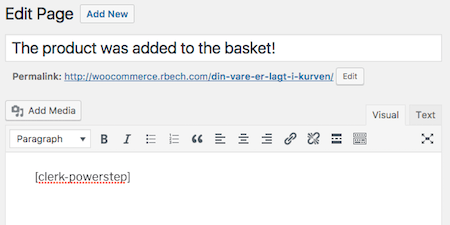
Name the powerstep page something meaningful, like “Product added to the basket!”, as it will be displayed as the title on your powerstep.
In the big text-field, type in [clerk-powerstep], and press Publish.
6. Go Clerk -> Clerk Settings in the sidemenu and find Powerstep Settings.
7. Insert the ID’s of the Content blocks you created, separated by commas, in
Content.
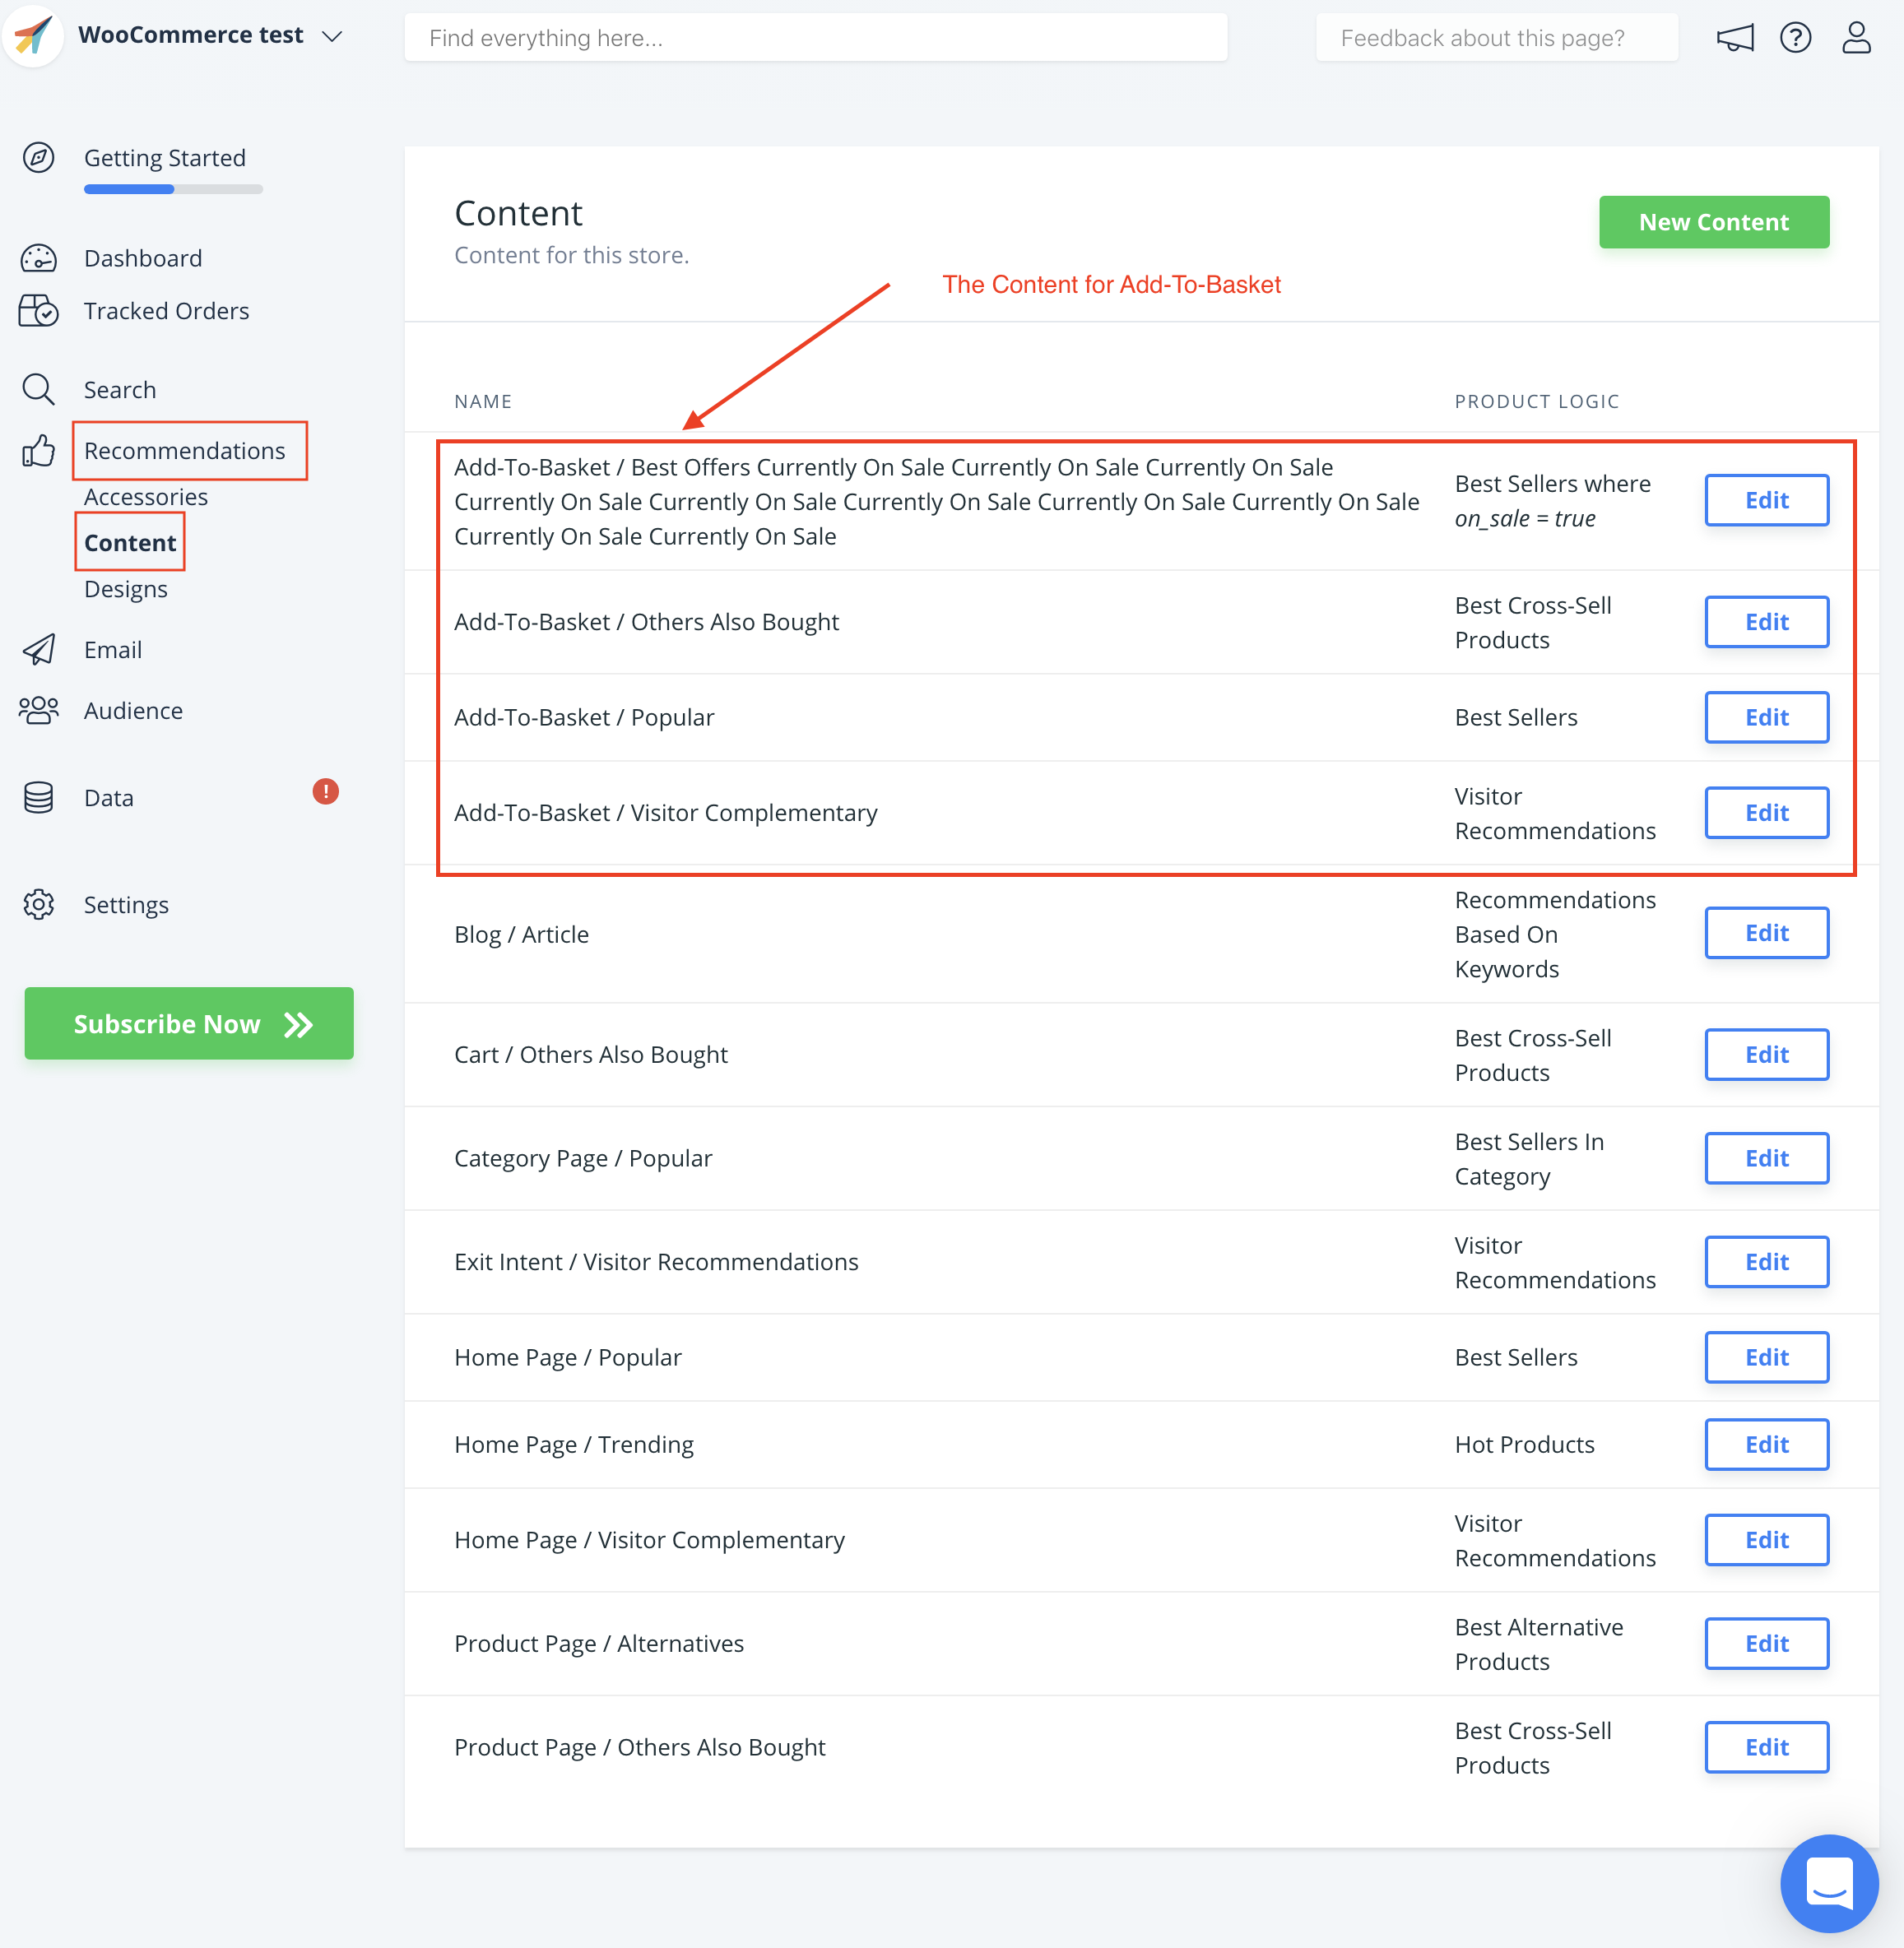
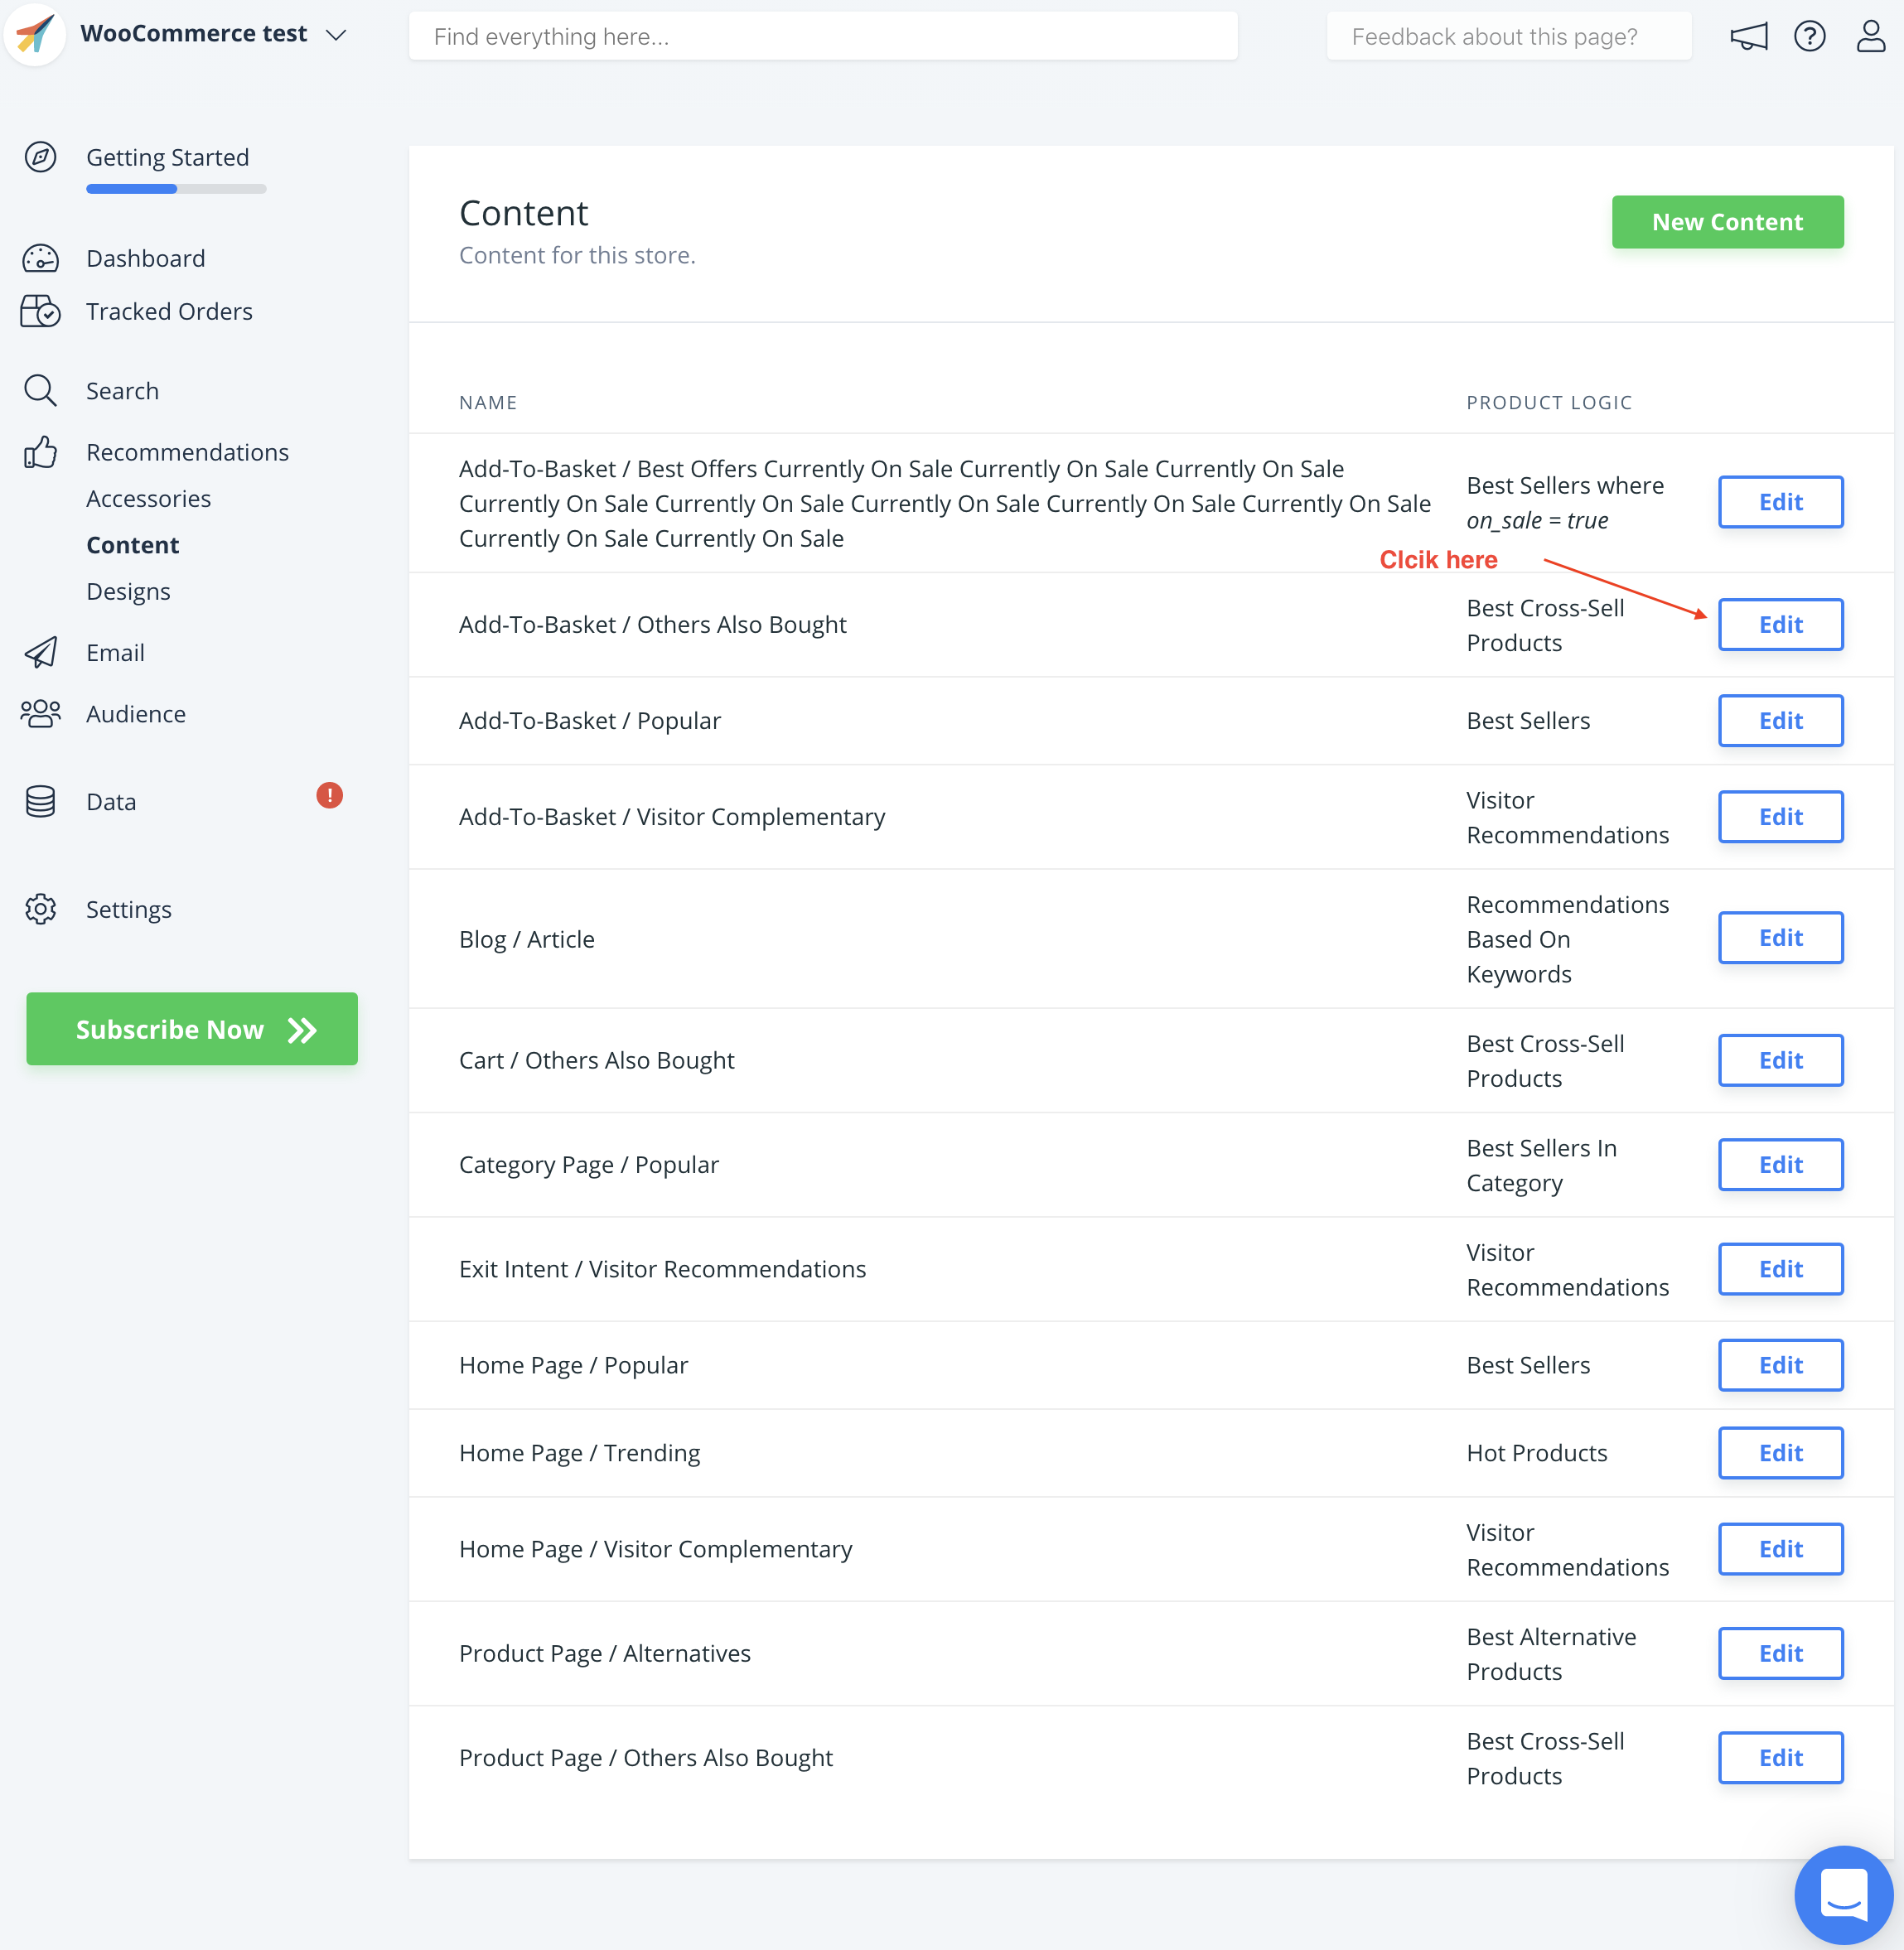
You can find the ID’S of each Content blocks you have created in your Clerk backend(my,clerk.io), under Recommendations -> Content -> Edit (the number of Content varies between 1 to 4 for the Add-To-Basket step):
Here is an example of how to find the Content ’s ID:
8. Choose the name of the page you just created, under Powerstep Page
and check Enabled.
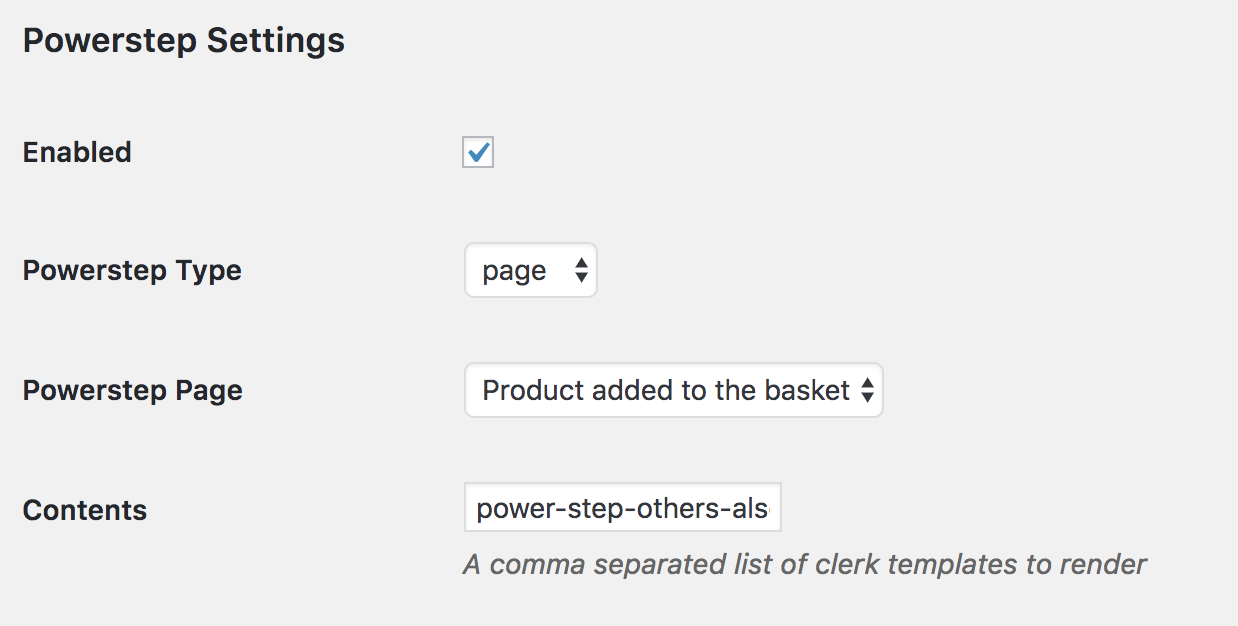
9. Click Save Settings.
OPTIONAL
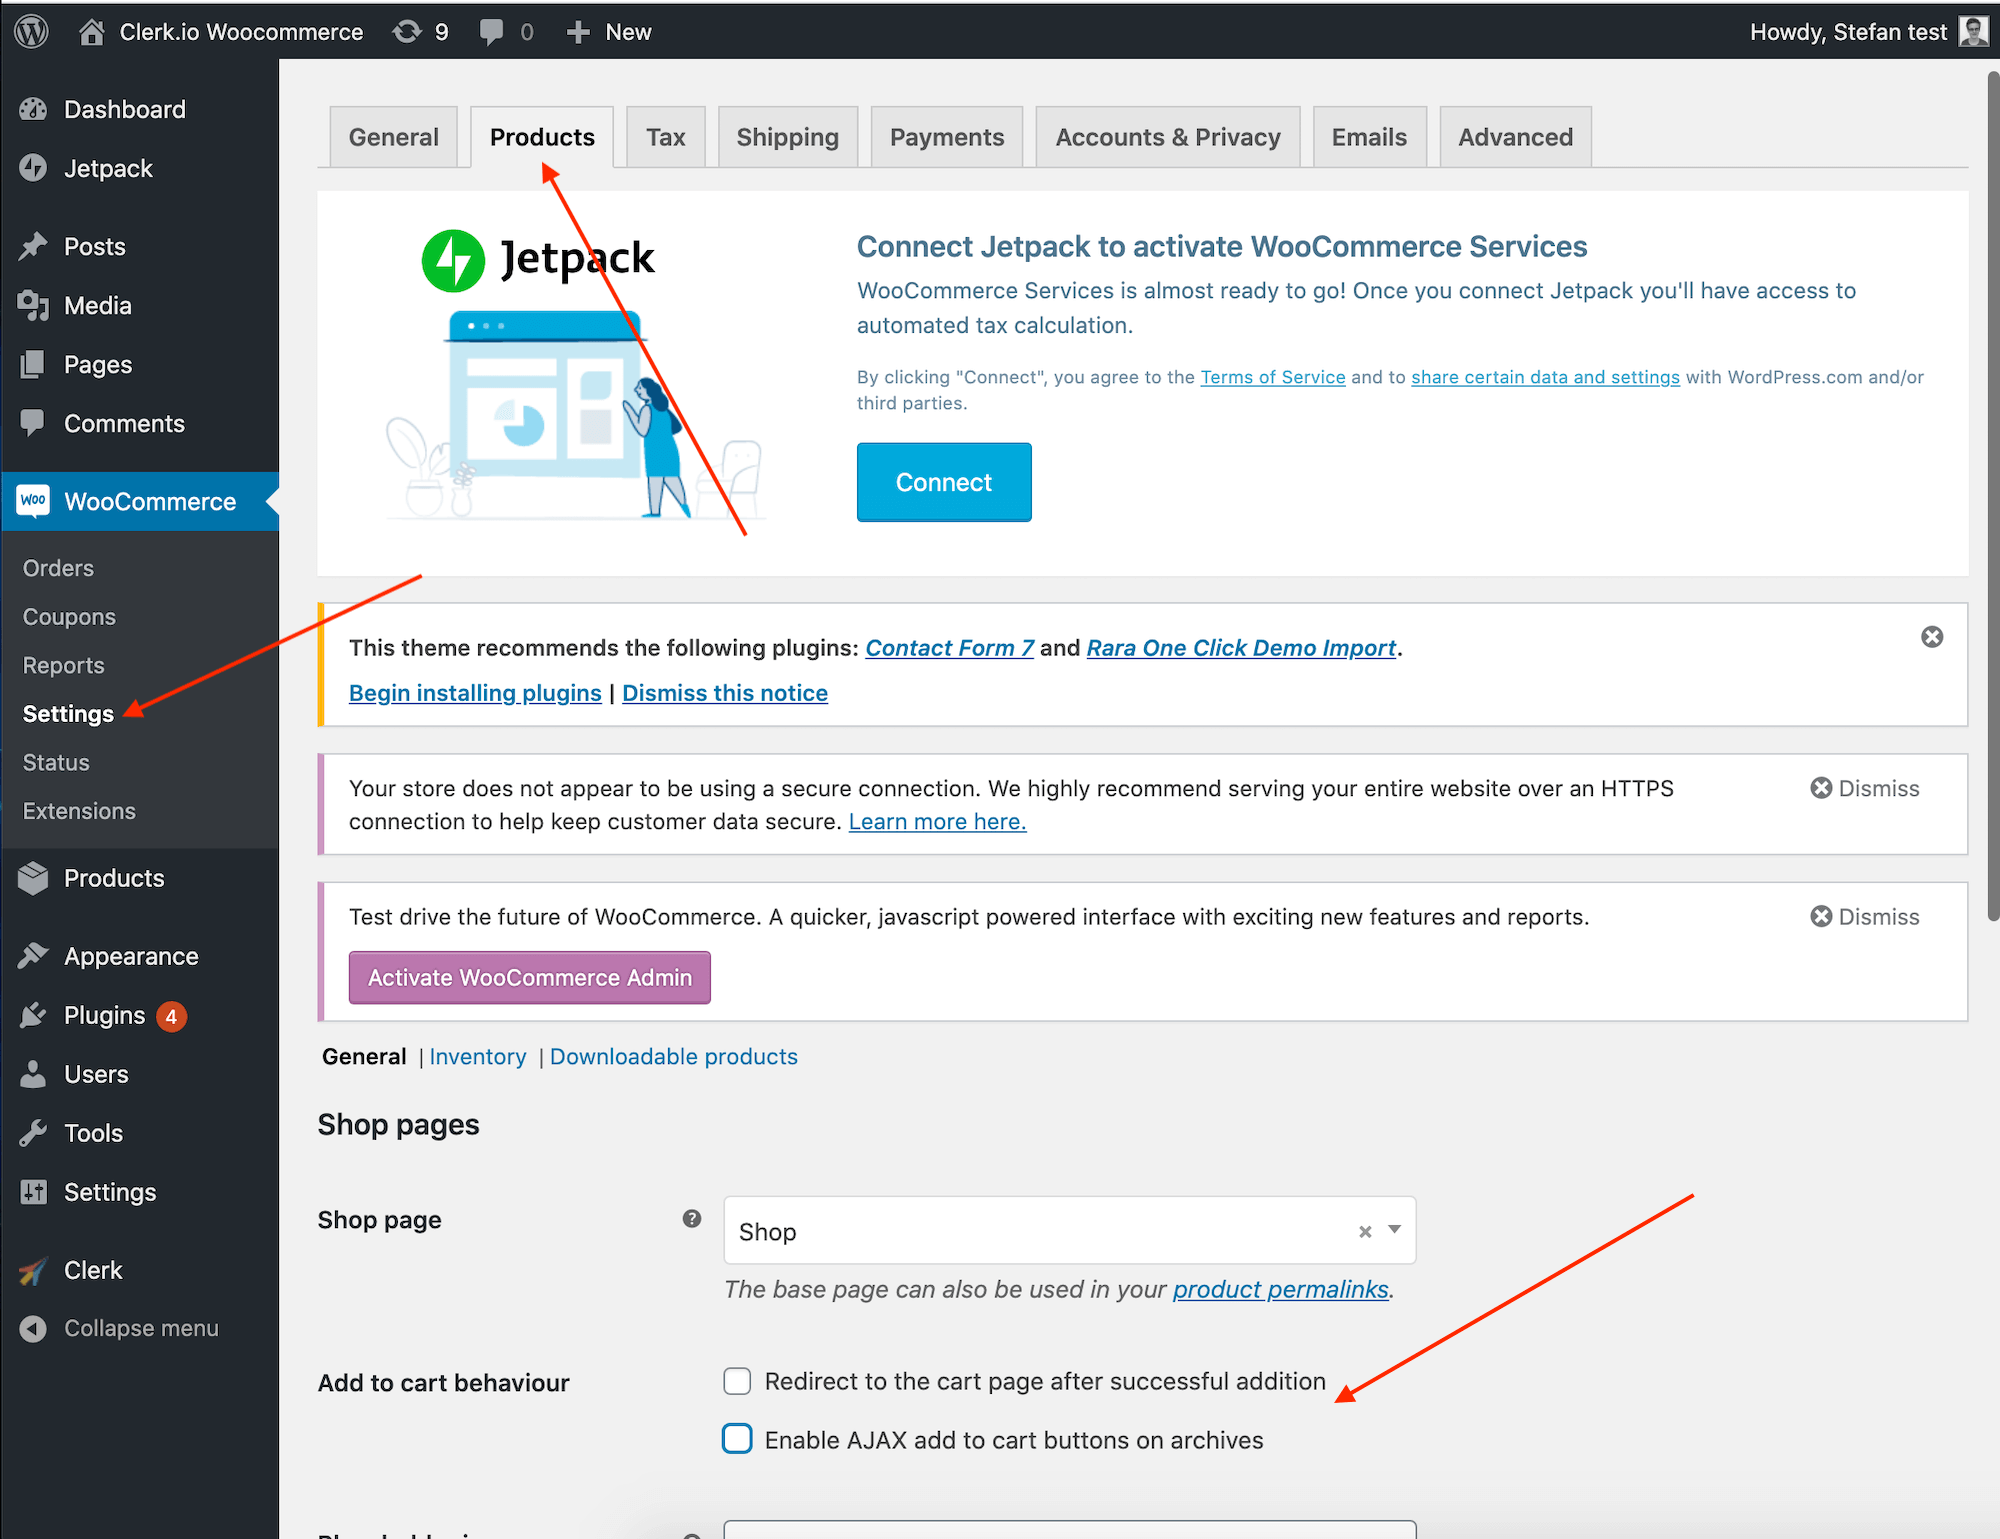
If the Powerstep is still not showing up, you might have to deactivate WooCommerce’s Cart Redirect setting.
To do this, go to
WooCommerce -> Settings -> Products and find Add to cart behaviour.
Make sure both boxes are unchecked, and click Save changes in the bottom of the page.
If Your Add-to-Basket Page Renders Twice:
If you run into an issue where the Powerstep displays twice, you’ll need to split the page to fix.
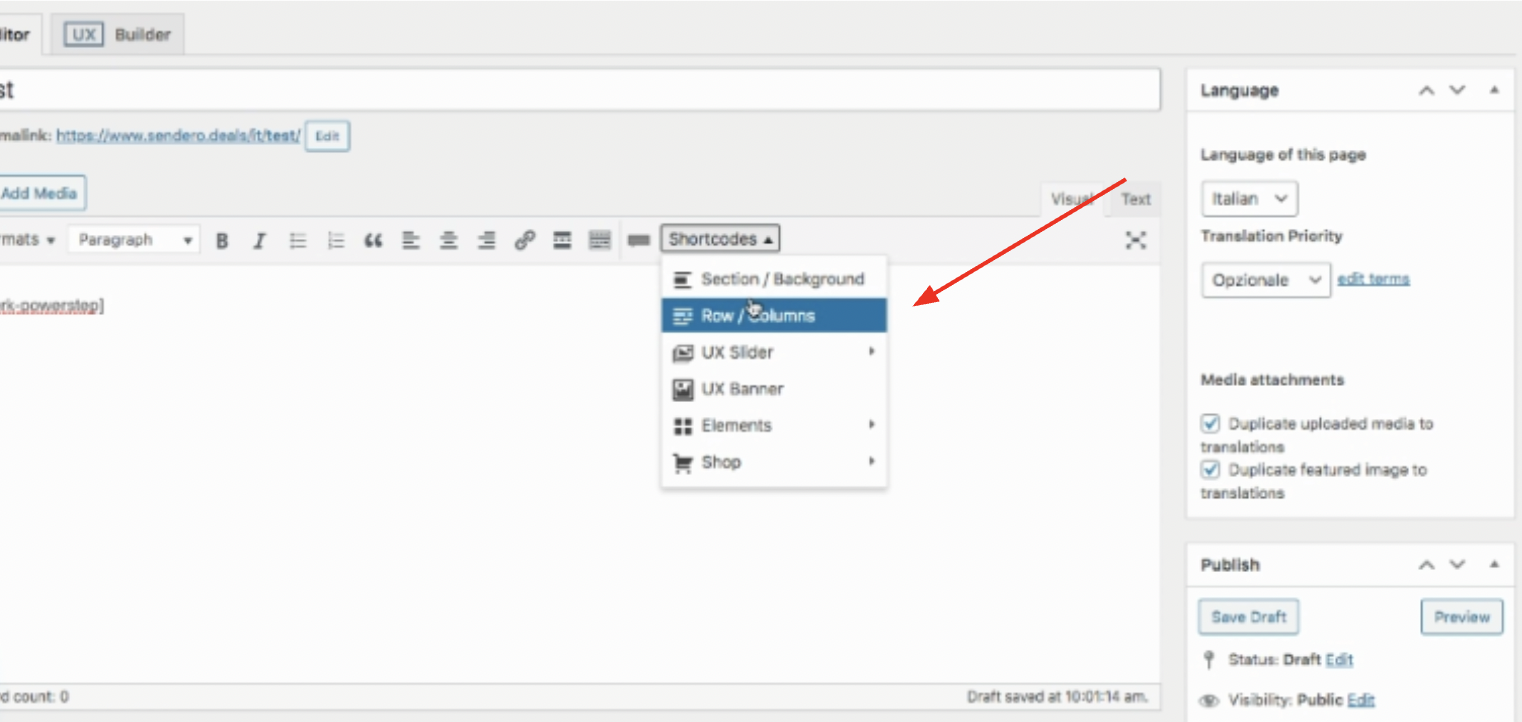
In the WooCommerce backend, go to the Powerstep page you created in Pages at step one .
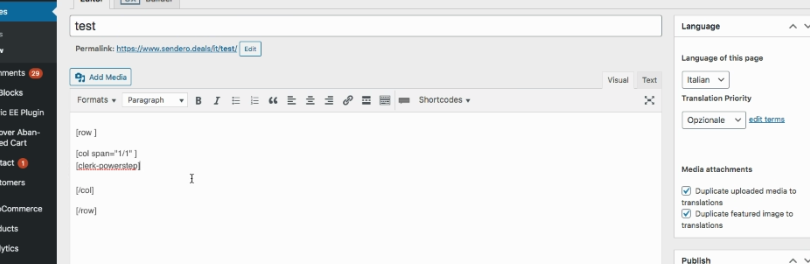
Choose “Shortcodes” in the top right corner, and then click “Row / Columns”.
- Next, click “OK” on the pop-up that appears.
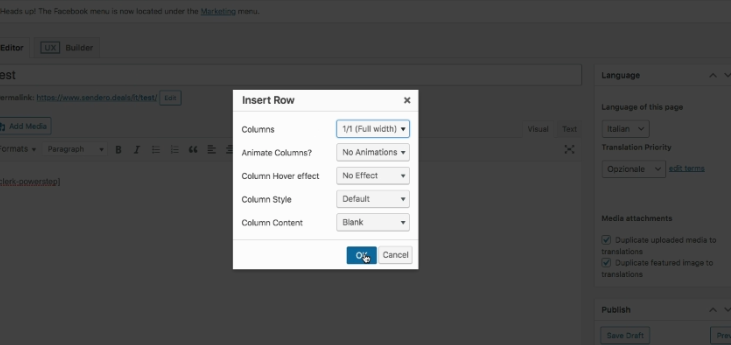
- Finally, move [clerk-powerstep] within the [row] [col] and [/row] [/col] tags, and click Save.