Users
A single User has access to all Companies, and usually all Stores that they are added to, from a single my.clerk.io login. There are no extra charges for users, so we recommend that everyone working with Clerk has their own user.
Inviting new users #
Users with Admin or Manager roles can add new team members to a Clerk.io account.
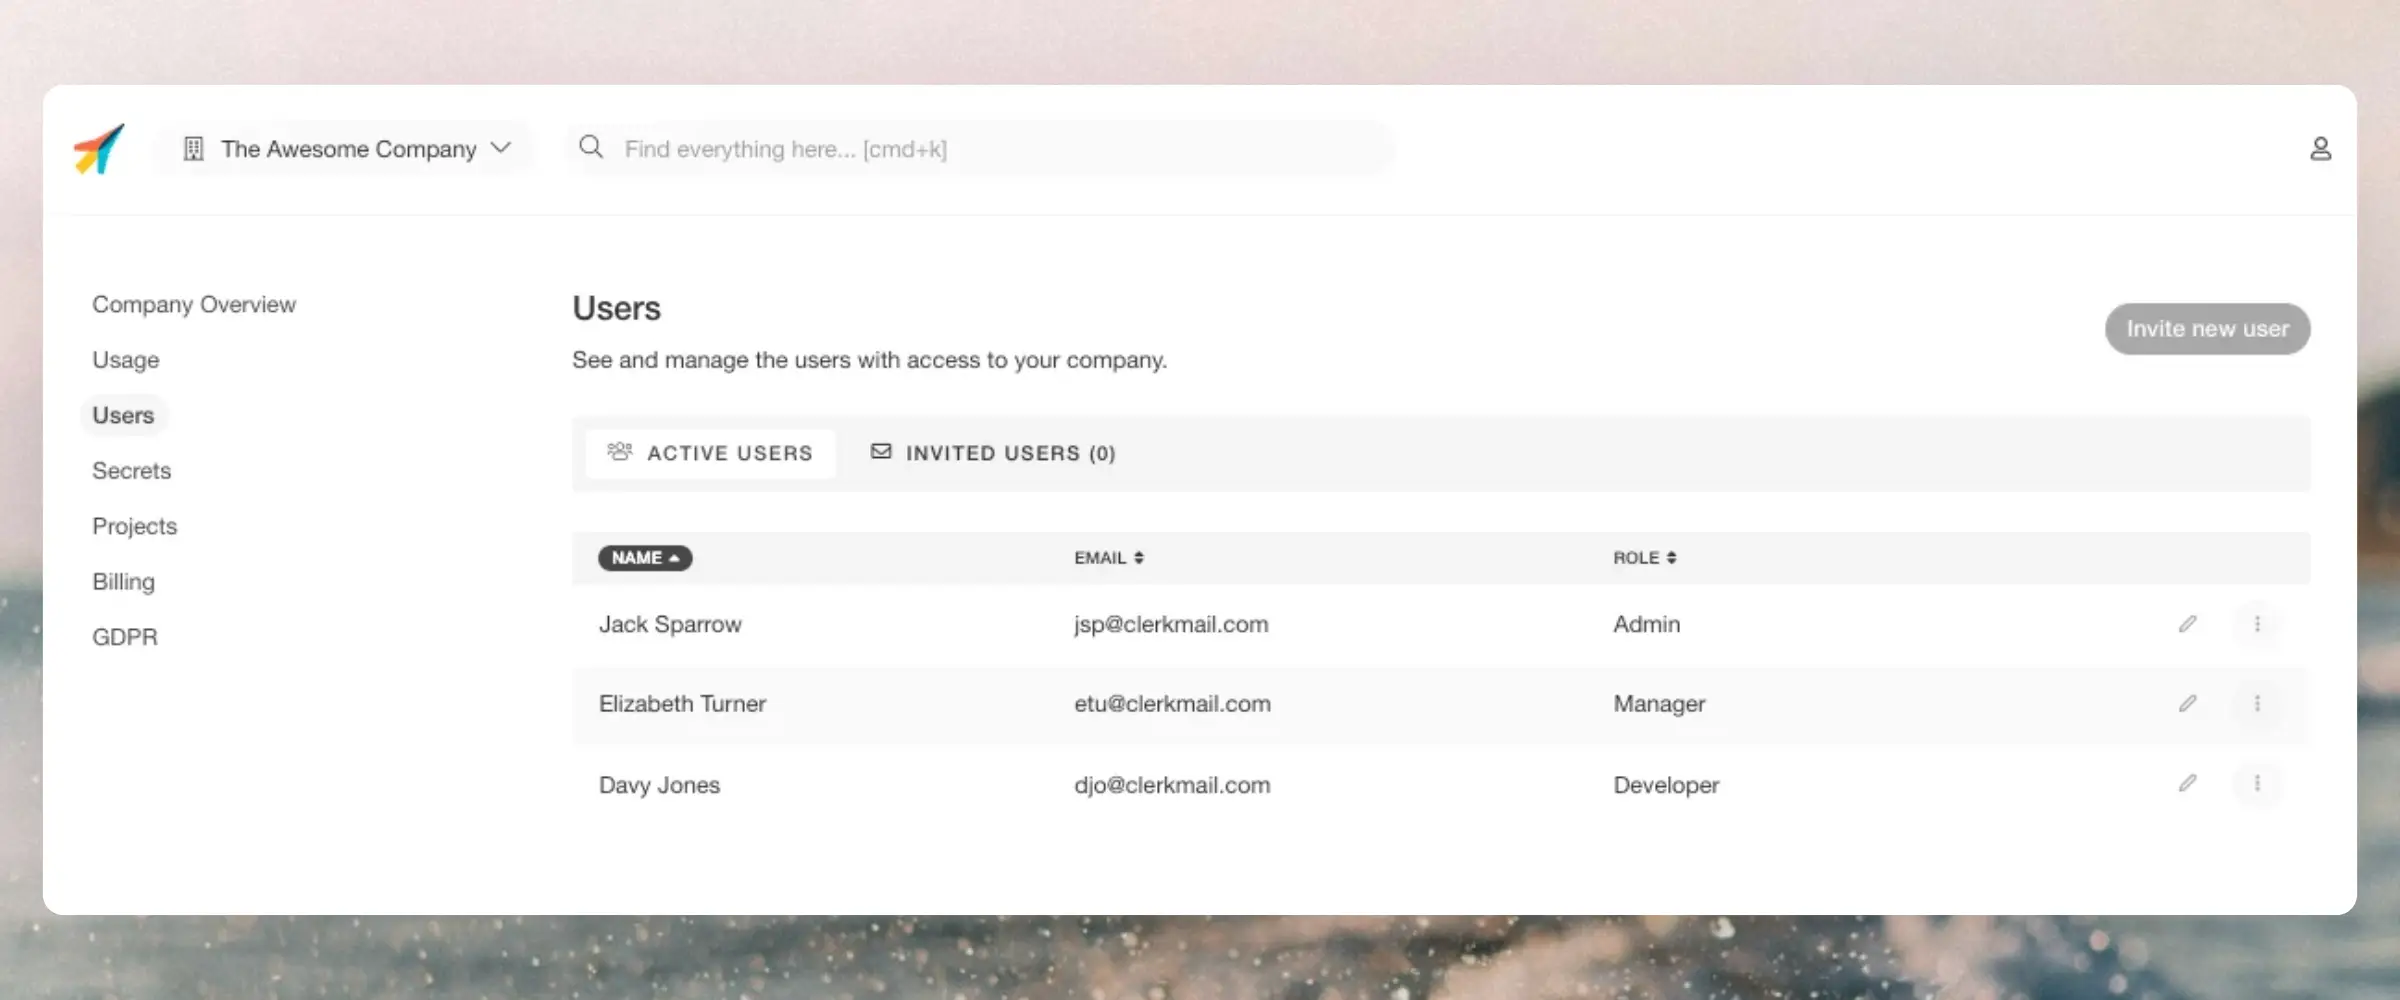
- Click your Store name in the upper left corner
- Click your Company name in the top of the dropdown
- Click Users
- Click the button Invite new user
- Enter their email address
- Set the role that best matches their needs
- Click Send invite
Getting access #
If a user already has access to another Clerk.io Company, they will automatically have access to your Company next time they log in.
If they haven’t used Clerk.io before, they will get a welcome email with a link for creating a new user. After this, they will have access to your Clerk.io Company.
Revoking invites #
Once the invitation has been sent, and while the new user has not accepted it, Admins and Managers will be able to revoke it by clicking the Revoke invite" icon under the Invited users tab.
Removing users #
Next to a User, click ... > Delete and accept in the prompt.
The user is then removed from your Company.
Updating users #
Users with Admin or Manager roles can update user roles and access from the Users page.
To update a user:
- On the Users page, click the pencil icon next to the user.
- An edit modal is shown.
- In the modal, you can update:
- Name
- Email address
- Role
- You can also delete the user from the same modal.
User roles #
In larger teams, not all users are equal. We use roles to define who should have access to different things in Clerk.io..
Permissions #
Admin: Admins can do everything including user management, store creation and billing management. Has access to all Stores on a company
Manager: Managers can manage users but not create stores, access billing or handle store API keys. Has access to all Stores on a company
Member, Developer and Agency: These users can’t manage users, store creations or billing. Only developers can handle API keys. Has access to all Stores on a company
Store member: These users can only access specific stores. Admins or managers can set their permissions when sending them an invitation or by editing their profiles.
Multiple Companies #
When an agency’s or developers email address has been added to multiple accounts they will be able to see all of their accounts and stores when they login to their Dashboard.
Clicking the company name in the top right corner will show the list of Accounts you are attached to, and the Stores for each account listed below them:
In contrast, the owners and marketeers for each individual store, will only be able to see their own account:
This makes it easy for agencies and developers to get quick access to all the webshops they are working for.
User Settings #

User Settings is where you manage your personal profile and configure how Clerk.io should work for you.
Each user has their own settings, separate from company or store configuration. Access it by clicking your name or avatar in the top right corner of my.clerk.io.
Profile #
The Profile section holds your basic account information.
- Name – Your display name across Clerk.io.
- Email – The email address used for logging in and receiving notifications.
- Phone Number – Optional contact number.
- Profession – Helps Clerk.io surface the most relevant experience for your role.
You can also opt in to be contacted by Clerk.io for product feedback from this section.
Preferences #
Preferences control how Clerk.io behaves for your specific user.
Number Formatting #
Choose how numbers are displayed throughout the backend — either US format (1,234,567.89) or EU format (1.234.567,89).
Status Email #
Set how often you receive status emails from Clerk.io. Options include weekly, monthly, or never.
Language #
Select your preferred language for the my.clerk.io interface. Once selected, the entire backend switches to that language.
The following languages are currently available:
- English 🇬🇧
- Danish 🇩🇰
- German 🇩🇪
- Spanish 🇪🇸
- French 🇫🇷
- Italian 🇮🇹
- Dutch 🇳🇱
- Swedish 🇸🇪
More languages are added continuously.
Sign Out #
Click Sign Out to end your current Clerk.io session.