AI Newsletters
An AI Newsletter is a one-time email send — dispatched immediately or at a specific date and time you choose.
They are called AI Newsletters because when you create one, Clerk.io can generate the content for you based on a plain-language description. You can also skip that step and configure everything manually.
For recurring scheduled sends, use Flows instead.
Creating with AI #
When you click New to create an AI Newsletter, Clerk.io prompts you to describe what kind of newsletter you want to send.
For example: “A newsletter promoting all of my best offers right now” or “A weekly selection for customers who’ve bought running gear.”
Clerk.io uses this to pre-fill the product logic, subject line, and email content. You review everything before anything is sent, and can adjust any part of it manually.
Creating Manually #
To skip the AI step, click Skip on the generation prompt.
You will arrive at a blank newsletter where all settings — design, product logic, subject line, recipients, and send time — are configured by hand.
Settings #
Each AI Newsletter has the following settings:
- Name — used to identify the newsletter in Analytics.
- Subject — the subject line shown in recipients’ inboxes.
- Preview text — the short preview shown alongside the subject in many email clients.
- Recipients — an Audience segment or a Subscriber List. Leave empty to send to all subscribers.
- Products logic — the product logic that controls which products are shown in the email.
- Show — the number of products to include.
- Design — the MJML design used to render the email. Can be created manually in the design editor, or built by Ask Clerk.io from a description, an image, or by scanning your site.
- Send time — either immediately, or a specific date and time.
Email Configuration #
Before sending, configure your sender details under Email > Configuration.
- Sender Name / Email — the name and address shown as the sender.
- Minimum time between emails — the minimum number of days before any single recipient can receive another email.
- Max amount of emails — the maximum number of emails any one recipient can receive per day.
- Days where newsletters can be sent — restrict sending to specific days of the week. Useful for coordinating with other email platforms.
- Sync subscribers — where to pull subscriber status from. Often an existing email provider via one of Clerk.io’s integrations. Read more in Subscribers.
- Choose Email Service Provider — either MailGun or SparkPost. If in doubt, choose MailGun.
- Sender Domain — the DNS settings to add in your hosting provider, allowing Clerk.io to send emails on your behalf.
- After adding your Sender Name and Email, click Register Domain and follow the instructions for each DNS record.
- Click Check DNS Records to confirm everything is set up correctly.
Logs #
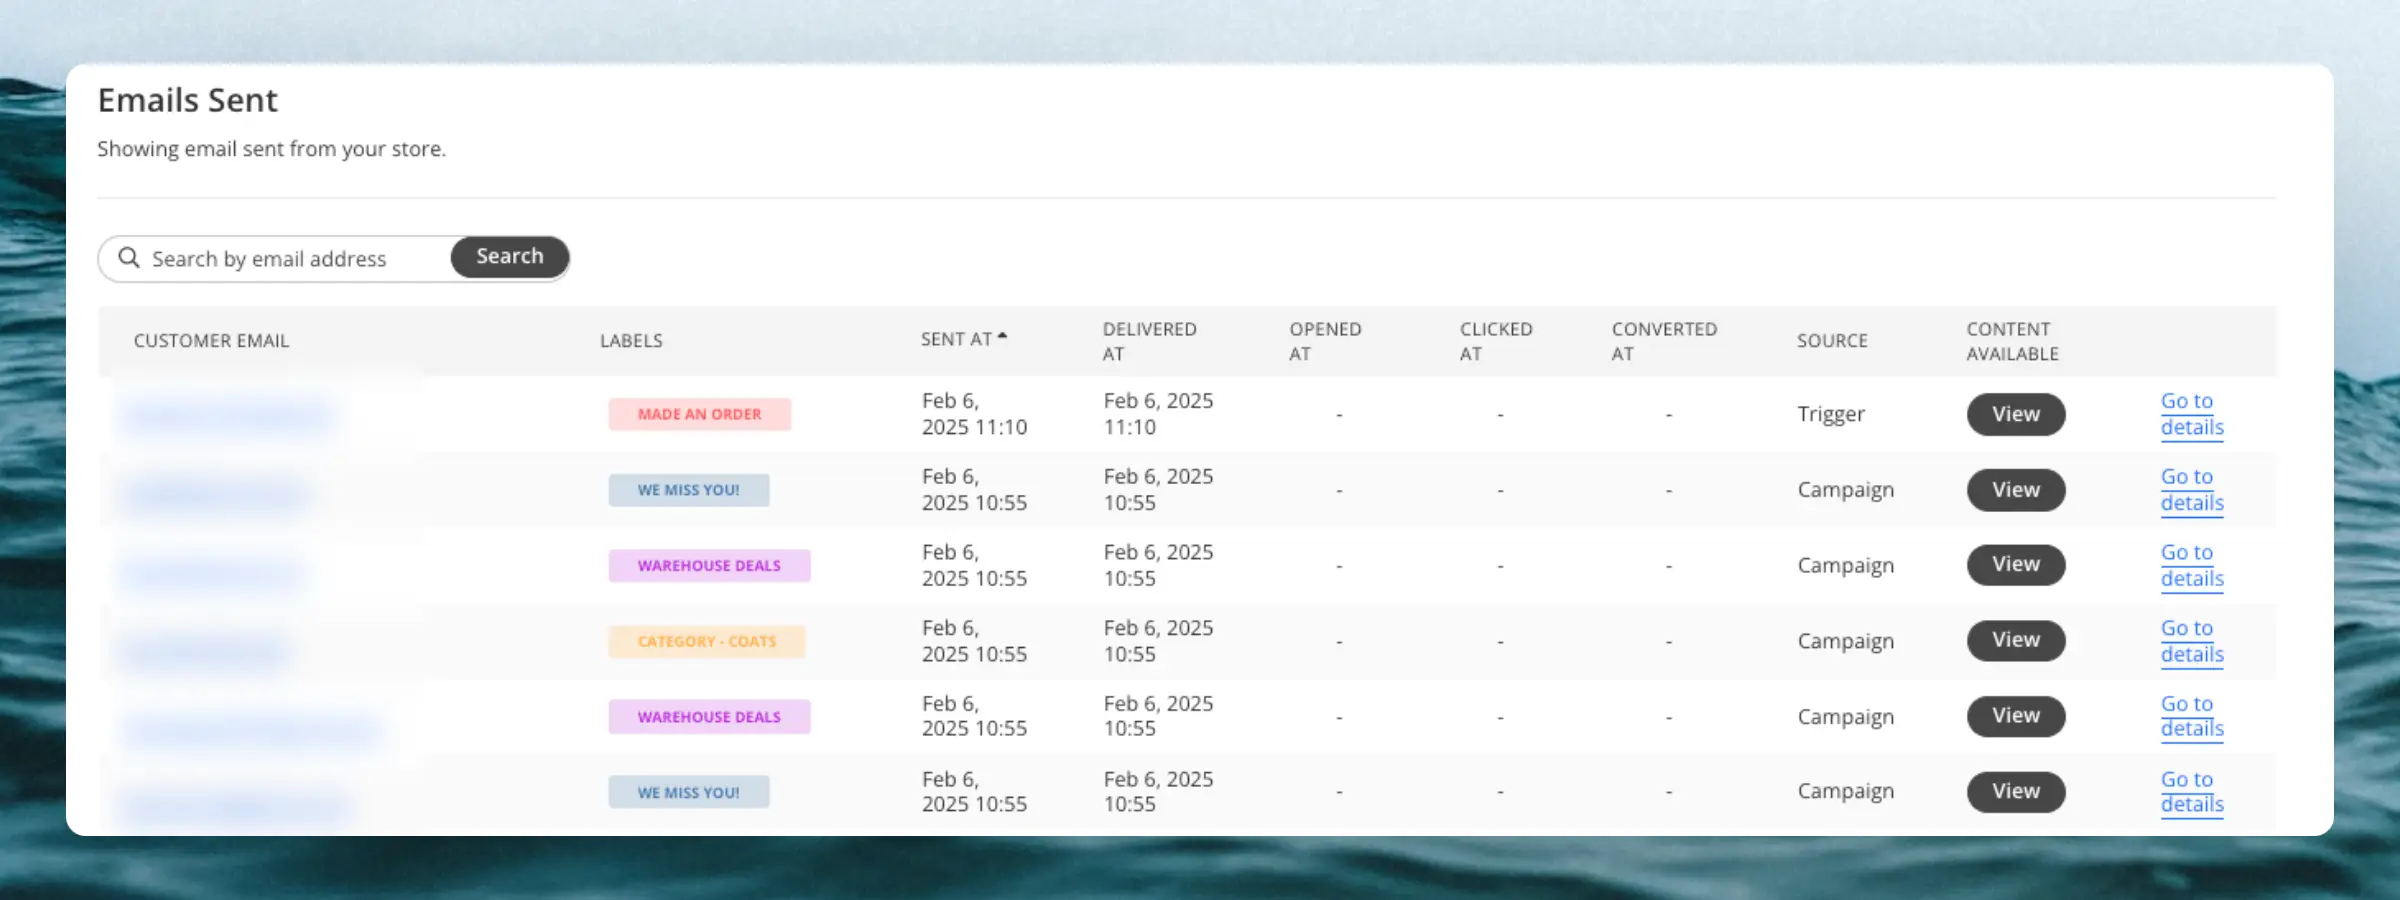
Inspect the emails that have been sent to your recipients under Email > Logs.
Click View to see the email exactly as the recipient would see it in their inbox.
Click Go to details to see all interactions the recipient had with the email, along with delivery stats and send time.