Get Started
When Clerk does not have a prebuilt extension or integration for a given webshop platform, we refer to it as a custom platform.
The biggest difference is that custom platforms should sync with a Data Feed and insert Clerk.io results into the frontend.
This guide explains how to install Clerk on a custom platform using Clerk.js. This is the recommended approach as it takes care of much of the heavy lifting in terms of tracking and API calls.
If you prefer setting up Clerk.io using our API, check this article instead.
Clerk.js is a lightweight library that allows setting up Clerk using simple HTML snippets in the source code. Clerk.js will scan the page for any snippets with the class “clerk” and use them to make API calls.
Below are the steps you will go through when installing Clerk.
1. Sync data #
First, you need to get data in so Clerk.io’s AI understands your webshop, and can start predicting results.
Create Store #
Each Clerk setup is configured on a Store in my.clerk.io. This will contain all the data you upload, and allow you to interact with it through its Public API key.
If you need to set up multiple webshops or domains, each should have their own Store.
You can copy your configuration to new Stores after doing the first setup
Build Feeds #
This is the main source of data from the webshop to Clerk. Check the specification for the feeds here.
These are our best practices for creating the feeds:
- They should ideally be updated once a day on your side.
- They should be hosted at a URL where Clerk.io’s importer can fetch it. e.g.
https://awesomestore.com/feed/clerk.json - As a baseline, the feeds should always contain all available products and categories, but can also contain pages (blog posts / articles) and customer data.
- Clerk uses product attributes for searching, filtering, and styling.
- On the first import, you should include all historic orders. After the first import, these can be removed as Clerk keeps them in the database.
- For products, apart from the required ones, you can send any other attributes that are important for your business, like reviews, colors, labels, splash-images etc.
- By default, Clerk will import the feeds at least once a day.
- You can configure a window within 1 hour (e.g., between 2:59-3:59) if you want the importer to run at a specific time.
Use Realtime Sync #
This is optional but recommended.
If the webshop requires updates in real-time, like removing out-of-stock products or updating prices, our CRUD API can be used to add, update, or remove products between feed imports.
2. Track Behaviour #
Clerk.io’s AI learns about customer behavior through orders and website activity. Tracking this behavior is crucial for the AI to make accurate predictions and for showing the statistics that prove how well it works.
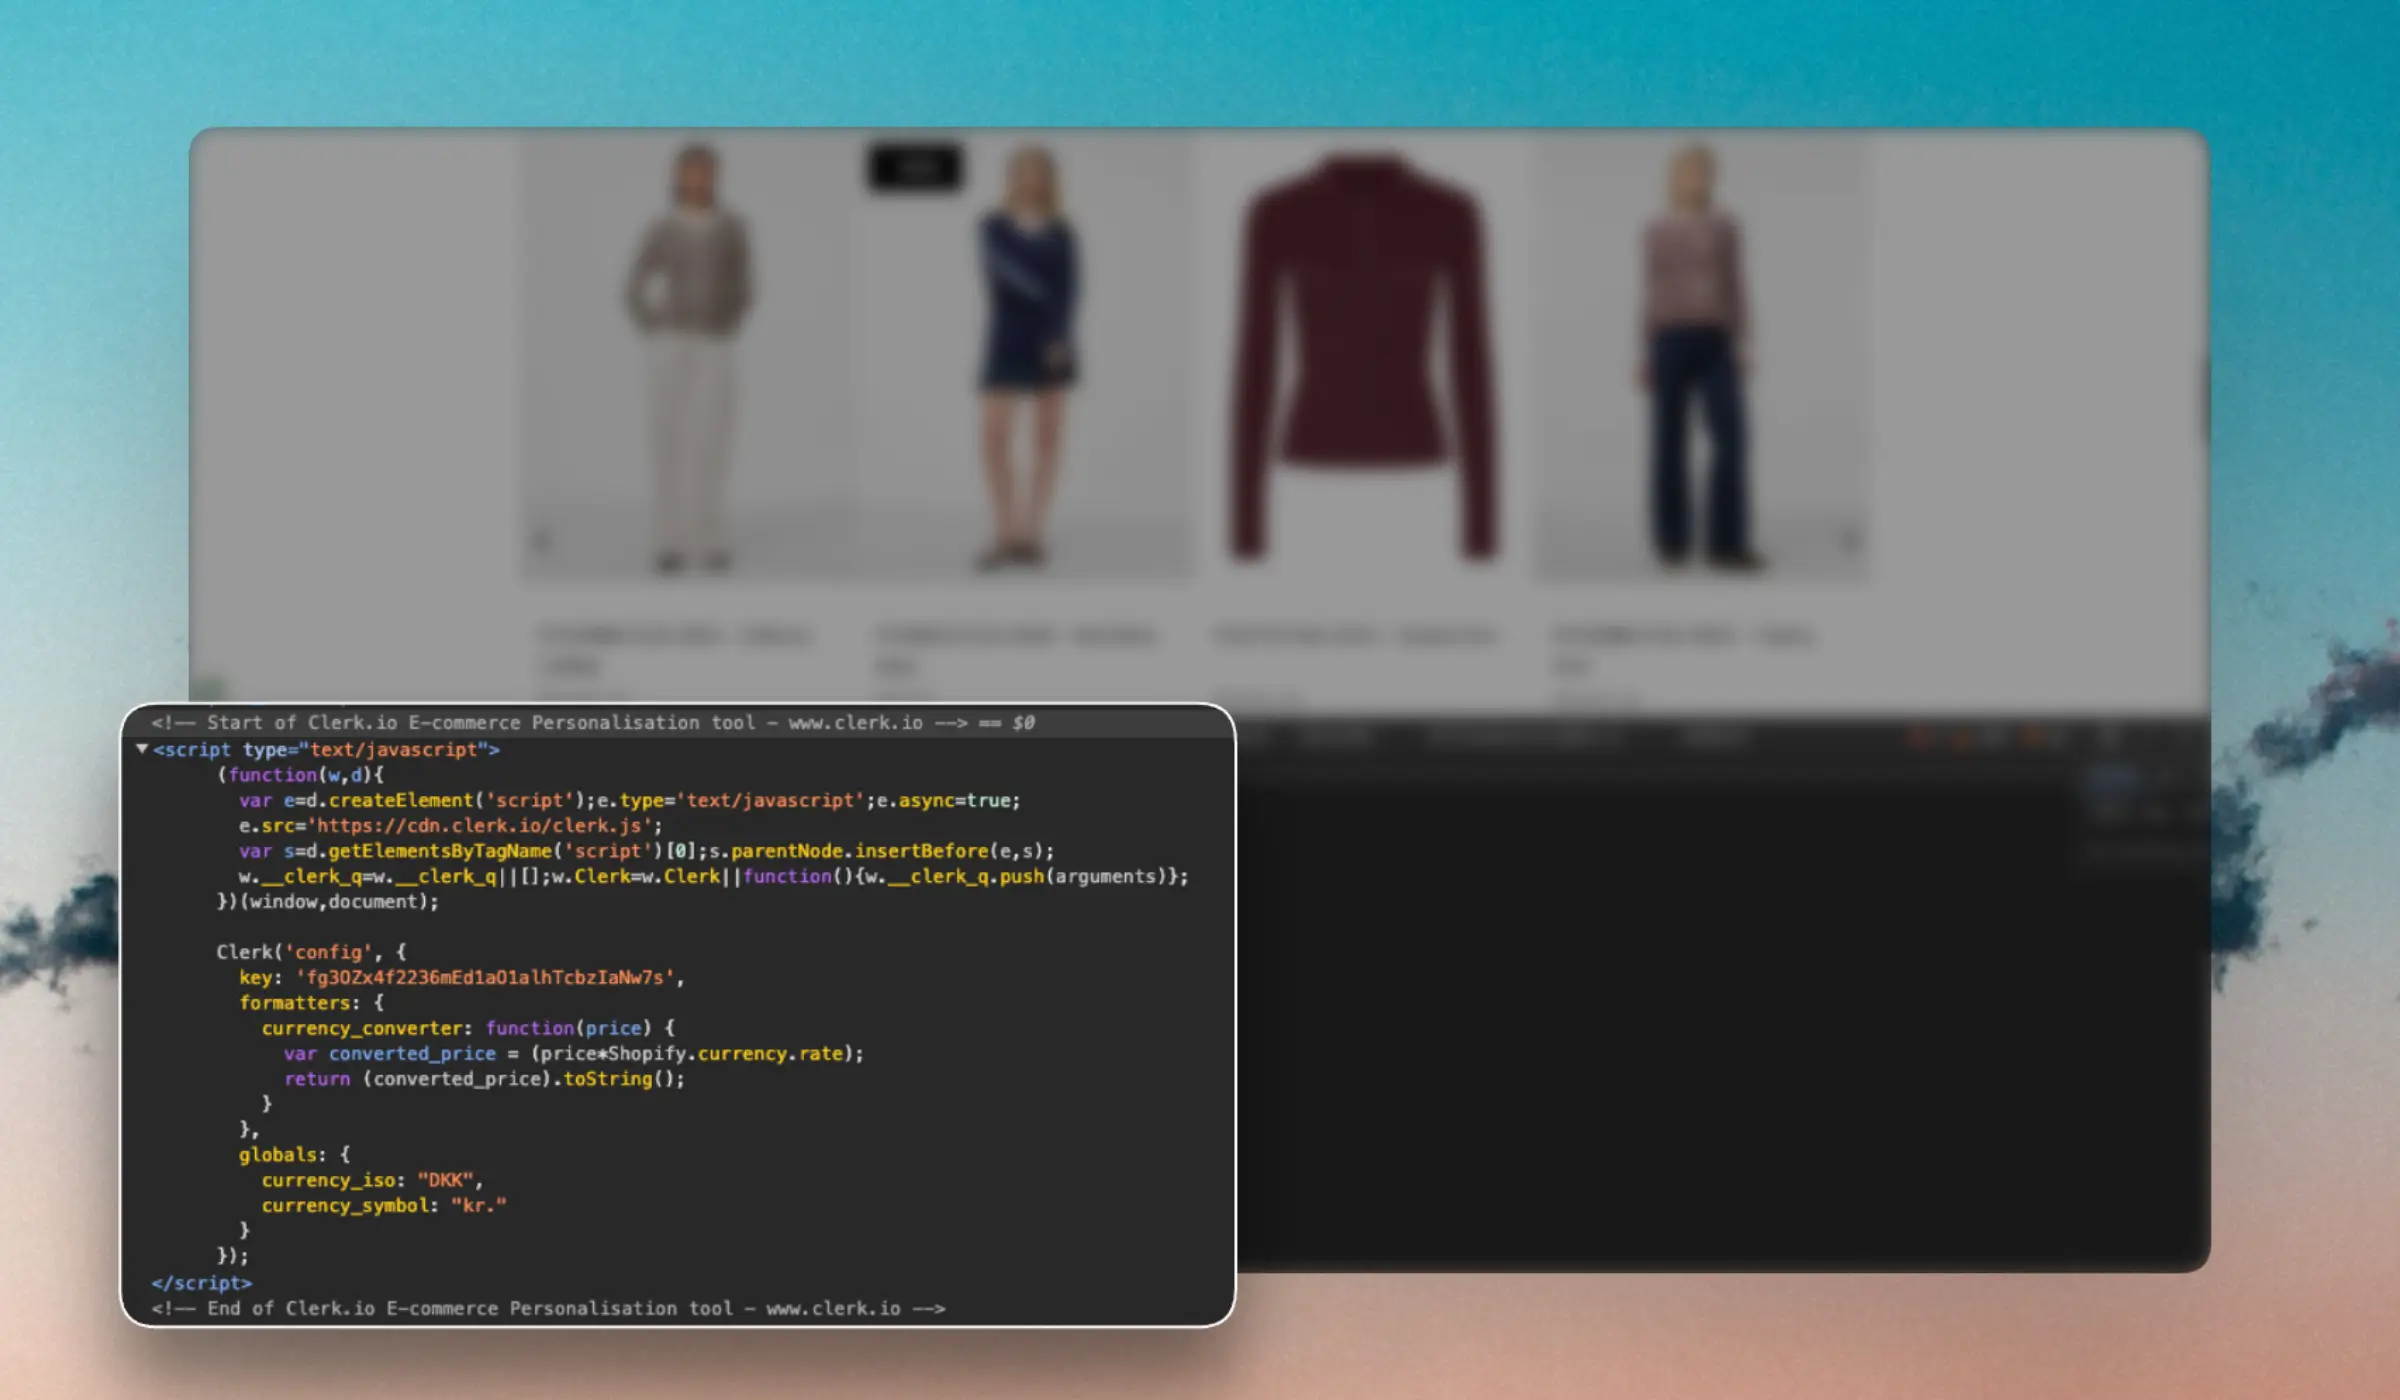
Install Clerk.js #
Clerk.io tracks clicks, searches, and orders from the frontend for three key reasons:
- Letting the AI learn about customer behavior in real-time through the orders.
- Analytics that shows how orders are improved by Clerk.
- Personalizing various Recommendations across the site.
The Clerk.js script should be added with your other scripts in the <head> section, and configured with the Public API Key found in
my.clerk.io.
This will load the library that generates cookieless, anonymous visitor IDs and it will track clicks on any products shown by Clerk through the snippets.
<!-- Start of Clerk.io E-commerce Personalisation tool - www.clerk.io -->
<script type="text/javascript">
  (function(w,d){
    var e=d.createElement('script');e.type='text/javascript';e.async=true;
    e.src='https://cdn.clerk.io/clerk.js';
    var s=d.getElementsByTagName('script')[0];s.parentNode.insertBefore(e,s);
    w.__clerk_q=w.__clerk_q||[];w.Clerk=w.Clerk||function(){ w.__clerk_q.push(arguments) };
  })(window,document);

  Clerk('config', {
    key: 'insert_api_key'
  });
</script>
<!-- End of Clerk.io E-commerce Personalisation tool - www.clerk.io -->
Add Sales-Tracking #
This should be added to your order success page. Whenever an order is placed, Clerk.js will use the snippet to make an API call containing the order information, including what the visitor has clicked on in the session leading up to the order.
Make sure to update the placeholders to fetch the correct data from the orders.
 <span
    class="clerk"
    data-api="log/sale"
    data-sale="123456"
    data-email="luke@skywalker.me"
    data-customer="7890"
    data-products='[{"id": 12, "quantity": 1, "price": 99.95}, {"id": 54, "quantity": 2, "price": 9.50}...]'>
</span>
Clerk.io also logs the products viewed by visitors, for personalizing in certain banners.
If you will be using Cross-Sell and/or Alternative products on your product detail pages, Clerk will use these to log the product(s) viewed by visitors.
If not, you must include this snippet on the product detail page to log the product views as well:
<span
    class="clerk"
    data-api="log/product"
    data-product="INSERT_PRODUCT_ID">
</span>
3. Visualise results #
When using Clerk.js, designs can be handled in two ways:
Hosted in my.clerk.io using either our Design Editor or Liquid code.
Hosted in your source code as embedded results
Host in Clerk.io #
Hosting designs in my.clerk.io, offers most flexibility, as you can change designs, logics, and filters without changing your onsite code after the setup. The drawback is that designs are handled on a per-store basis.
Embed results #
Hosting designs in your source code gives you the freedom to share designs across multiple Stores. The drawback is that you cannot use our Element system to make changes to the results.
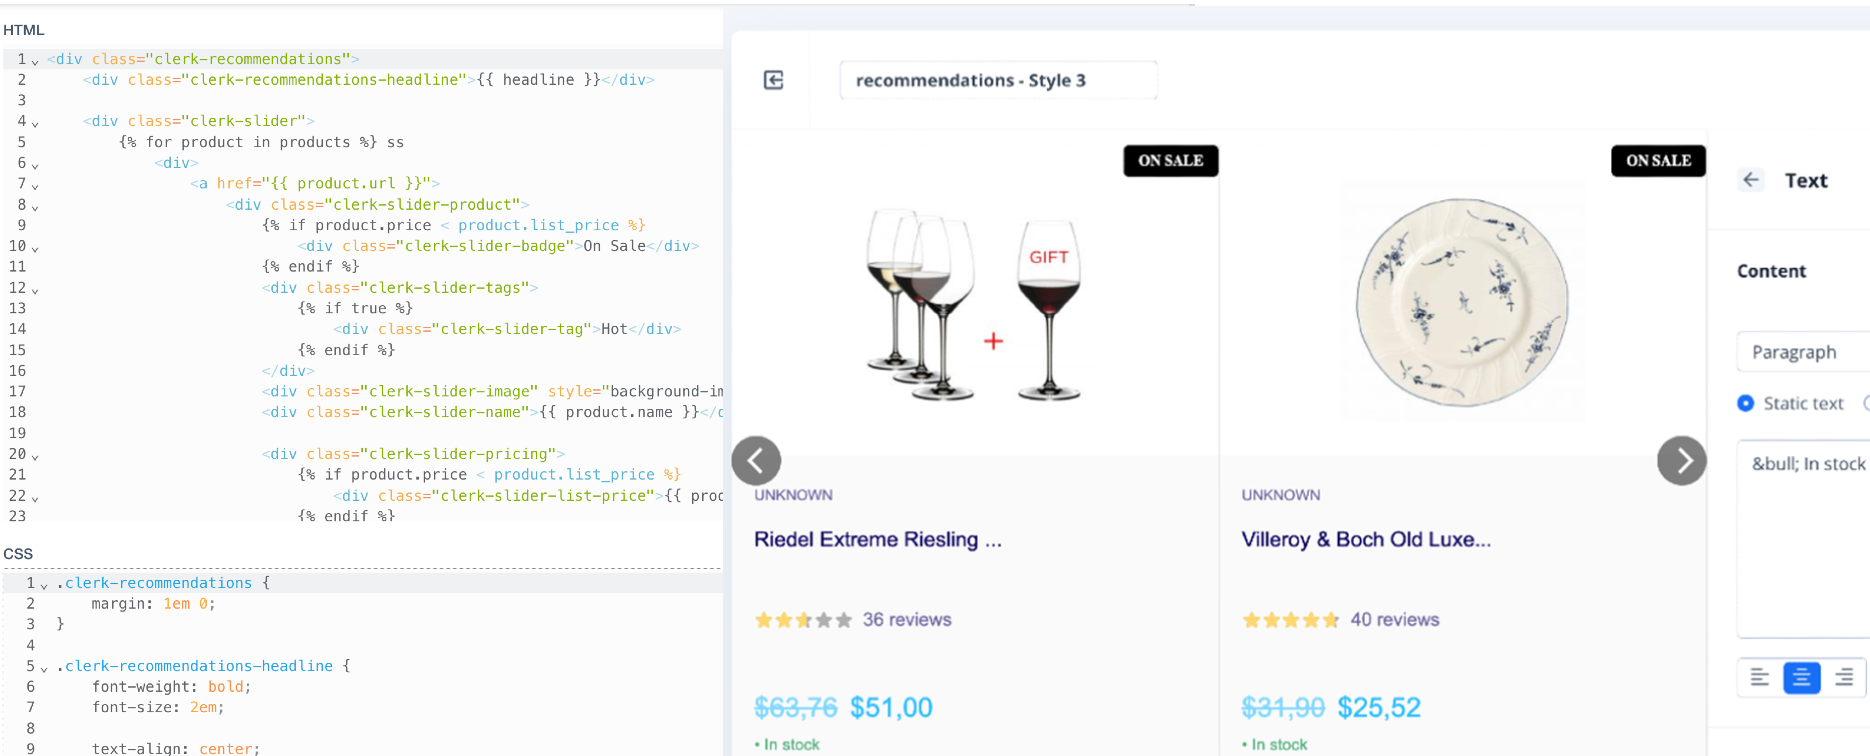
4. Add Snippets #
This is done with snippets associated to your Element.
Insert to Frontend #
To insert Clerk results, choose an Element in my.clerk.io, configure it to use a design you created, and copy the snippet to a page where results should be shown.
Clerk.js scans the source code for any snippets with the class clerk and uses the data-attributes to make API calls.
It references your Element settings including the API endpoint / element logic, design, number of products to return etc, and returns a full HTML block that is inserted into the snippet.
Configure #
Some snippets require additional data like product IDs or category ID which should be configured based on your webshop’s logic for fetching data.
An example of this is the Best Alternatives Recommendations snippet, which requires a product ID to be added to the snippet:
<!--Best Alternatives Recommendations-->
<span
    class="clerk"
    data-template="@product-page-alternatives"
    data-products="[INSERT_PRODUCT_ID]">
</span>
Others simply require the snippet to be added to the page, with some minor configuration options based on how it should behave.
An example is the Instant Search snippet, which requires a CSS selector for the search input and the number of suggestions and categories to display:
<!--Instant Search-->
<span
    class="clerk"
    data-template="@live-search"
    data-instant-search="INSERT_SEARCH_INPUT_CSS_SELECTOR_HERE"
    data-instant-search-suggestions="6"
    data-instant-search-categories="6"
    data-instant-search-pages="6"
    data-instant-search-positioning="right">
</span>
By default, new Stores in Clerk come with our Best Practice already created as individual Element blocks, making it easy to get started.
The snippet will change depending on Product Logic chosen for the Element, so you can always see which data-attributes are required for you to configure.