Get Started
Get Clerk up and running on your PrestaShop store in just a few steps. This guide walks you through connecting your store, installing the module, and syncing your data.
Connecting your store #
The first step of installing Clerk is connecting your store with your Clerk account.
After following these simple steps you will be able to see your Demo Store, which gives you a personal overview of how Clerk will work on your webshop, before setting up the rest of the system.
Add store #
After logging in to my.clerk.io, the first thing you need to do is add your store:
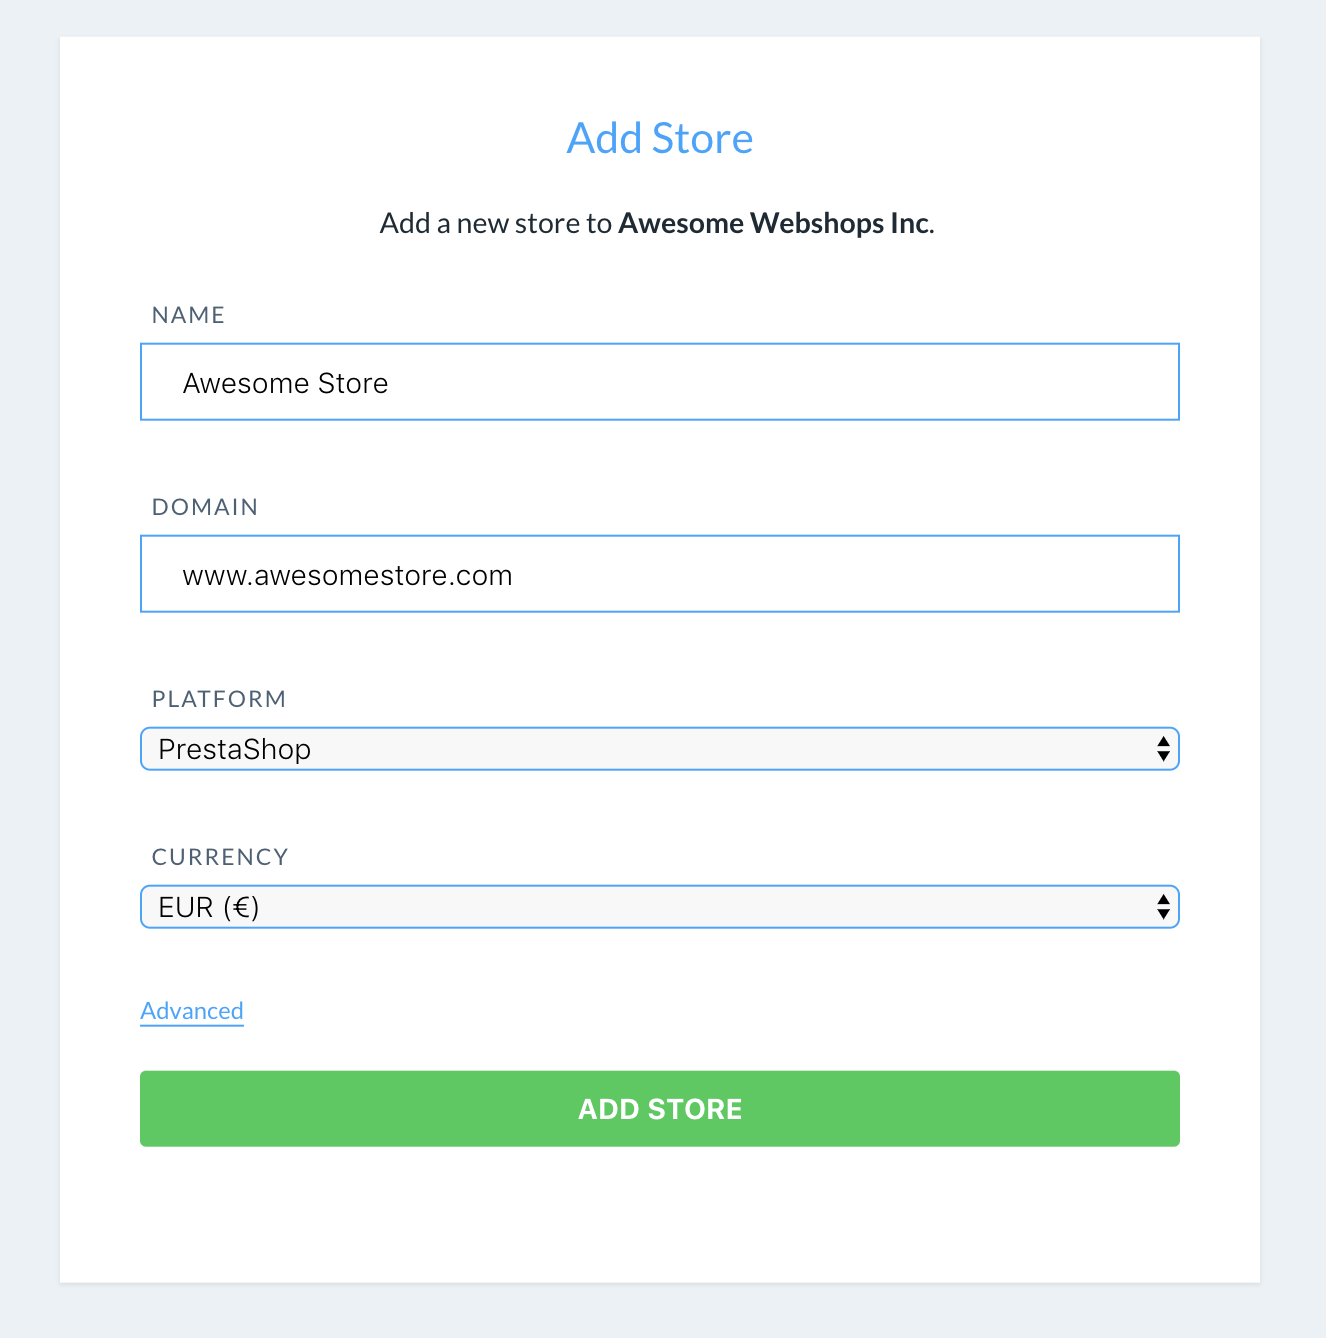
Write the Name and Domain of your webshop.
Choose Prestashop as the Platform and choose your Currency.
Click Add Store.
Install module #
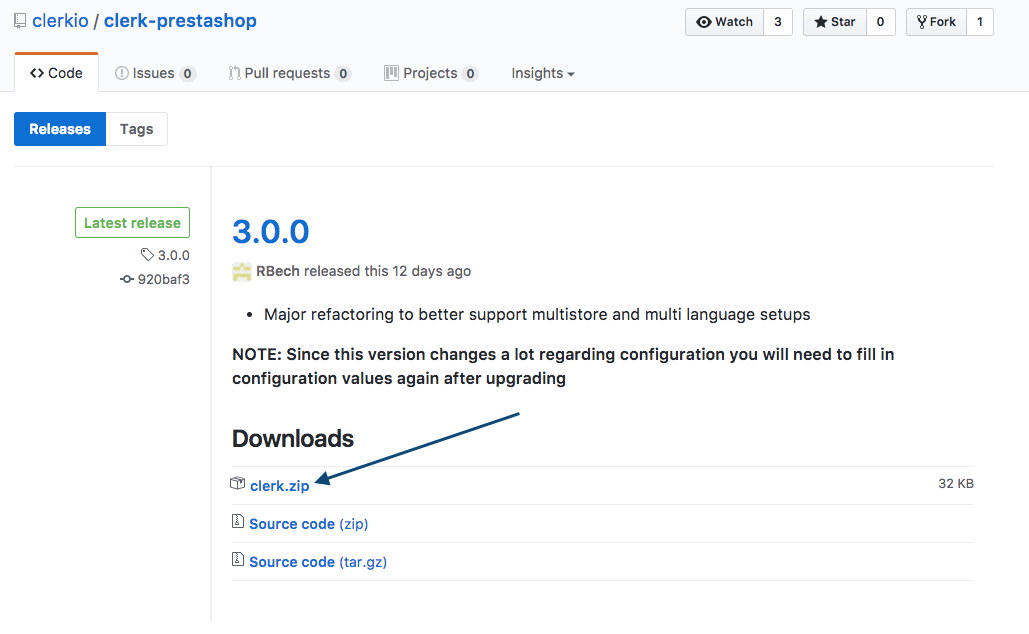
- Download the latest Clerk module for Prestashop: Latest release.
In your Prestashop backend, go to Modules And Services.
Click Add a new module in the top right.
Click Choose a file and select the module you downloaded, then click Upload this module.
When the upload finishes, click +Install next to the Clerk module.
In Modules And Services, find the Clerk module and click Configure.
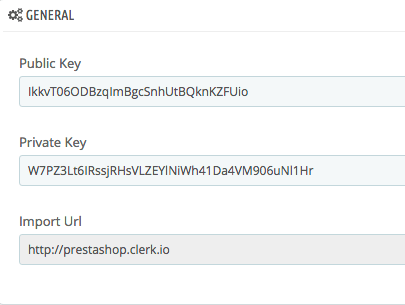
Enter your Public Key and Private Key, then click Save.
- Go to Advanced Parameters > Performance and click Clear Cache.
Keys location #
Your Public Key and Private Key are in my.clerk.io > Developers > API Keys.
Sync data #
Syncing data connects your PrestaShop store to Clerk, allowing Clerk to access your products, orders, customers, and other store information. This enables Clerk to provide personalized recommendations and search results based on your actual store data. Follow the steps in the Sync Data guide to set up the data sync.
Multiple languages #
The easiest way to implement Clerk in multiple Shops in standard setups is by creating a separate Store for each domain in my.clerk.io.
This way, you can separate products, sales, currencies etc. to keep track of each Shops.
Start by creating your main Store and follow the Setup Guide to connect your Store to Clerk, and choose the Recommendations and/or Search Results you that you want to display on your webshop.
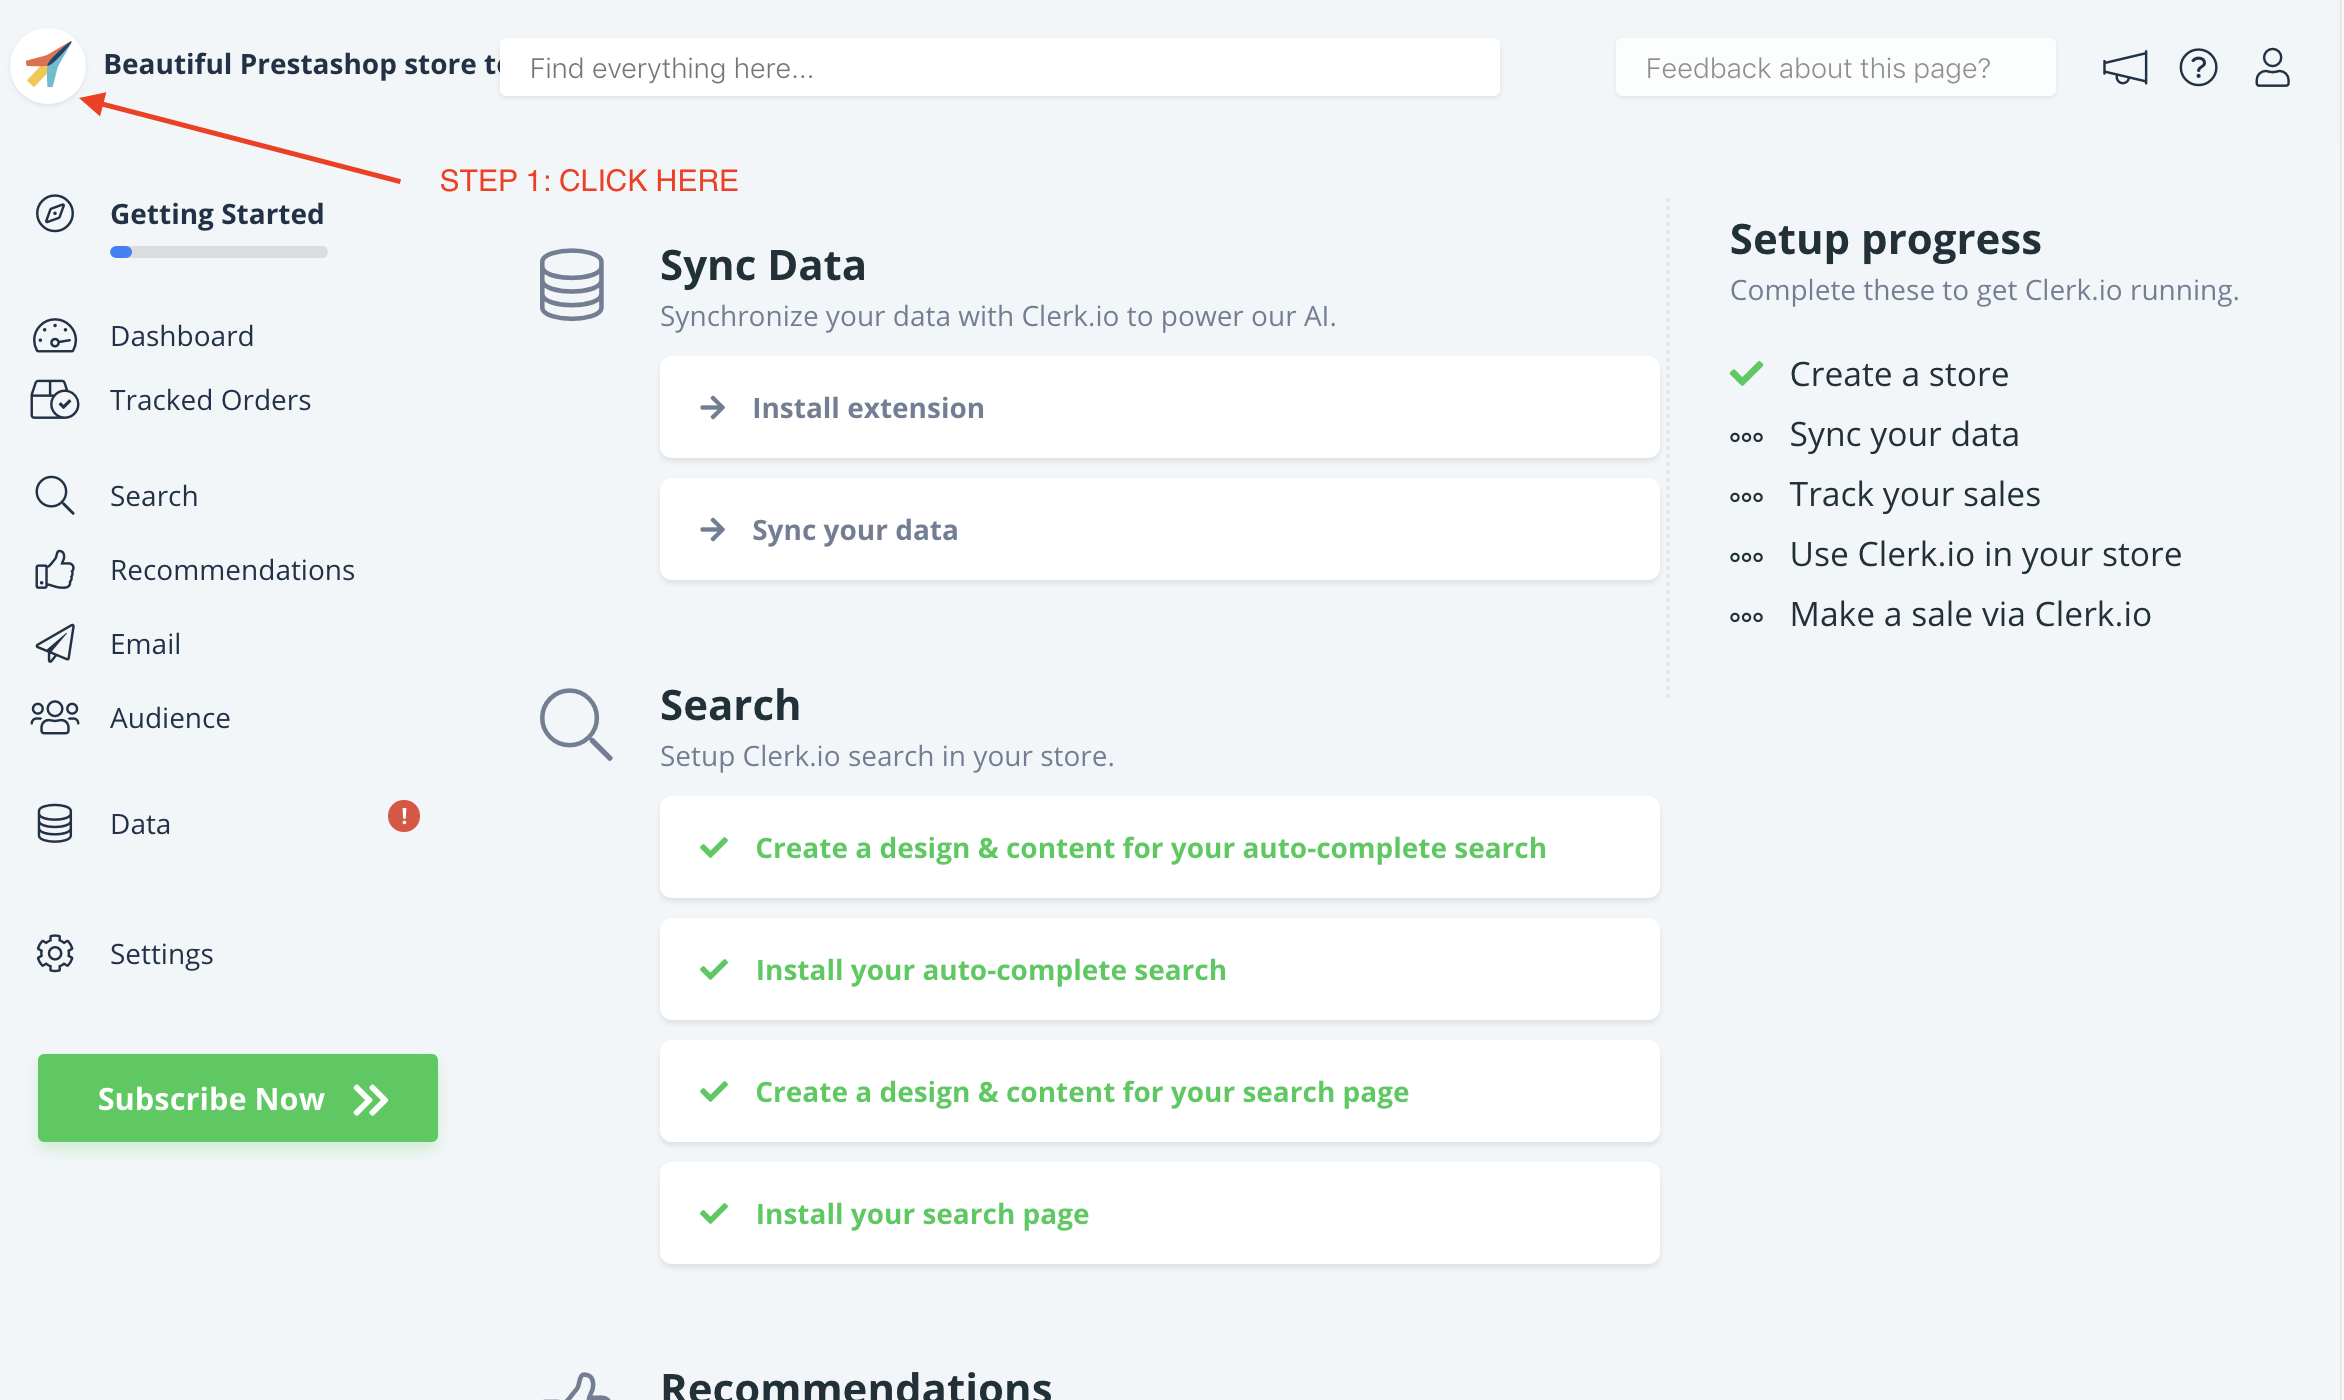
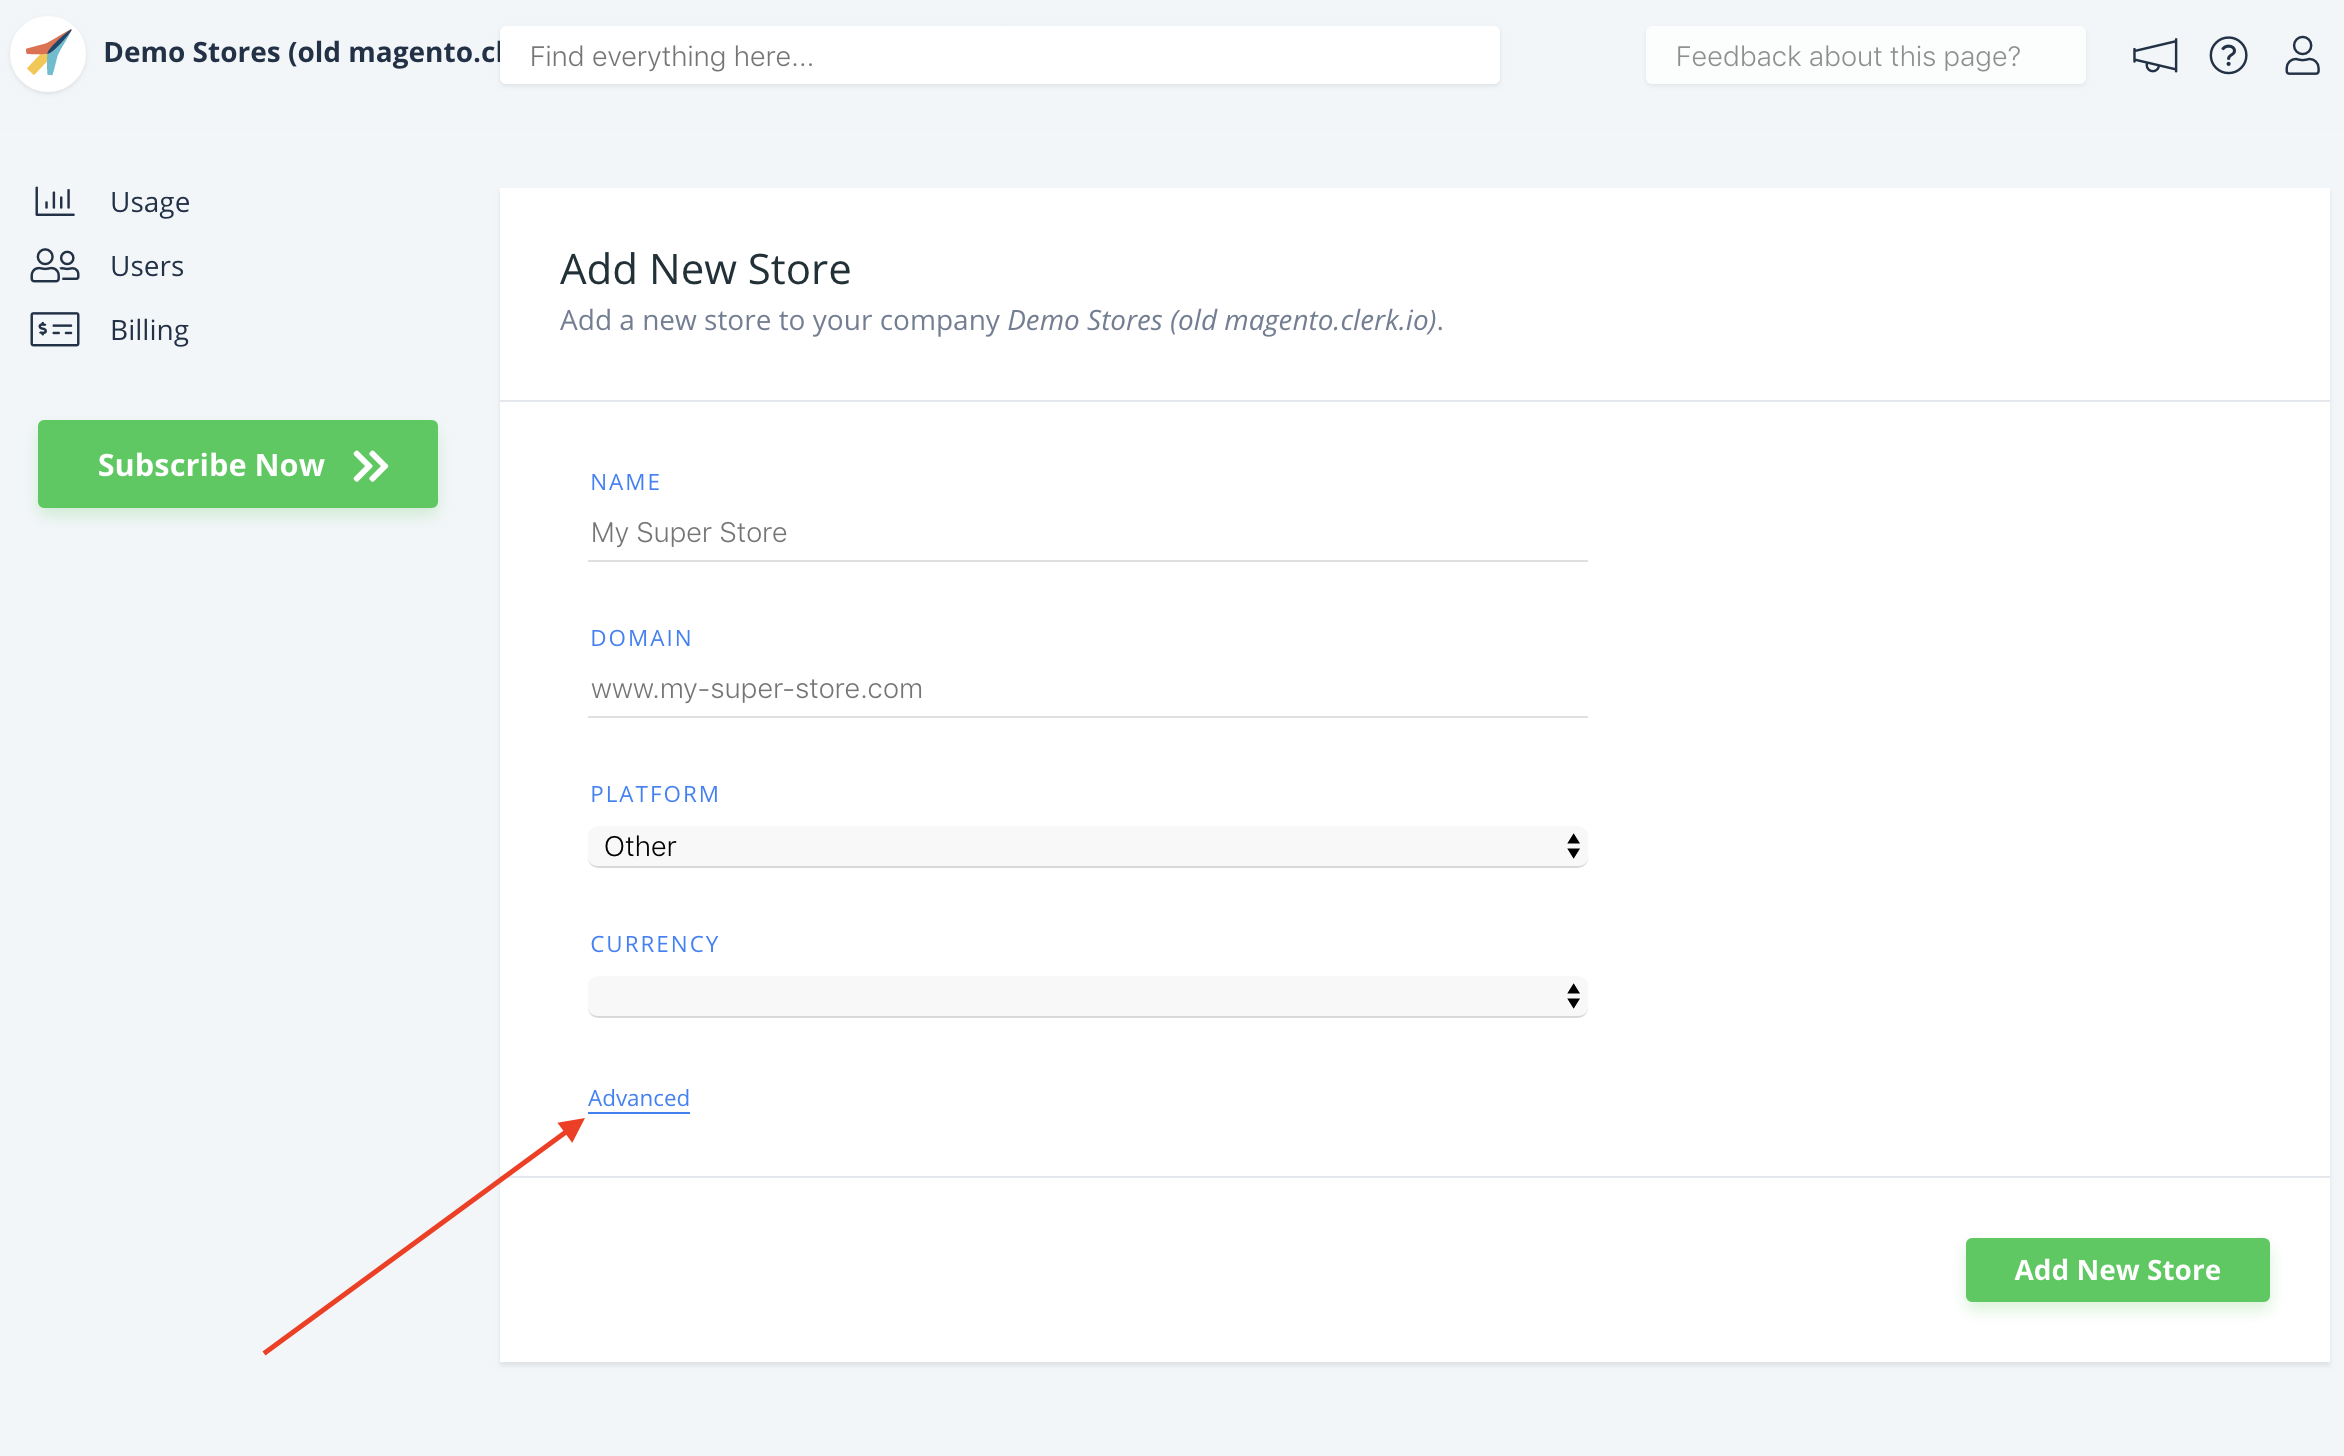
When you are done with the initial setup, go back to the start page of my.clerk.io (by clicking the Clerk logo in the upper left side corner of the side-menu) and then click "+ Add new store" the last option of the scroll down list (generally under you the existing store(s) and your company name):
- On the Add New Store page, click Advanced to see all settings.
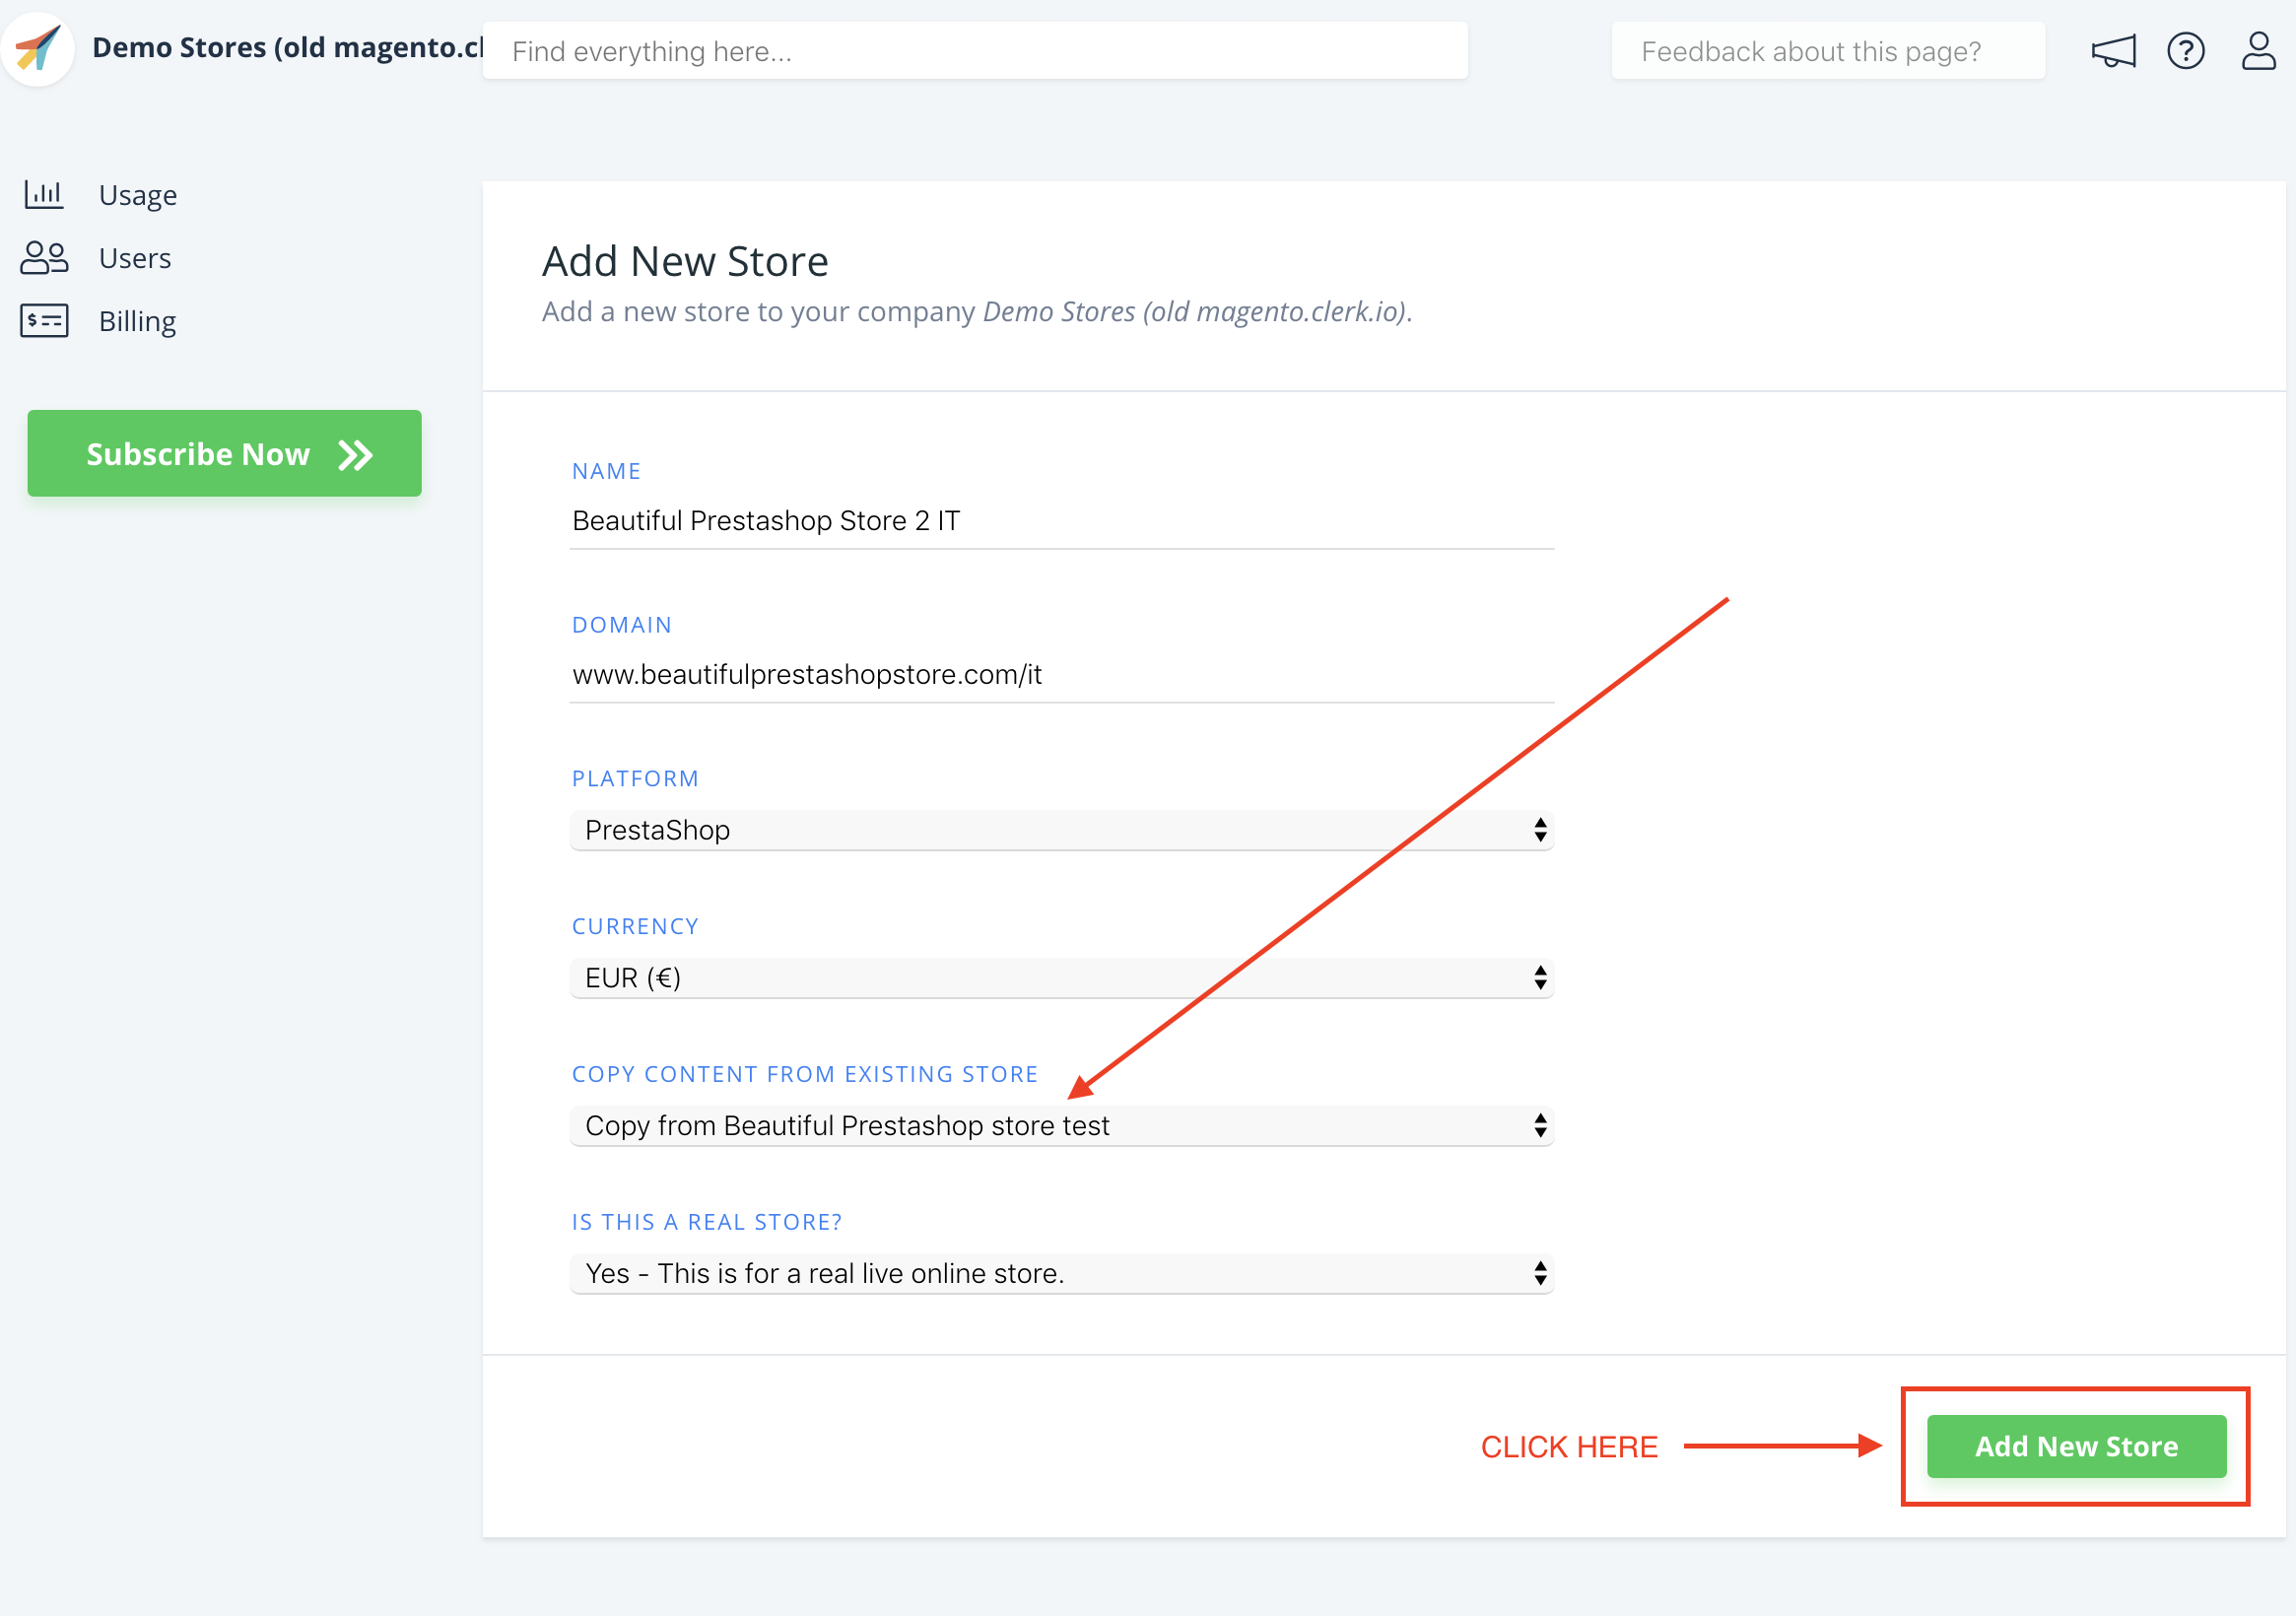
- Fill in the details of your webshop, and choose your main Store from the Copy Elements From Existing Store dropdown, then click Add Store. This will carry over the Elements and Designs from your main Store.
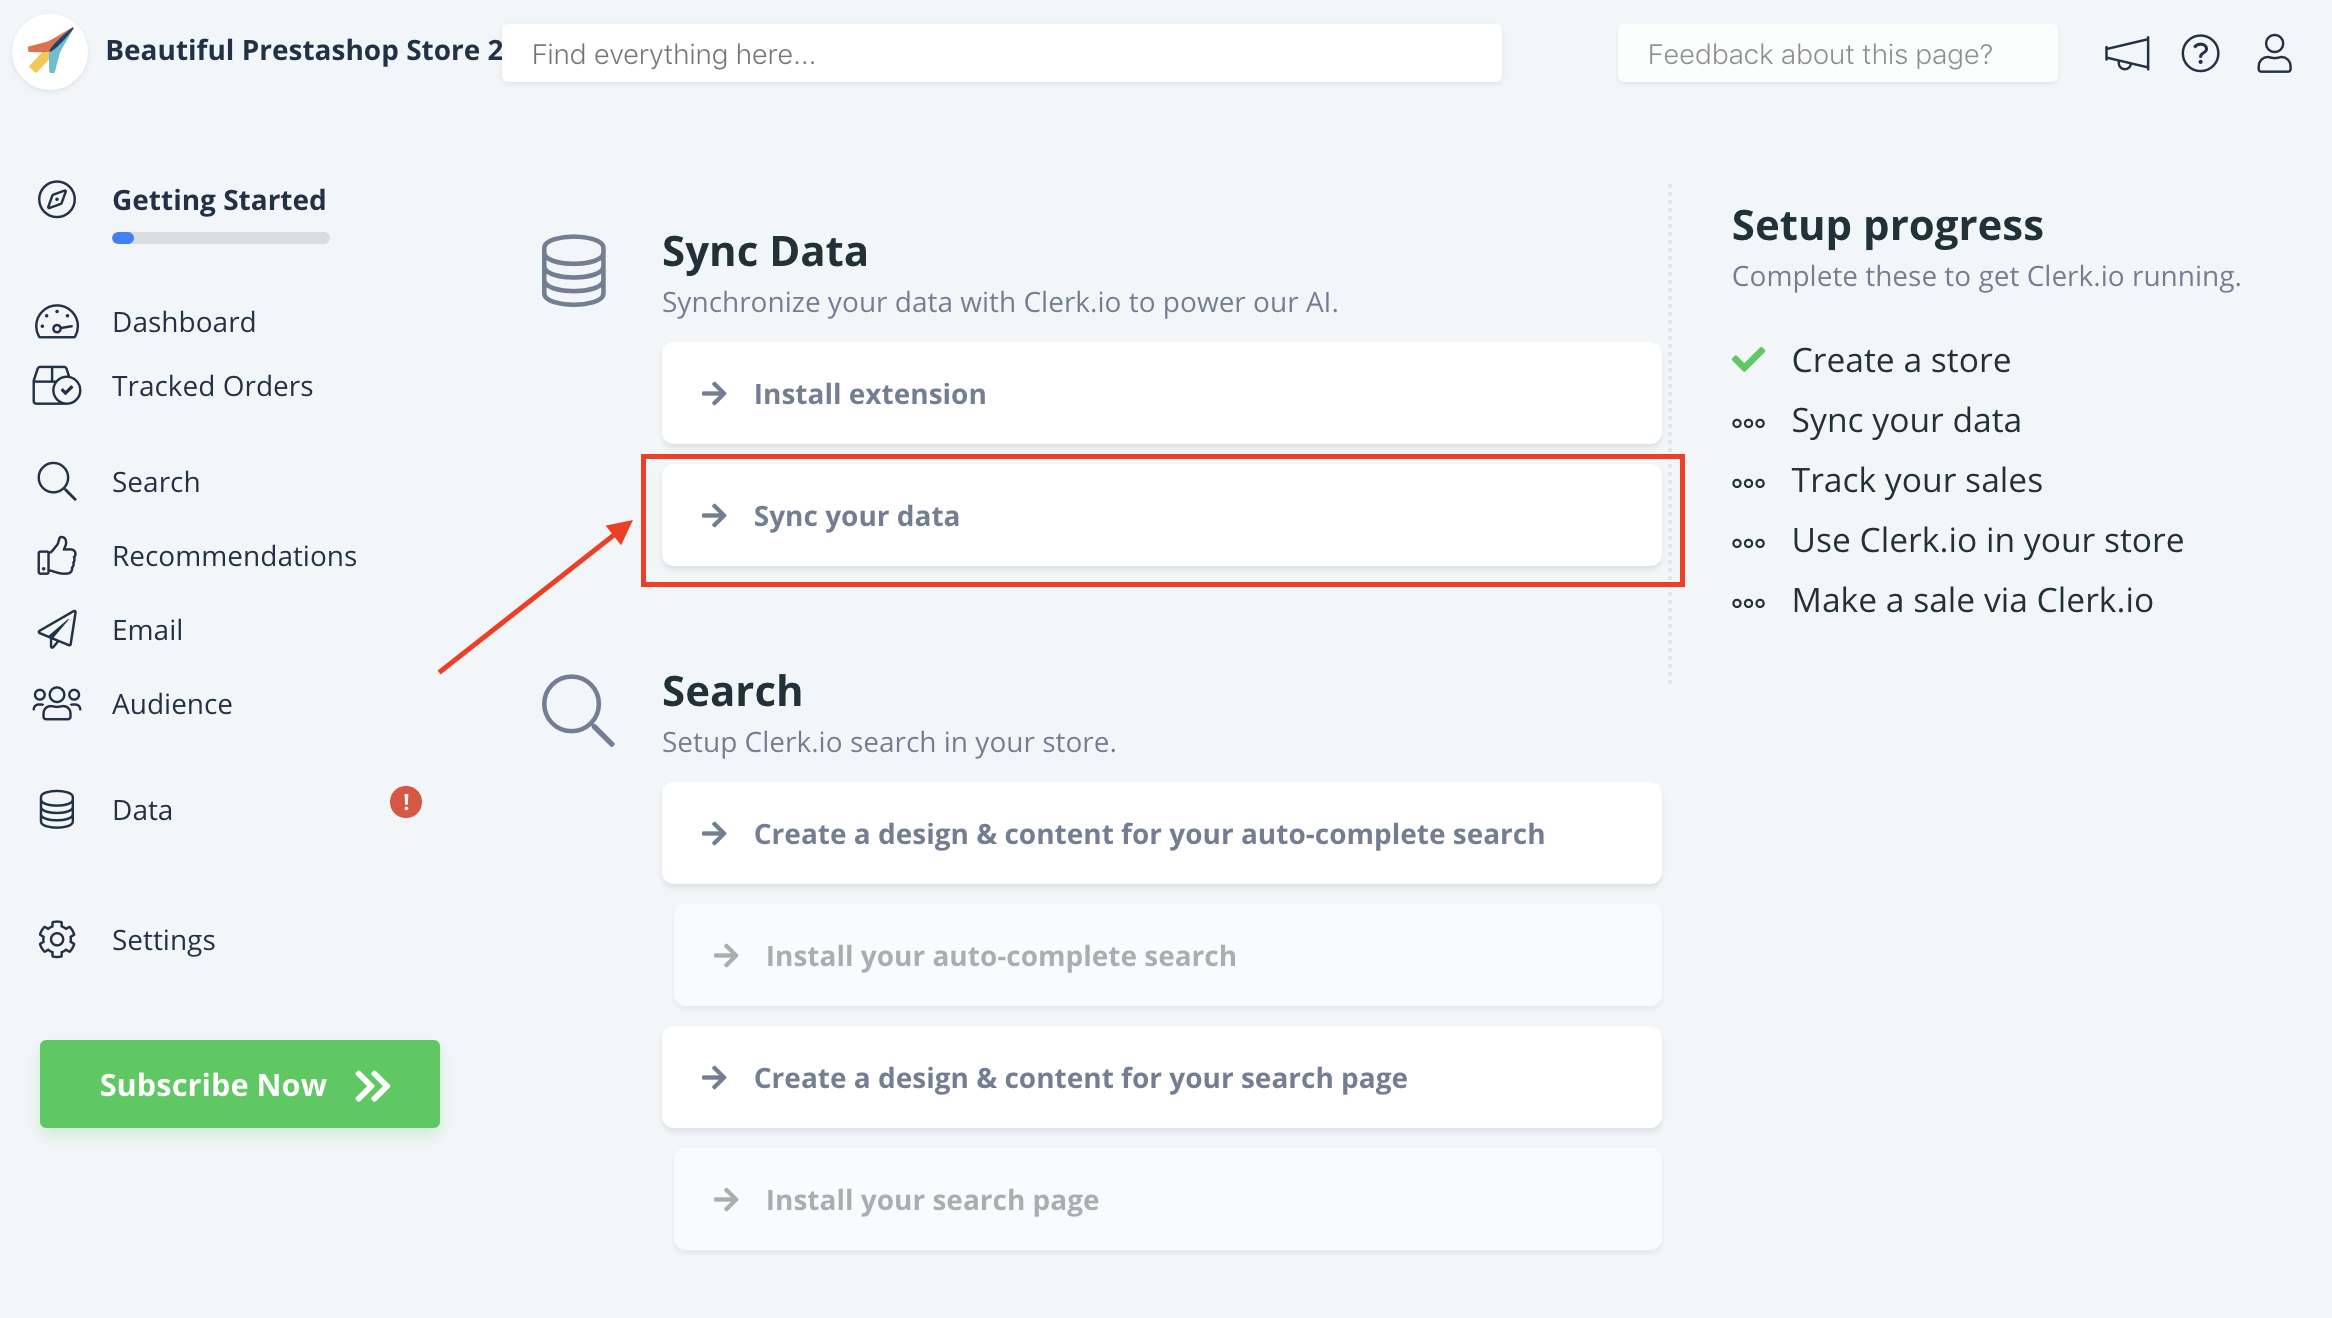
- Now you can follow the Setup Guide again - by clicking on Getting Started, to Sync Data from this Shop. As you have already installed the extension, you can skip the first step directly start configuring it and syncing data.
- In the Prestashop backend, on the Clerk module page, choose the Shop and language from the dropdowns:

This will allow you to sync the Shops with your Store at my.clerk.io through the Setup Guide.
When Data Sync has finished, your Shop is ready and using the same setup as your main Store.
Remember to translate Headlines, in Element-> Edit -> Select Design to the right language as well.
You can follow this process for all Shops you want to use Clerk with.