Subscribers
Basics #
Clerk.io supports hosting your subscribers, as well as creating lists of recipients for various email campaign purposes.
A subscriber is an email address with the attribute subscribed: true, which allows Clerk.io to send email marketing to them.
Managing Subscribers #
Like with other email providers, Clerk.io allows you to track your subscribers and create lists of recipients for various email campaign purposes.
Subscribing #
Recipients are subscribed globally, allowing them to receive email marketing from all Clerk Campaigns you set up.
In addition to this, they can opt-in to specific email marketing by subscribing to Lists. These Lists can be based on anything you choose, like Black Friday, great offers, categories, and more.
The Lists you create can then be used in Newsletters and AI Campaigns, just like Audiences. This allows you to make your marketing even more relevant, as subscribers made an active choice to subscribe to a List.
Subscribing with forms #
The easiest way for visitors to subscribe to your newsletters is through sign-up forms, which are inviting input fields located on strategic places of your website, allowing customers to add their email address to your email marketing.
For a starting example, check the global sign-up form further down in this article.
Subscribing via API #
If you want to build the subscription function into an app or other custom setup, this can be done with the API endpoint called subscriber/subscribe. Read more about this in the
API documentation here.
Unsubscribing #
It’s important to make it easy for recipients to unsubscribe if they no longer want your email marketing. In Clerk, this can be done as a traditional link or manually through my.clerk.io
Email Link #
This is the classic way of unsubscribing through a link in the bottom of your emails.
If your design was made in the Design Editor, simply add an Unsubscribe component to the bottom of your email.
If your design was made with code, you can use the following API endpoint as a link to unsubscribe:
<a href="https://api.clerk.io/v2/subscriber/unsubscribe?key=INSERT_API_KEY&email={{ email }}&redirect=true">Unsubscribe</a>
Replace INSERT_API_KEY with the Public Key from my.clerk.io > Developers > API Keys.
This API endpoint can also be used in custom setups if you want to use API only.
Manually Unsubscribing #
You can unsubscribe any email address manually in Email > Subscribers > All Emails by searching for it, clicking the unsubscribe icon to the right of the email, typing in the email address for confirmation, and clicking Unsubscribe.
You can also unsubscribe an email address from a list, while still keeping them subscribed elsewhere. From Email > Subscribers > Lists, use the search field to find the subscriber, and click the X on the right.
Syncing Existing #
If you already have subscribers in a different platform, you likely want to sync them to Clerk.io so you don’t start from scratch. There are multiple ways to do this.
One-Time CSV upload #
This built-in import method allows you to send a CSV file of customers, that includes the attribute subscribed: true
Check how to structure the CSV file here
With an Integration #
You can sync subscribers from well-known email platforms like Mailchimp, Klaviyo, and more. These can be set up from Settings > Integrations..
Once you’ve set them up, go to Email > Configuration. and enable the integration you want to use, under Sync subscribers.
Afterwards, if you want to host subscribers in Clerk.io exclusively, you can simply remove the integration after the first sync.
With a data feed #
When you are using a data feed for your products, categories, and more, you can include your subscribers by sending a list of customers including their email address and subscribed: true as an attribute.
Check the syntax in the documentation here
Like with Integrations, you can remove them from the feed after the initial sync.
Monitoring your subscribers #
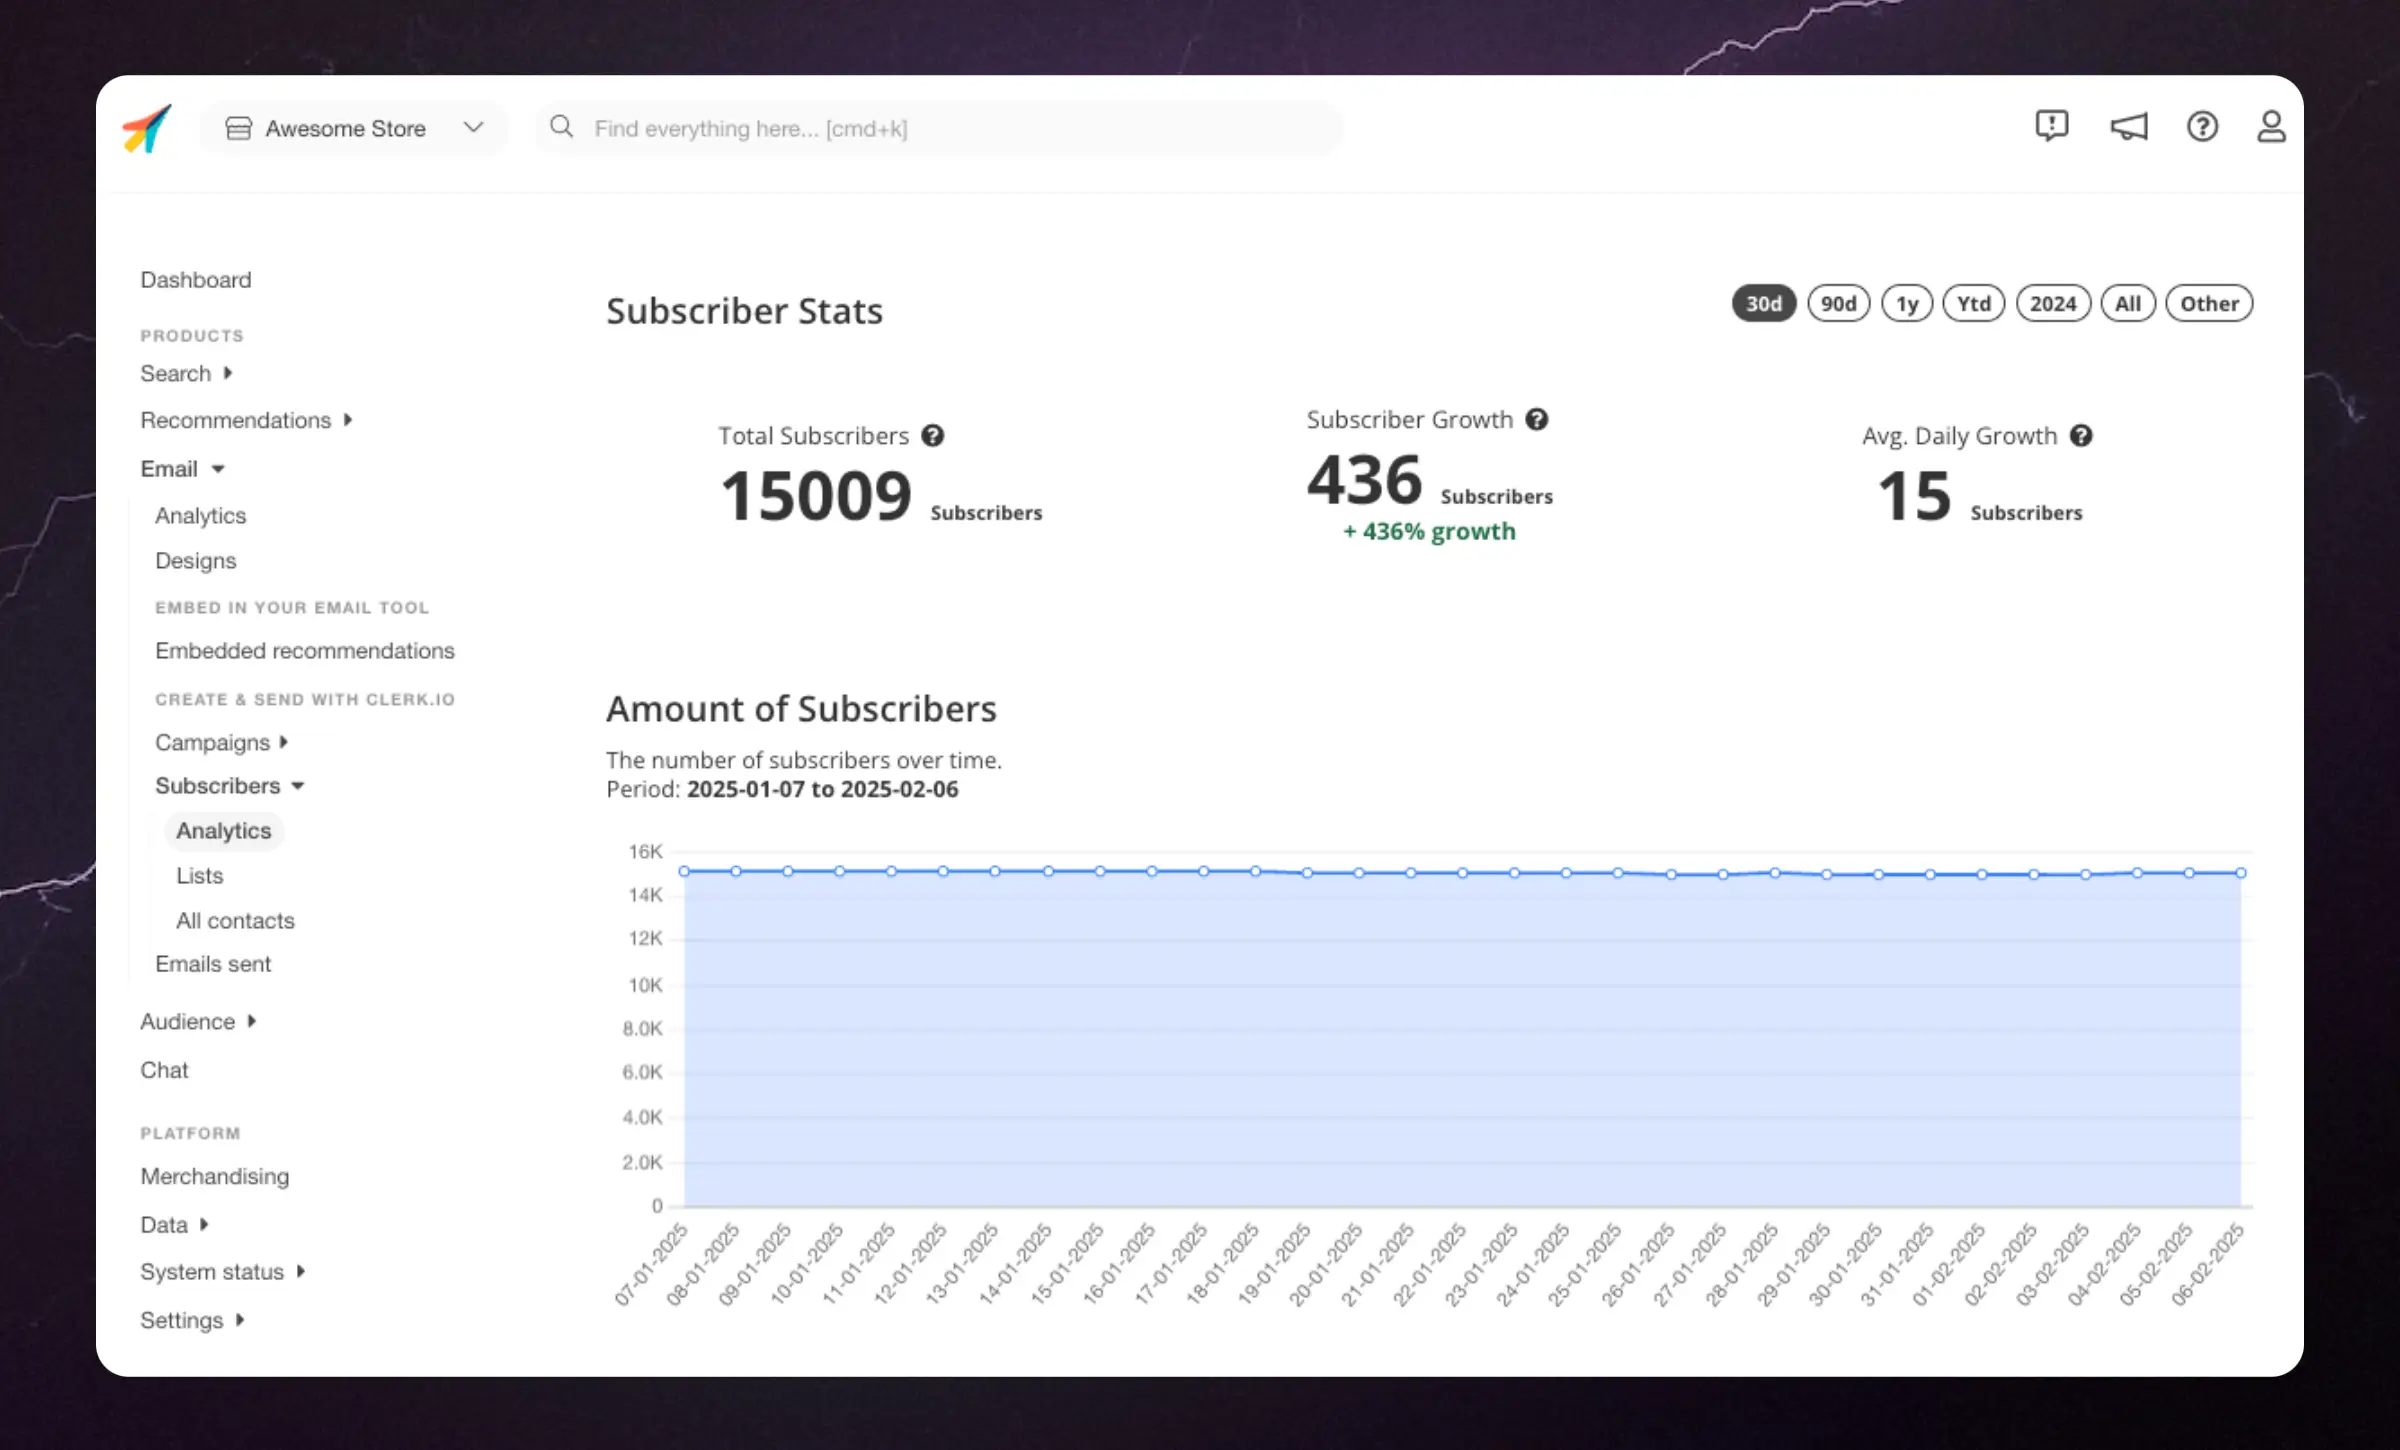
Use it to keep an overview of whether your email marketing is giving you more or less subscribers so you can make the right business decisions to keep your recipients engaged.
Subscriber Forms #
This is just a starting point. You might need a developer to tailor it to your needs.
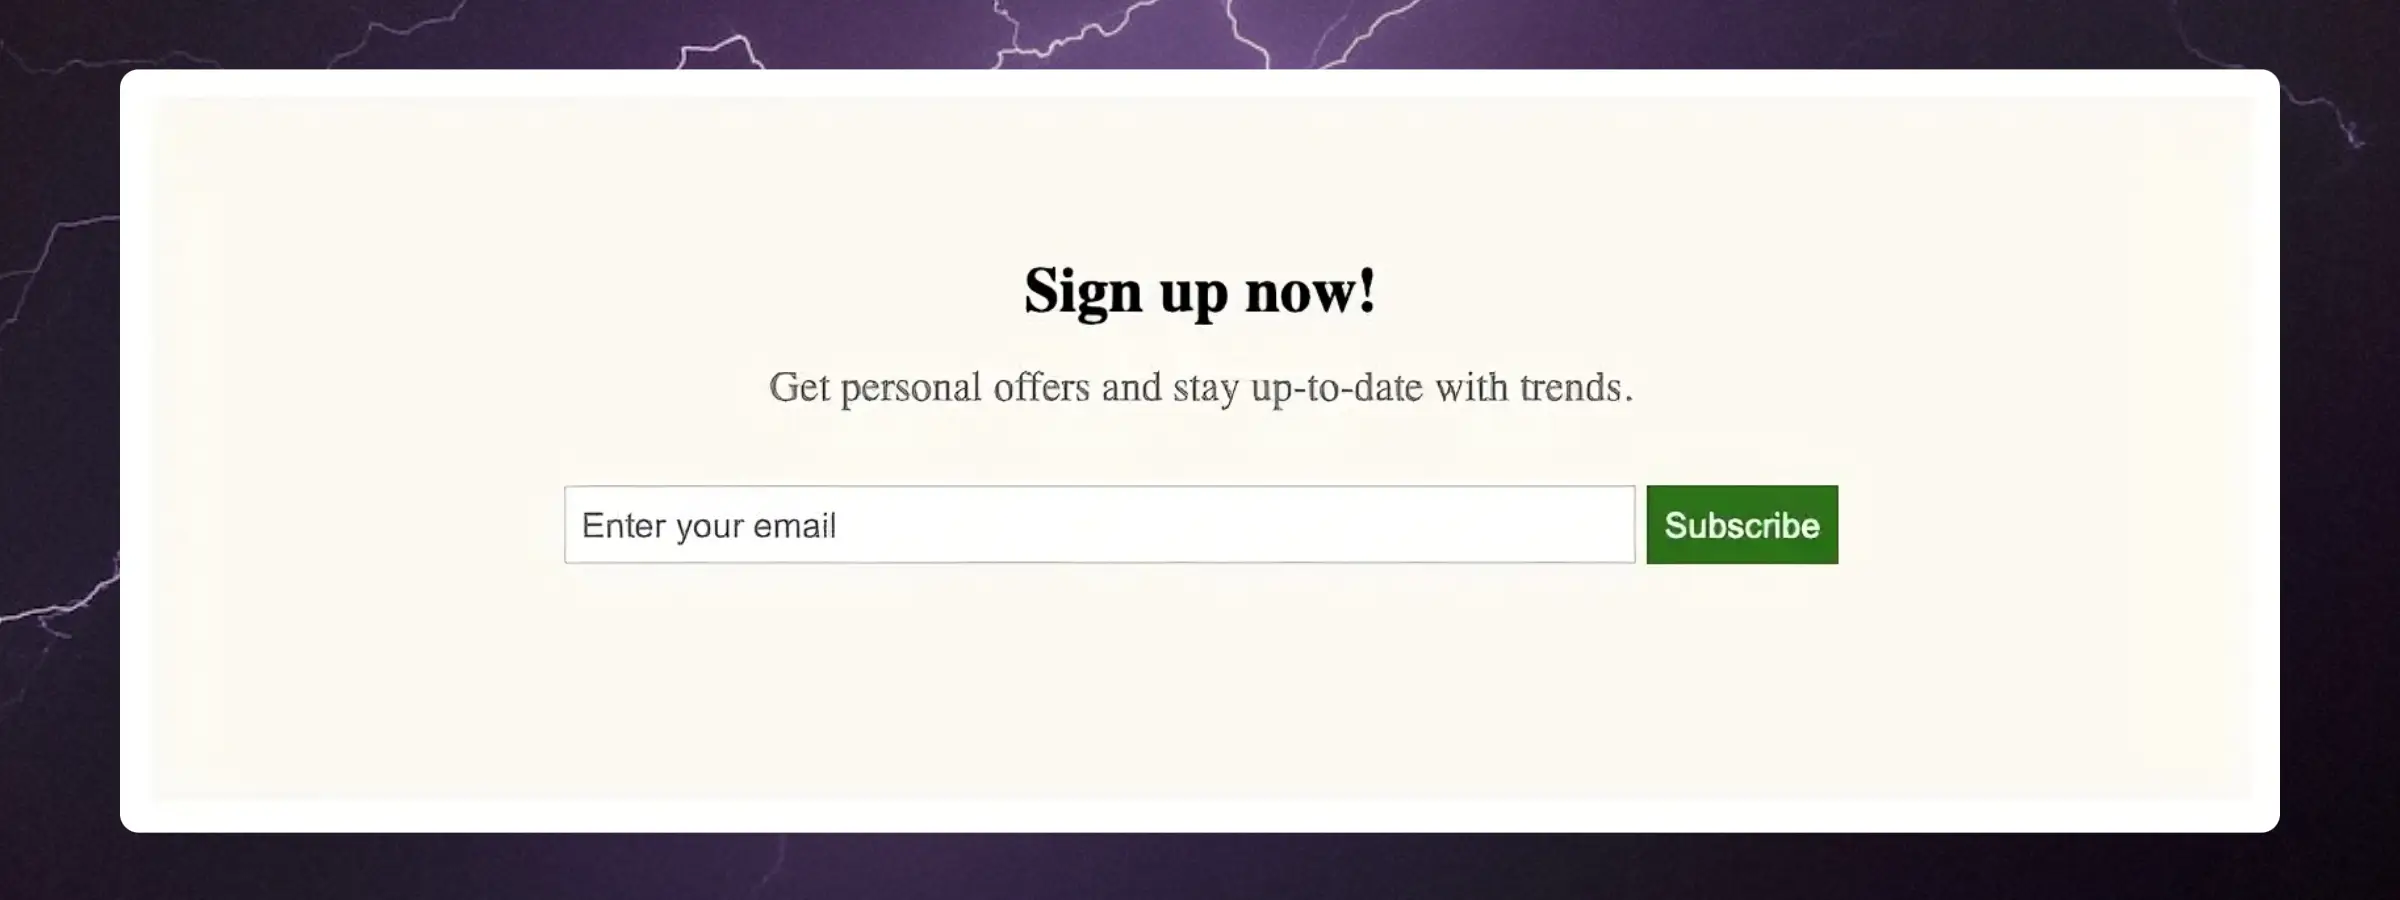
A great way to get new subscribers is to add an easy way of letting them sign up to newsletters, directly from your website. You can build subscriber forms yourself by using Clerk’s API to track the new subscribers.
Below you will find an example of how to do this, to get you started. The sign-up form will look like this out-of-the-box:
Global Sign-Up Form #
This form will sign visitors up to all emails sent from Clerk. Copy the below embed code and insert it in your webshop where you want it to show:
<div class="clerk-sign-up">
   <h2 class="clerk-sign-up-headline">Sign up now!</h2>
   <div class="clerk-sign-up-subtitle">Get personal offers and stay up-to-date with trends.</div>
   <div class="clerk-input-wrapper">
      <input type="text" id="clerk-add-subscriber-input" placeholder="Enter your email"></input>
      <button id="clerk-add-subscriber-btn" onclick="add_subscriber()">Subscribe</button>
   </div>
   <div id="clerk-subscribe-message"></div>
</div>

<script>
   function add_subscriber(){
      var clerk_btn = document.getElementById("clerk-add-subscriber-btn");
      var clerk_input = document.getElementById("clerk-add-subscriber-input");
      var clerk_message = document.getElementById("clerk-subscribe-message");
      Clerk("call","subscriber/subscribe", {
         email: clerk_input.value
      },
      function(response){
         clerk_message.style.color = "#008001";
         clerk_message.innerText = "You are now subscribed!";
         clerk_btn.innerText = "Subscribed!";
         clerk_btn.style.opacity = "0.5";
         clerk_btn.disabled = true;
      },
      function(response) {
         clerk_message.style.color = "#EE360E";
         clerk_message.innerText = "Could not subscribe. Please try again.";
      }
   );
}
</script>
<style>
   #clerk-add-subscriber-input {
      height: 28px;
      width: 50%;
      padding: 0px 0px 0px 6px;
      border: 1px solid #D3D3D3;
   }

   #clerk-add-subscriber-btn {
      height: 30px;
      width: auto;
      background-color: #008001;
      border: 1px solid #008001;
      color: white;
      cursor: pointer;
   }

   #clerk-subscribe-message {
      height: 20px;
      margin: auto;
      text-align: center;
   }

   .clerk-sign-up {
      width: 50%;
      padding: 60px 0px 60px 0px;
      max-width: 800px;
      min-width: 500px;
      margin: 40px auto 40px auto;
      background-color: #FEFAF4;
   }

   .clerk-sign-up-headline {
      margin: 0px 14px 14px 14px;
      text-align: center;
   }

   .clerk-sign-up-subtitle {
      margin: 14px 14px 28px 14px;
      text-align: center;
      color: #808080;
   }

   .clerk-input-wrapper {
      margin: 10px auto 10px auto;
      text-align: center;
   }

   .clerk-input-label {
      margin: 5px 0px 5px 0px;
   }
</style>
List Sign-Up Form #
If you want to sign recipients up for a specific list, the above example code can be extended with a list_id parameter in the Clerk configuration part of the script.
The List ID which can be found in my.clerk.io > Email > Subscribers > Lists on the left side for each list.
Here is an example configuration:
...
Clerk("call","subscriber/subscribe", {
   email: clerk_input.value,
   list_id: "FSY27248"
},
...