Get Started
Get Clerk up and running on your WooCommerce store in just a few steps. This guide walks you through creating your Store, installing the plugin, and syncing your data.
Create store #
Each Clerk setup is configured on a Store in my.clerk.io.
This will contain all the data you upload, and allow you to interact with it through its Public API key.
If it is the first time you login in my.clerk.io, you will be prompted to create a New Store.
Follow these guidelines:
Insert a Name, usually the name of the Store.
In Domain, insert the website URL.
Choose a language.
Choose a currency.
Choose a platform, in this case WooCommerce.
(Optional) Specify the type of Store.
If you need to set up multiple languages, webshops or domains, each should have their own Store.
You can copy your configuration to new Stores after doing the first setup.
Install plugin #
After creating a Store in my.clerk.io, install the plugin in your WooCommerce backend:
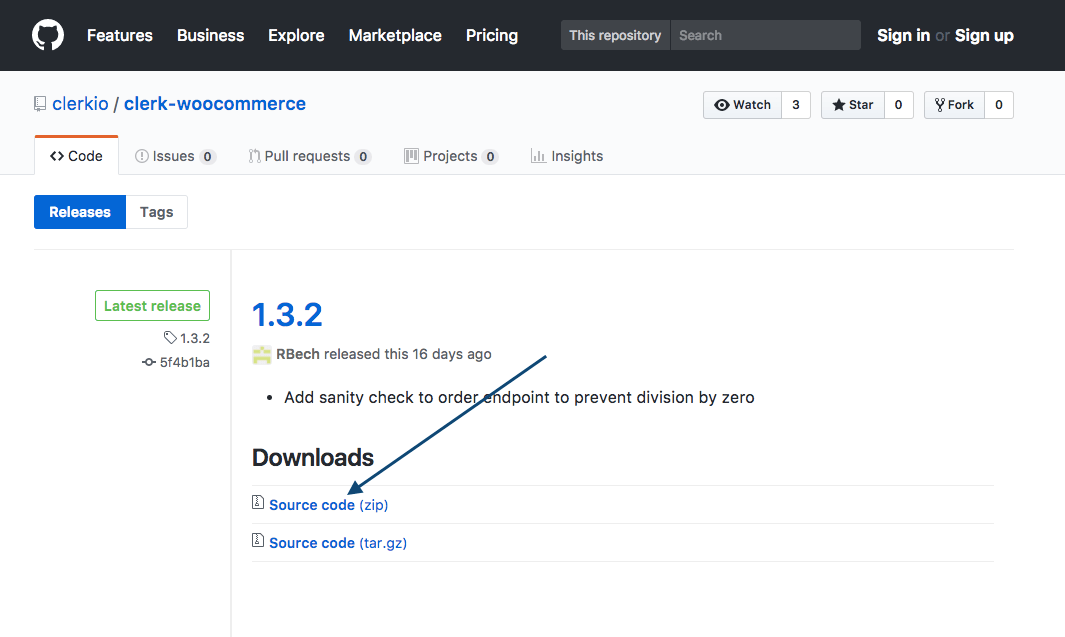
- Download the latest version of the plugin: Latest release.
In WordPress, go to Plugins > Add New → Upload Plugin → Choose File.
Select the downloaded file and click Install Now.
When the plugin has installed, click Activate Plugin.
You need WordPress Administrator access to see Plugins in the left menu. If you don’t see it, ask a site administrator to grant you temporary Administrator permissions or install the Clerk plugin for you.
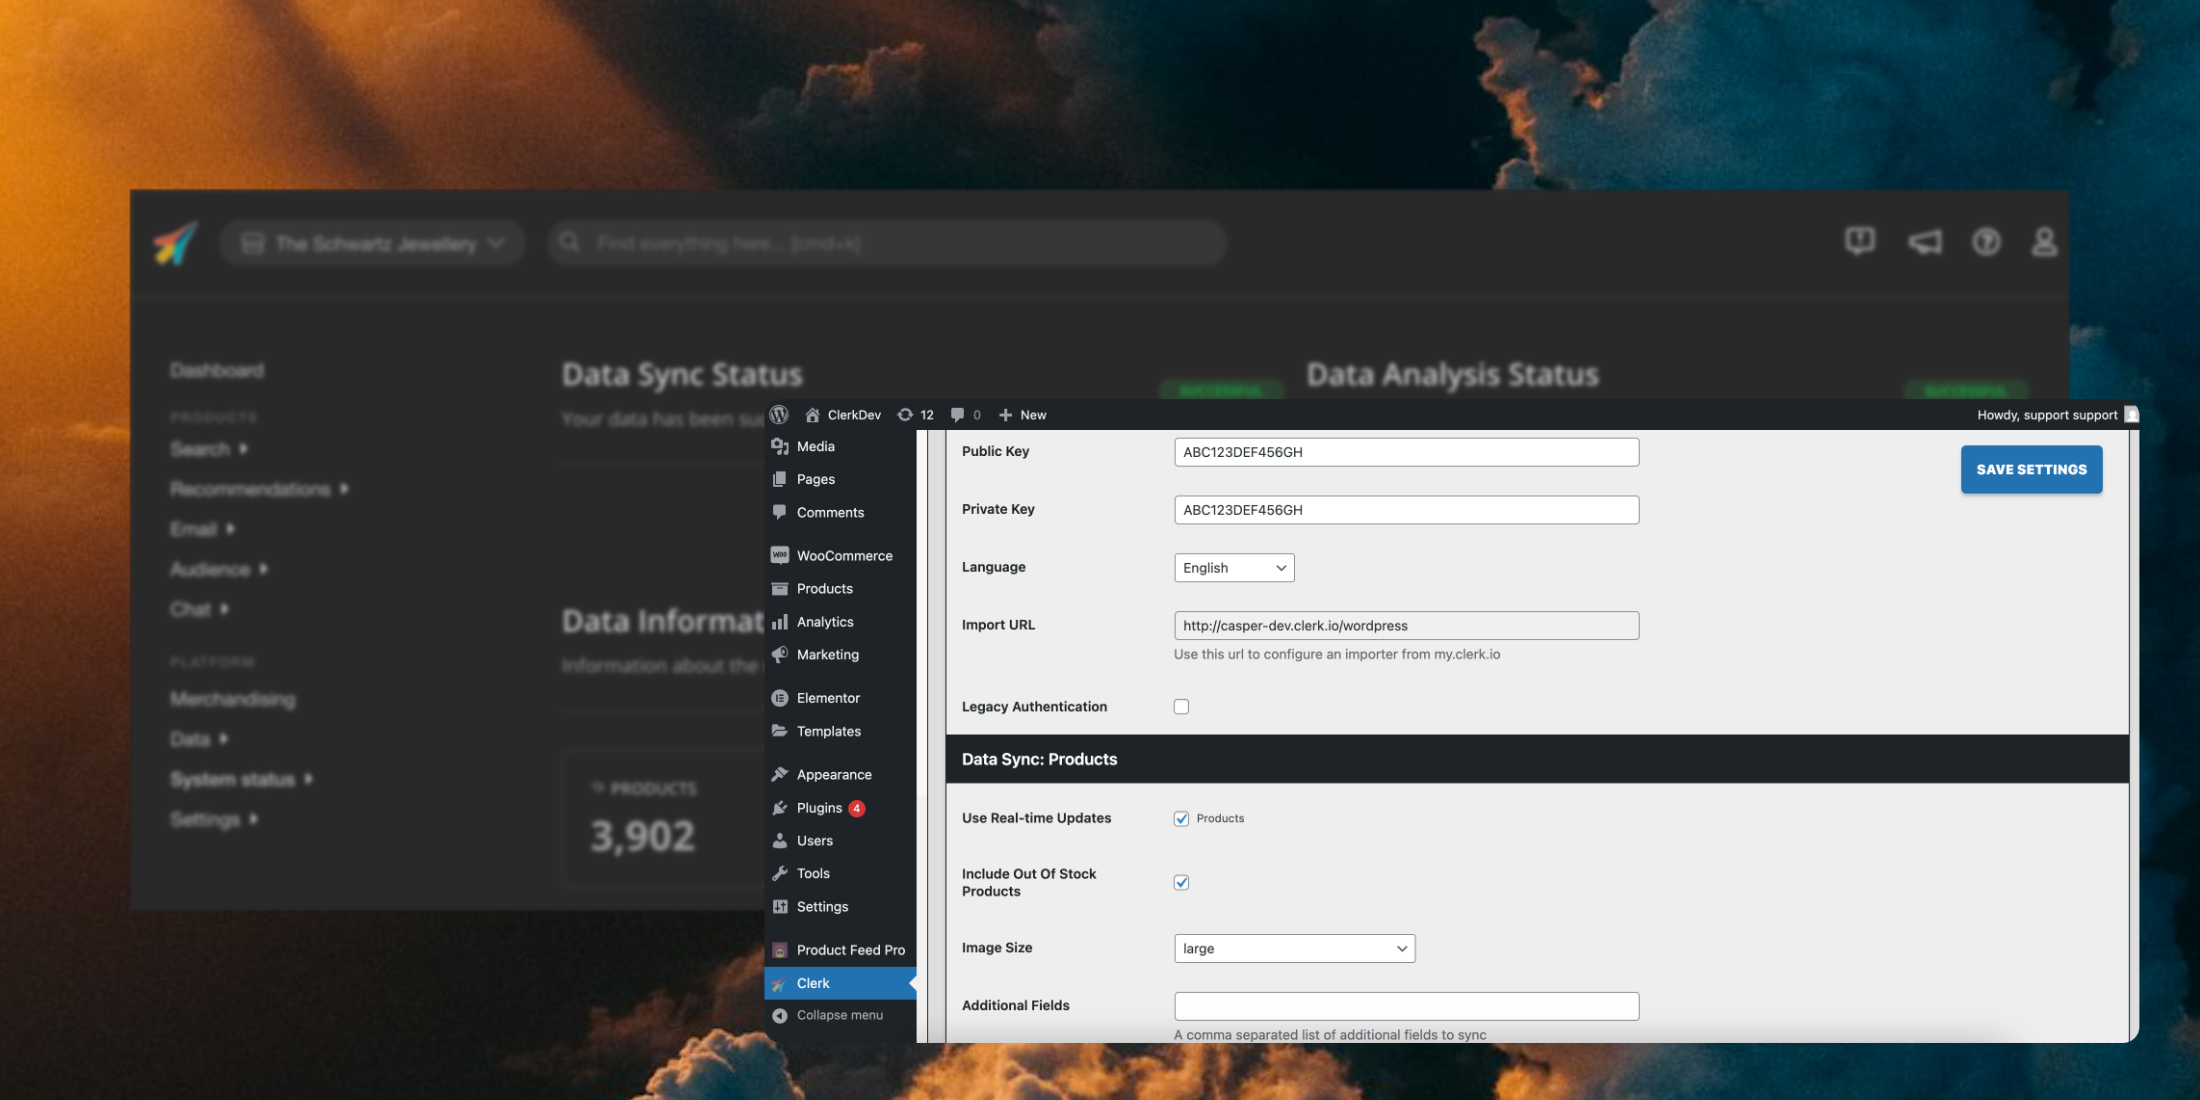
Configure plugin #
Open Clerk Options in your WooCommerce backend.
Enter your Public Key and Private Key, then click Save Settings.
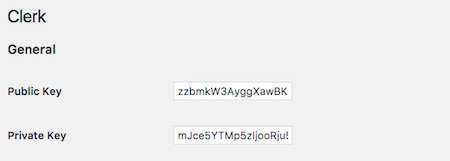
Your Public Key and Private Key are in my.clerk.io > Developers > API Keys.
You can find more details about the different Clerk plugin options here.
Sync data #
Syncing data connects your WooCommerce store to Clerk, allowing Clerk to access your products, orders, customers, categories, and pages. This enables Clerk to provide personalized recommendations and search results based on your actual store data. Follow the steps in the Sync Data guide to set up the data sync.
Add content #
Follow these guidelines to add content to your frontend:
Create a Design for Search, and one for Recommendation. For example, for Recommendations, go to Recommendations > Designs and click New Design.
Create an Element for each element. For example, for Search, go to Search > Elements and click New Element.
Insert Elements into your frontend.
Refer to the guides for each element you need to add, including guidelines for the design and how to create new Elements for Search and Recommendations.